


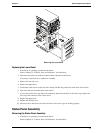
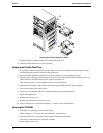

Chapter 9 Remove/Replace Procedures
76
2. Disconnect the power cord and any external cables connected to the Server.
If necessary, label each one to expedite re-assembly.
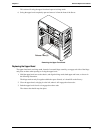
3. Remove the left side cover.
4. Remove the upper bezel.
5. Remove the lower bezel.
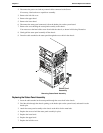
6. Disconnect the status panel connector(s) from the header pins on the system board.
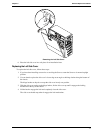
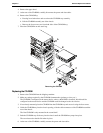
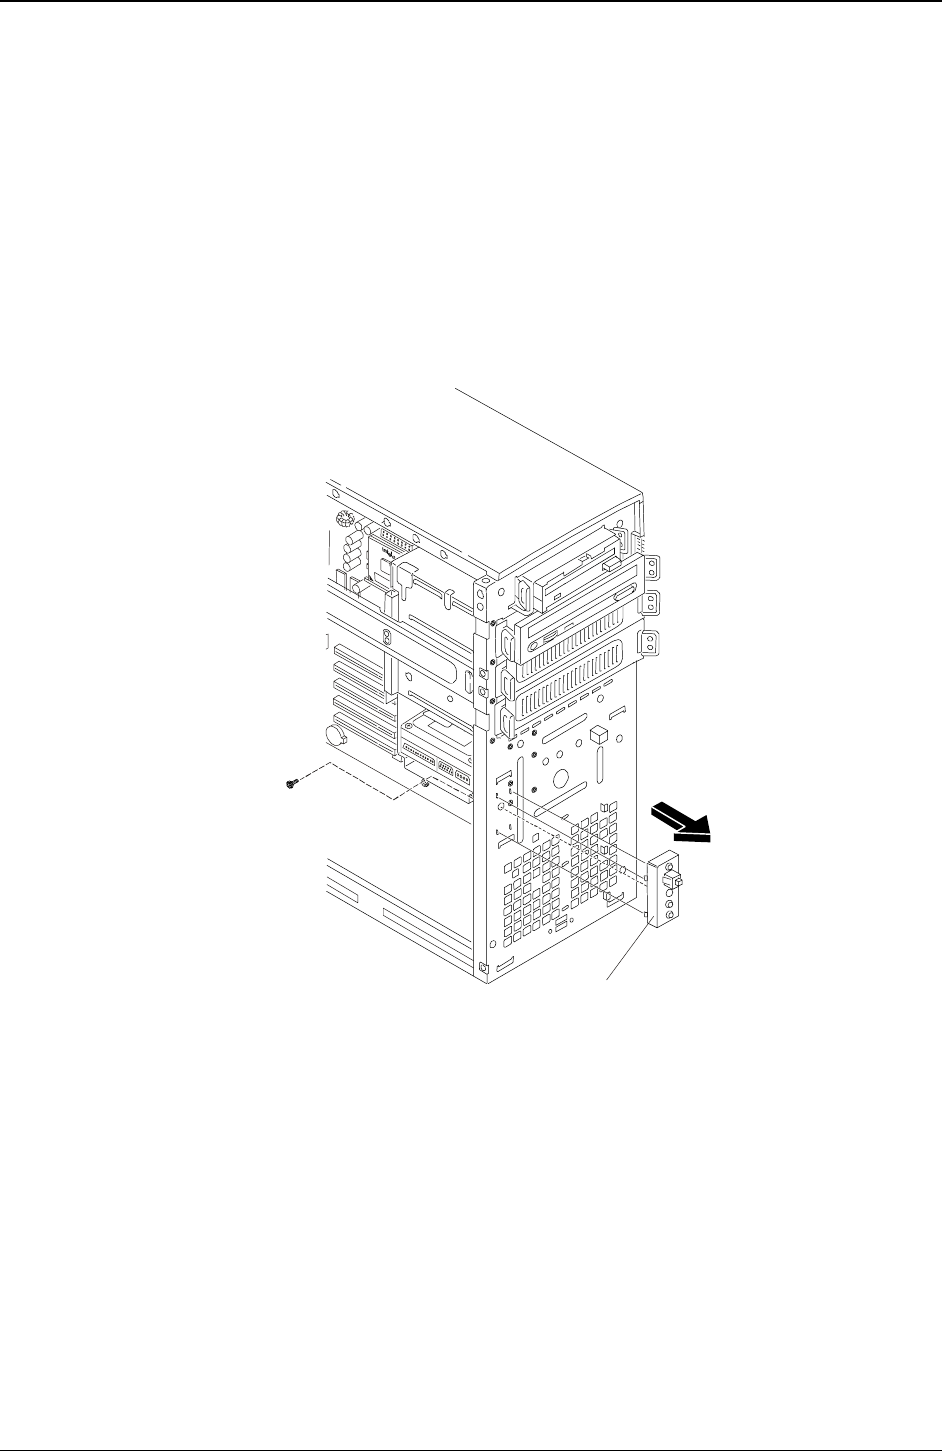
7. Remove the screw holding the status panel assembly to the chassis.
You must access the head of the screw from inside the chassis, as shown in following illustration.
8. Gently pull the status panel assembly off the chassis.
9. Draw the cable attached to the status panel thought the access hole in the chassis.
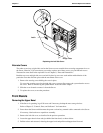
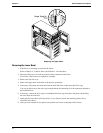
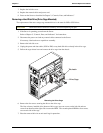
Status Panel
Assembly
Removing Status Panel Assembly
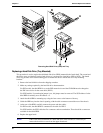
Replacing the Status Panel Assembly
1. Insert the cable attached to the status panel through the access hole in the chassis.
2. Feed the cable through the chassis opening, to the header pins on the system board, and attach it to the
header pins.
3. Attach the status panel assembly to the chassis at the holes for the metal tabs.
4. Replace the screw to hold the status panel assembly in place.
5. Replace the lower bezel.
6. Replace the upper bezel.
7. Replace the left side cover.