


Chapter 9 Remove/Replace Procedures
99
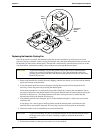
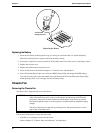
2. Disconnect the power cord and any external cables connected to the Server.
If necessary, label each one to expedite re-assembly.
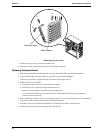
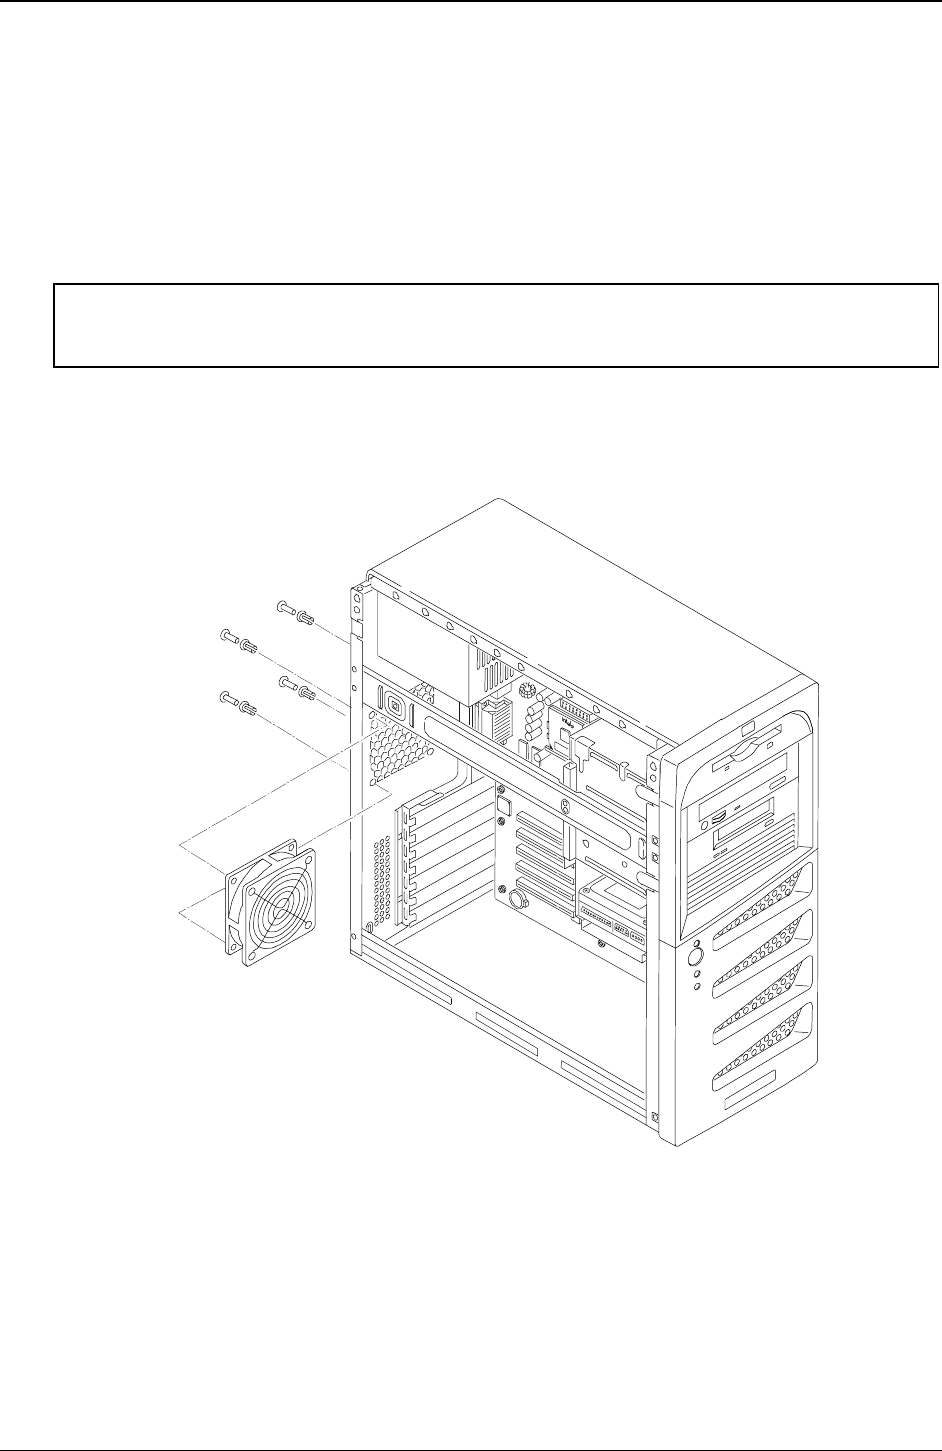
3. Disconnect the chassis fan’s power connector from the system board.
4. Remove the fan by placing a sharp flat object (screwdriver or knife) under the edge of the mounting
snap rivet.
5. Lift the snap rivet away from the surface of the rear chassis.
6. Remove the snap rivet housing from the rear of the chassis.
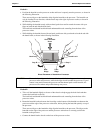
CAUTION To prevent damage from the fan as it falls, support the fan when you release the last snap
rivet and the snap rivet housing. The fan could fall onto the system board or an accessory
board causing damage, if not supported when released.
7. Repeat Steps 3-5 for the three remaining snap rivets.
Ensure you catch the fan when you remove the last snap rivet housing.
8. Lift the fan out and away from the chassis.
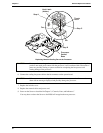
Removing the Chassis Fan
Replacing the Chassis Fan
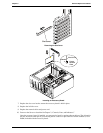
1. Remove the replacement chassis fan from the shipping container.
2. With the power connector toward the rear of the chassis, guide the chassis fan into the chassis fan
opening.
3. Attach the chassis fan by placing the first snap rivet housing into the chassis and then pushing the snap
rivet into the housing.