


Chapter 9 Remove/Replace Procedures
96
Power Supply
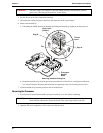
Removing the Power Supply
The low voltage ON/OFF switch on the front panel controls the power supply and the voltage selector switch
on the rear panel adapts the power supply to the input AC voltage. To remove the power supply from the
chassis, perform the following procedure.
1. If the Server is operating, power down the Server.
Refer to Chapter 2, “Controls, Ports, and Indicators” for instructions.
2. Disconnect the power cord and any external cables connected to the Server.
If necessary, label each one to expedite re-assembly.
3. Remove the left side cover.
4. Disconnect the power cables from the system board connector and all the mass storage devices.
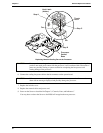
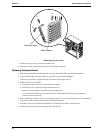
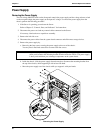
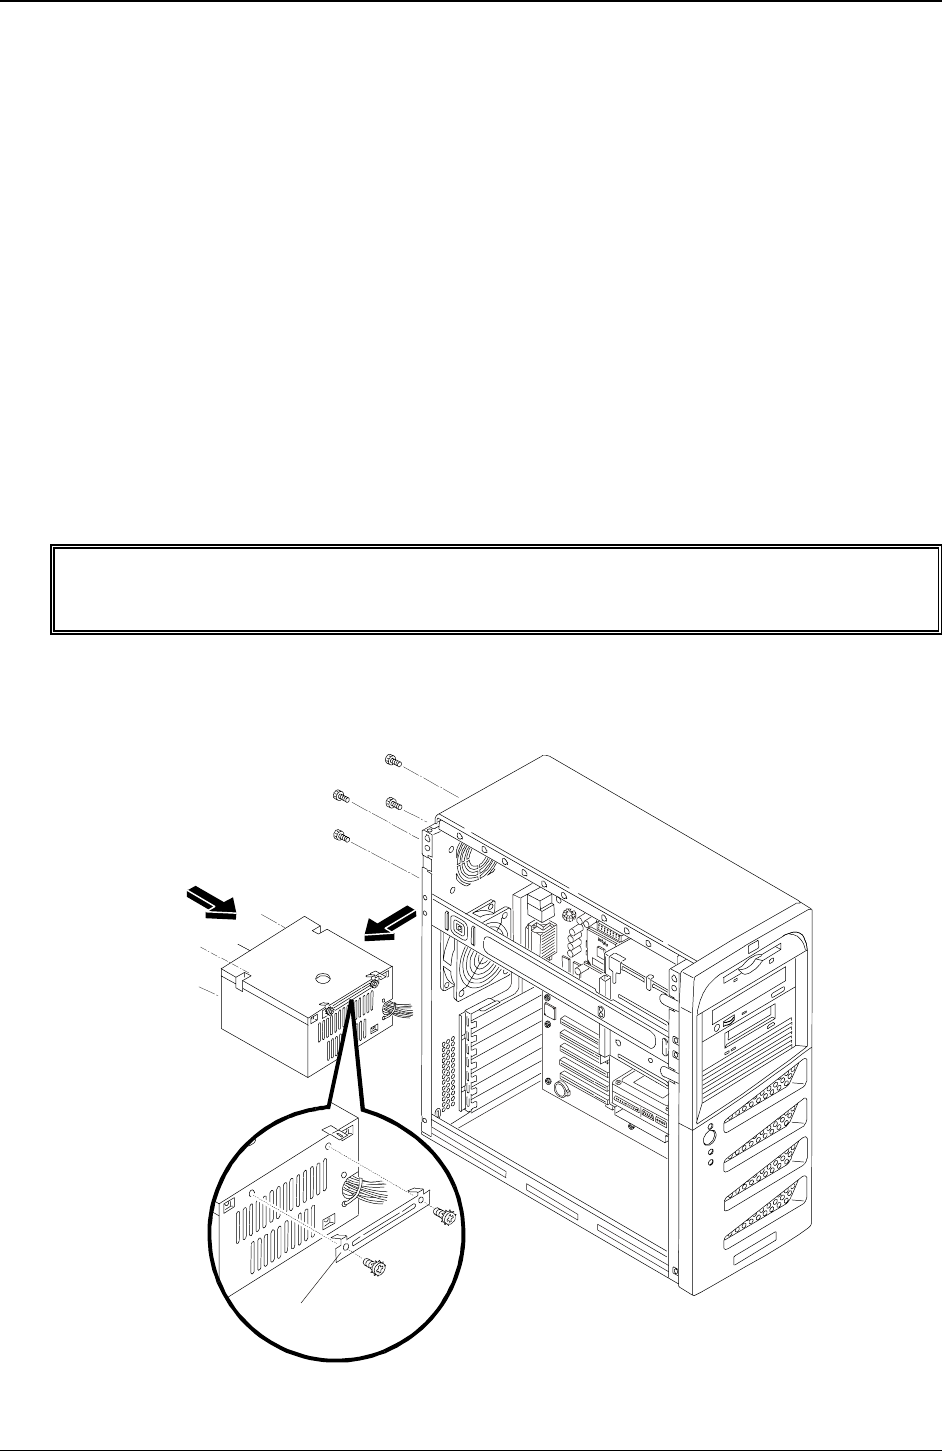
5. Remove the power supply by:
a. Removing the four screws securing the power supply to the rear of the chassis.
You may need a flat blade screwdriver to remove the four screws.
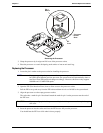
WARNING To prevent the power supply from falling, support the power supply with your hands
when you disconnect the mounting bracket from the inside the chassis. The power supply
is heavy and could hurt you or damage components on the system board.
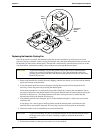
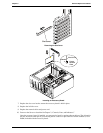
b. Inside the chassis, slide the power supply forward enough to disconnect the mounting bracket from
the top of the chassis, while supporting it with at least one hand.
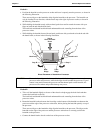
c. Move the power supply out of the chassis while you support it with your hands.
A
B
C
D
Mounting Bracket
Removing the Power Supply