


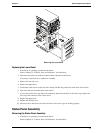


Chapter 9 Remove/Replace Procedures
82
B
A
A
C
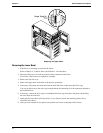
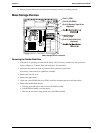
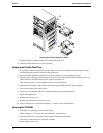
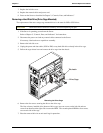
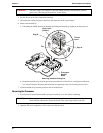
Removing Hard Disk Drive (HDD) and Tray
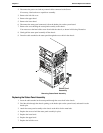
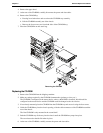
Replacing a Hard Disk Drive (Tray Mounted)
This procedure is used to replace the third hard disk drive (HDD) mounted in the fourth shelf. The second and
third drive trays are identical, but the forth drive tray is reserved for a hard drive (IDE or SCSI). The fourth
drive tray provides four raised mounting posts to mount hard drives without the use of any mounting
brackets.
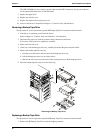
1. Remove the hard disk drive from the shipping container.
2. Make any settings required by the hard disk drive documentation.
For IDE models, the third HDD is set as the IDE master device and the CD-ROM must be changed to
the IDE slave device for the same cable (IDE-2).
For SCSI models, if a termination jumper is set, this jumper must be removed. The SCSI address for the
third HDD is normally set to ID address = 2.
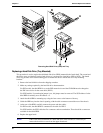
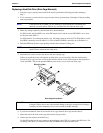
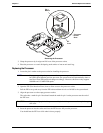
3. Attach the third HDD to mounting tray using the four screws at the bottom of the tray.
4. Guide the HDD tray into the chassis opening, with the cable connectors toward the rear of the chassis.
5. At the rear of the HDD, carefully connect the power and data cables.
For IDE models, the third HDD is connected to the cable for IDE-2.
For SCSI models, the SCSI cable has five connectors and one termination. There should be a connector
available for the third HDD.
6. Replace the upper bezel.
NOTE If this is the initial installation of a hard disk drive in this location, it is necessary to
remove the bezel drive cover from the upper front bezel.