© Copyright IBM Corp. 1999 45
Configuring the server
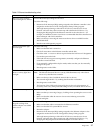
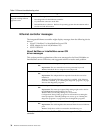
The following configuration programs are provided with the server:
• Configuration/Setup Utility
This program is part of the basic input/output system (BIOS) code that comes with
the server. You can use this program to configure serial and parallel port
assignments, change interrupt request (IRQ) settings, change the drive startup
sequence, set the date and time, and set passwords. See “Using the
Configuration/Setup Utility program” for more information.
• SCSISelect Utility
With the built-in SCSISelect Utility program, you can configure the devices
attached to the integrated SCSI controller. See “Using the SCSISelect utility
program” on page 51 for more information.
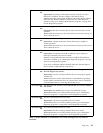
• ServeRAID programs
The ServeRAID programs come with the optional ServeRAID adapters and with
server models that have a ServeRAID adapter preinstalled. If the server has a
ServeRAID adapter installed, you must use the ServeRAID Configuration
program to define and configure the disk-array subsystem before you install the
operating system. See “Using IBM ServeRAID” on page 117 for more detailed
information.
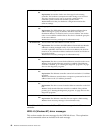
• ServerGuide CDs
The ServerGuide CDs include software setup and installation tools specifically
designed for IBM xSeries servers. You can use these CDs during the initial
installation of the server to configure the server hardware and simplify the
network operating system installation. The ServerGuide CDs also contain a
collection of application programs, which you can install after the server is up and
running.
Using the Configuration/Setup Utility program
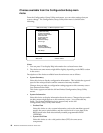
This section provides the instructions needed to start the Configuration/Setup Utility
program and descriptions of the menu choices available.
Starting the Configuration/Setup Utility program
To start the Configuration/Setup Utility program:
1. Turn on the server and watch the monitor screen.
2. When the message Press F1 for Configuration/Setup appears, press F1.
Note: If you have set both levels of passwords (user and administrator), you
must enter the administrator password to access the full
Configuration/Setup menu.
3. Follow the instructions that appear on the screen.


