Operator’s Guide
gradation). The parameter changes are linear. A value of 50 produces half the effect,
while a value of 200 doubles the effect.
The basic setting to modify the colors and density for the entire production is effective
for all color and density corrections (for example, in all screens with regulators for
yellow, magenta, cyan, and density). These corrections do not appear in the back
print.
Only change the correction effect (Impact values) once to adjust the
fine grading or the extent of the correction to personal requirements.
IMPORTANT:
IMPORTANT:
Seasonal changes (color dominants green and white) should be
compensated only by the corrections themselves, not by the
correction effect.
Shifting all three colors by the same extent and in the same direction
has no effect.
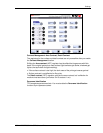
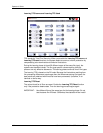
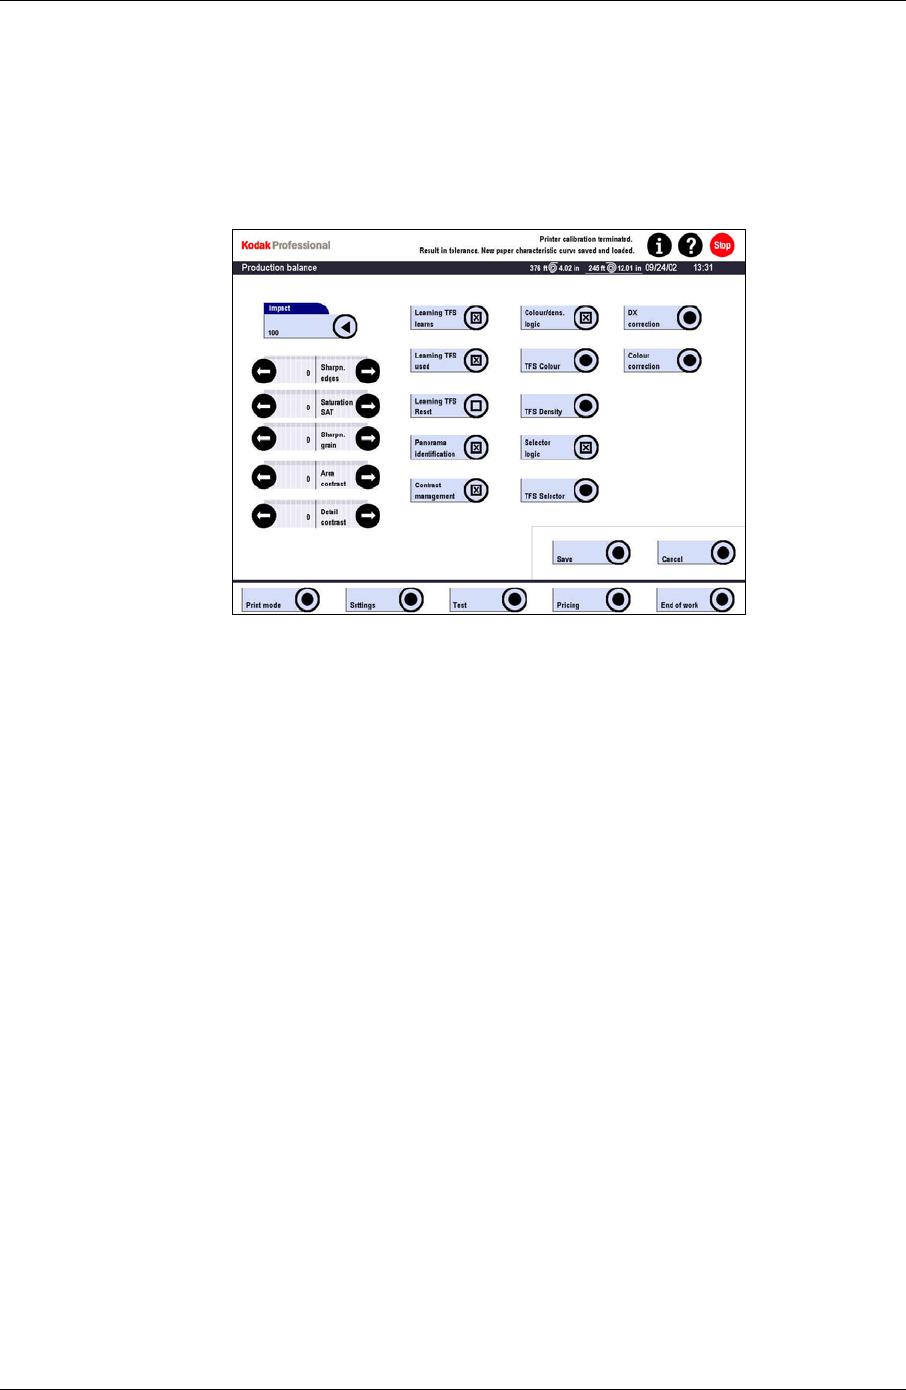
Sharpen Edges, Saturation, and Sharpen Grain
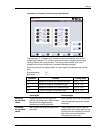
• Use the Sharpn. edges regulator to sharpen fine structures such as hair, fur, and
trees (shifting towards +) or to apply a soft-focus to portraits (shifting towards -).
The impression of sharpness depends on the print size and the paper surface. For
this reason, you should create a special correction configuration for each print size
and surface (for example, sharpness reduction for portrait exposures).
This function cannot improve blurred exposures.
• Use the Saturation regulator to change the color saturation for color prints.
A slight increase in the color saturation may be an advantage for some prints, such
as pictures with many colored areas. For faces, however, an increase would
exaggerate the saturation. For a nominal mixed production, a value of 0 is best.
• Use the Sharpn. grain regulator to print from high-speed films (such as 800 ASA
film).
This function has a similar effect to Sharpn. edges, but on smaller structures
(<1 mm) such as on hair in portraits. The grain disappears, but highlights are
eliminated as well.
Use Sharpn. grain only with values < 0.
4-30 KODAK PROFESSIONAL SRP 30 Laser Printer


