Tests
Procedure for the First Machine Operation or After New
Software Installation
1. Use the predefined paper configurations or set up configurations as required.
See Paper Configurations in Chapter 4.
2. Define the master paper. (This is the paper style most frequently used in the lab.)
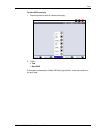
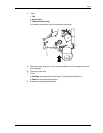
Touch Settings / Machine settings / Printer.
IMPORTANT: Another paper might be entered as the master. After a new software
installation or data transmission from a previous version, the first
PBL defines the master paper by default. If the master paper is
changed, an MBL will be printed automatically.
3. Print a PBL calibration.
• The PBL MUST be printed on the master paper;
this is the most frequently used paper in the lab. It is used for the MBL.
• Enable with Laser point.
4. Print an MBL (if this was not done automatically as described above).
5. Print a PBL for all other paper styles to be used. This should be printed
immediately after the MBL is printed, because the conditions for the printer and
paper processor during these tests should be the same. The PBL is automatically
printed with laser point if the cassette code indicates that a paper is used for the
first time.
6. The printer is now calibrated for all paper styles. You can now start the
production process.
7. After the PBL has been printed for all paper types, make a database backup so
that the values can be loaded back into the equipment, if needed.
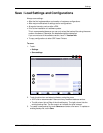
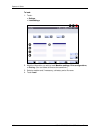
See Save/Load Settings and Configurations in Chapter 4.
KODAK PROFESSIONAL SRP 30 Laser Printer 5-7


