


Basic Operation
3-24
Send as E-mail (E-mail Addr Entry)
Sends a scanned original image as an E-mail attachment.
NOTE: Access the Command Center RX beforehand and specify the settings required for sending e-mail. For
details, see Command Center RX (Settings for E-mail) on page 2-26.
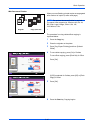
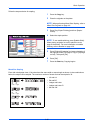
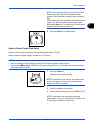
1 Press the Send key.
Displays the screen for sending.
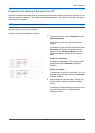
NOTE: Depending on the settings, the address book
screen may appear. In this event, press [Cancel] to
display the screen for sending.
2 Place the originals on the platen.
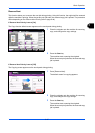
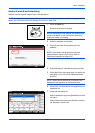
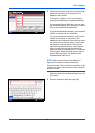
3 Press [E-mail Addr Entry] and then [E-mail
Address].
NOTE: Destinations can be specified using the
Address Book or the One Touch Keys. Refer to
Specifying Destination on page 3-40.
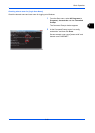
4 Enter destination E-mail address and press [OK].
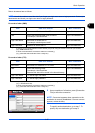
5 Press [Next Dest.] and repeat step 3 to specify the
destination. Up to 100 e-mail addresses can be
specified.
NOTE: When [Add to Addr Book] is displayed, the
destinations are registered in the Address Book.
6 Press [OK]. The destinations are registered in the
destination list.
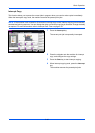
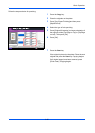
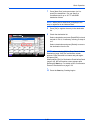
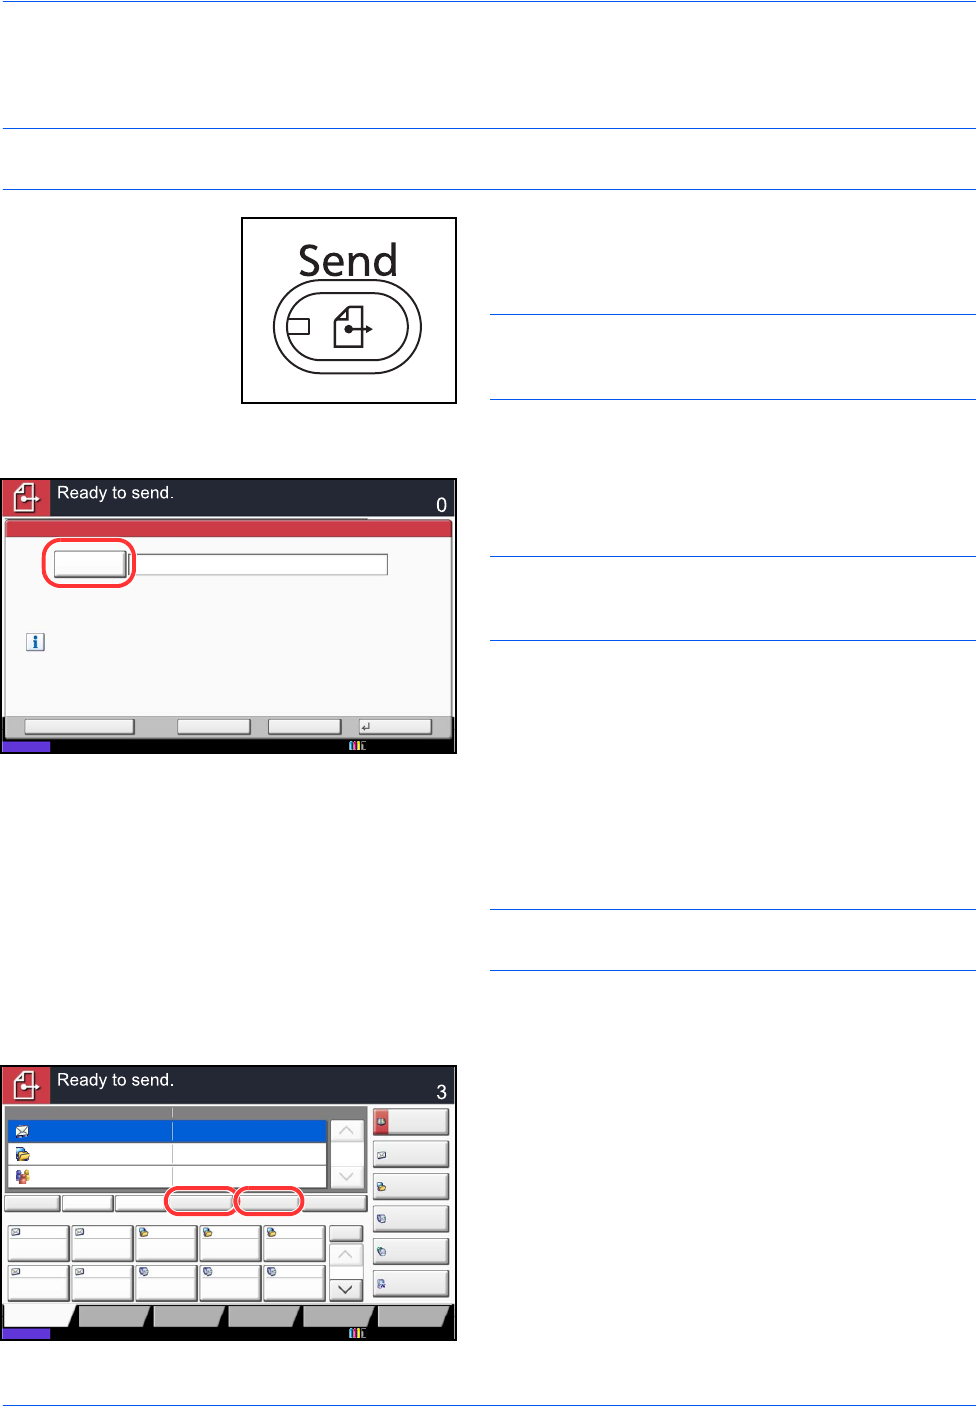
7 Check the destination list.
Select a destination and press [Detail/Edit] to check
and edit it.
Select a destination and press [Delete] to remove
the destination from the list.
E-mail
Address
Add a new e-mail destination.
Press [E-mail Address], then enter
the address using the keyboard screen.
Status
E-mail Address Entry
Enter Destination.
Destination
Cancel OKNext Dest.Add to Addr Book
10/10/2010 10:10
Status
Destination Detail
ABCD abcd@efg.com
Address
Book
Folder Path
Entry
E-mail
Addr Entry
No.
1/100
AAA BBB CCC DDD
FFF GGG HHH III JJJ
00040003 00050001 0002
0006 0007 0008 0009 0010
1/1
i-FAX
Addr Entry
FAX No.
Entry
WSD Scan
Destination
TUVW 192.168.188.120
Group1 Group1
EEE
Detail/Edit Delete RecallChainDirectOn Hook
Org./Sending
Data Format
Quick SetupDestination Color/
Image Quality
Advanced
Setup
Program
10/10/2010 10:10