


Default Setting (System Menu)
9-3
9
Default Screen
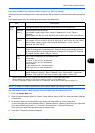
Select the screen appearing right after start-up (default screen). The options are as follows.
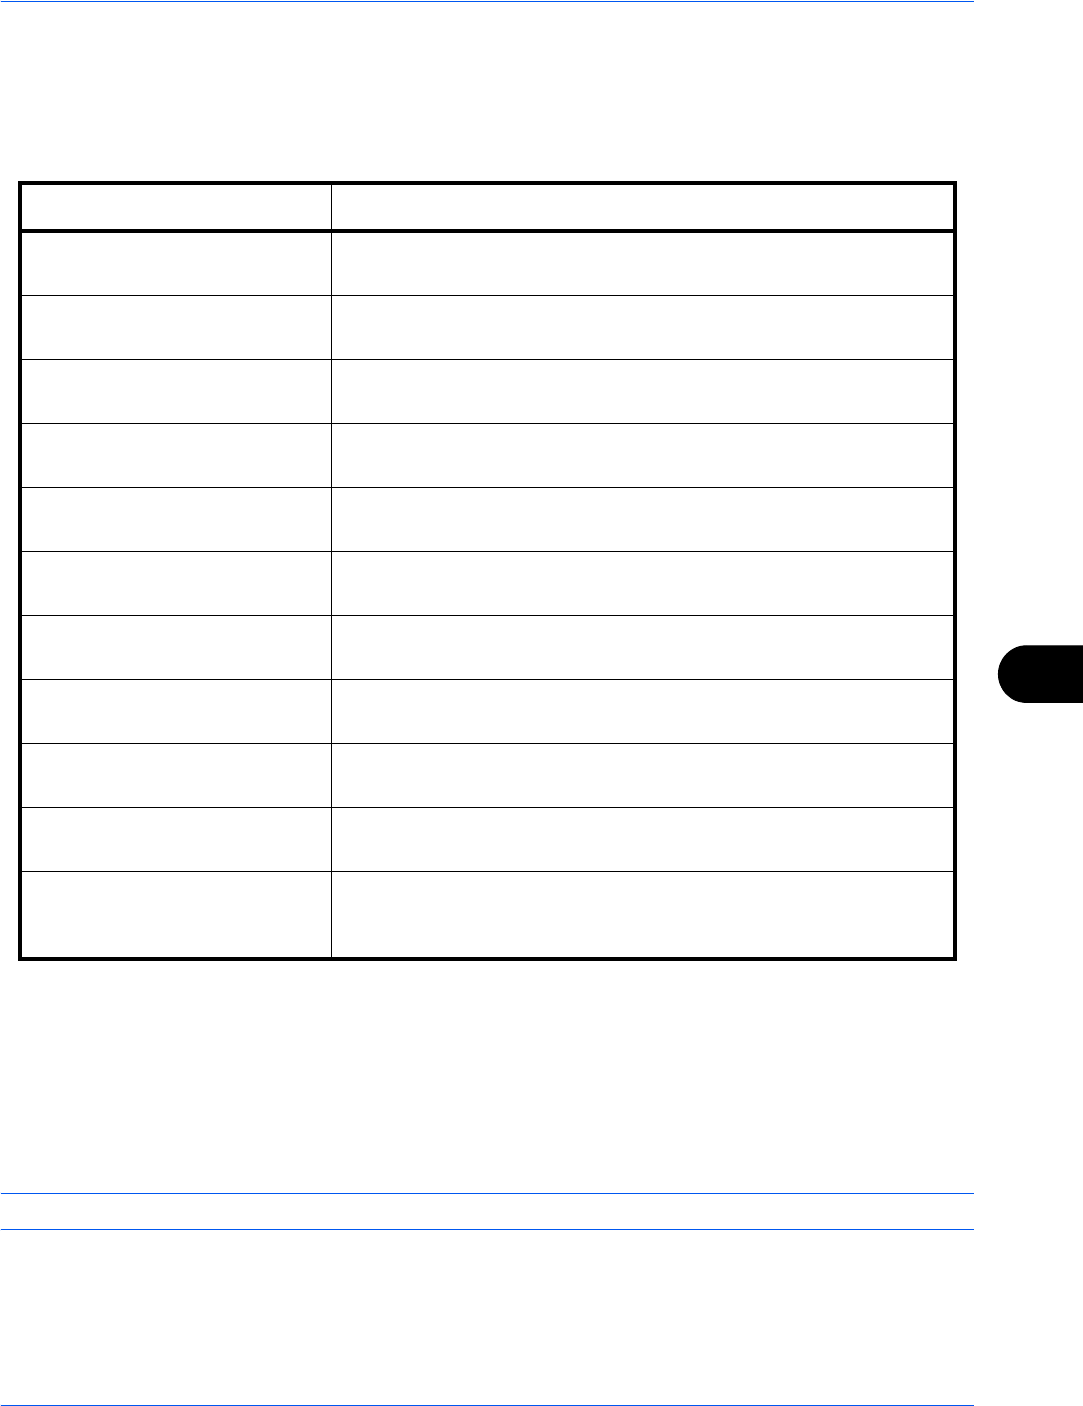
The table below lists the available screens.
Use the procedure below to select the default startup screen.
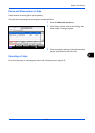
1 Press the System Menu key.
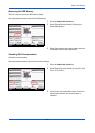
2 Press [Common Settings] and then [Change] of Default Screen.
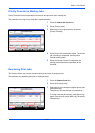
3 Select the screen to be displayed as the default screen.
NOTE: The application names appear if the applications are installed and officially licensed on.
4 Press [OK].
Item Description
Copy The Copy screen (the screen shown when the Copy key is pressed)
appears.
Send The Send screen (the screen shown when the Send key is pressed)
appears.
FAX*
*
This is displayed when the optional fax kit is installed.
The Fax screen (the screen shown when the Fax key is pressed)
appears.
Status The Status/Job Cancel screen (the screen shown when the Status/
Job Cancel key is pressed) appears.
Document Box The Document Box screen (the screen shown when the Document
Box key is pressed) appears.
Program The Program screen (the screen shown when the Program key is
pressed) appears.
Application The Application selecting screen (the screen shown when the
Application key is pressed) appears.
Accessibility Copy The Accessibility Copy screen (the screen shown when the
Accessibility Display key is pressed in the Copy screen) appears.
Accessibility Send The Accessibility Send screen (the screen shown when the
Accessibility Display key is pressed in the Send screen) appears.
Accessibility FAX* The Accessibility Fax screen (the screen shown when the
Accessibility Display key is pressed in the Faxscreen) appears.
Application name
(Maximum 5 applications)
For example, Internet Browser
Each application is activated and the initial screen appears.