


Document Box
7-2
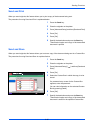
Using a Custom Box
NOTE: In the following explanation, it is assumed that user login administration is enabled. For details on User
Logon privileges, refer to User Privileges on page 3-50.
Creating a New Custom Box (Add/Edit Box)
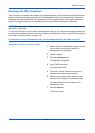
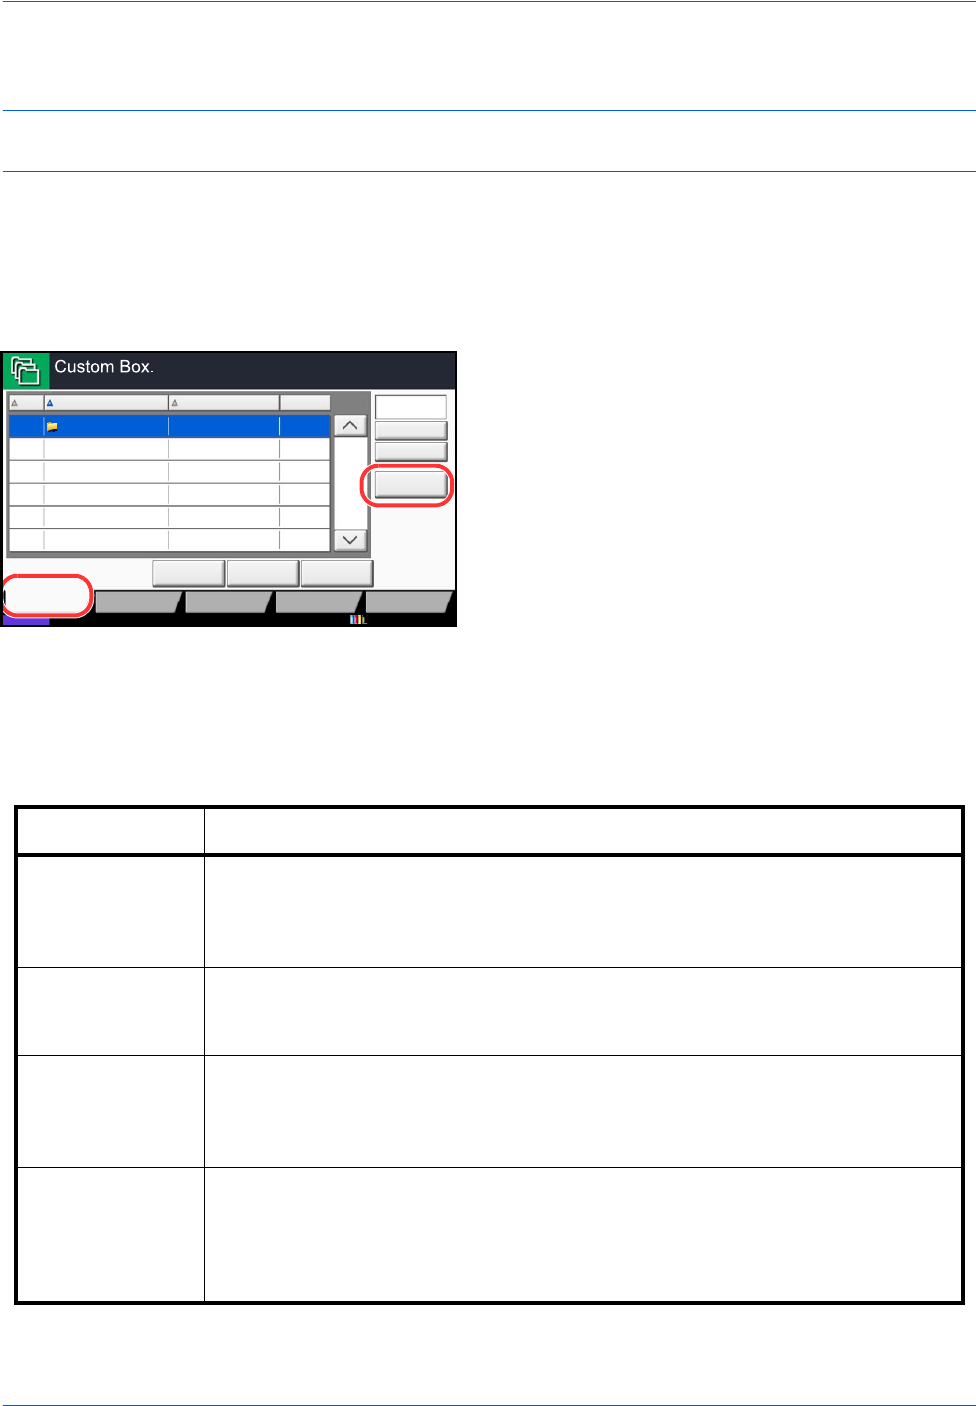
Use the procedure below to create a new box in the user box.
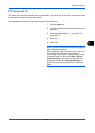
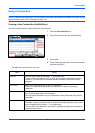
1 Press the Document Box key.
2 Press [Custom Box] and then [Add/Edit Box].
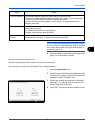
3 Press [Add].
4 Press [Change] for each item, enter the information
and then press [OK].
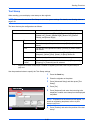
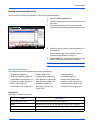
The table below lists the items to be set.
No.
Name
Owner
Used
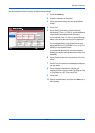
Add/Edit Box
1/1
0001 SALES Anonymous - - - -
Store File Detail Open
Custom Box Job Box Removable
Memory
Status
FAX Box
Search(No.)
Search(Name)
Program
10/10/2010 10:10
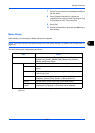
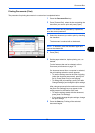
Item Detail
Box No Enter the box number by pressing [-, +] or number keys.
The box number can be from 0001 to 1000. A Custom Box should have a unique
number. If you enter 0000, the smallest number available will be automatically
assigned.
Box Name Enter a box name consisting of up to 32 characters.
Refer to the Character Entry Method on Appendix-8 for details on entering
characters.
Box Password User access to the box can be restricted by specifying a password to protect the
box. Entering a password is not mandatory.
Enter the same password of up to 16 characters in both [Password] and [Confirm
Password].
Usage Restriction To preserve the hard disk capacity, the storage capacity for a box can be restricted.
To enable a capacity restriction enter a value for the storage capacity of the Custom
Box in megabytes by pressing [-, +] or number keys.
You can enter a limit between 1 and 30,000. (Changes according to the number of
created custom boxes.)