


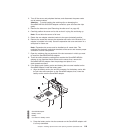

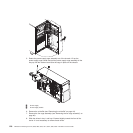

Do not insert a memory DIMM in this connector.This DIMM slot is not supported in this model.
Do not insert a memory DIMM in this connector.This DIMM slot is not supported in this model.
Do not insert a memory DIMM in this connector.This DIMM slot is not supported in this model.
Do not insert a memory DIMM in this connector.This DIMM slot is not supported in this model.
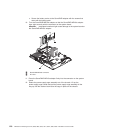
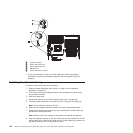
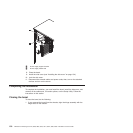
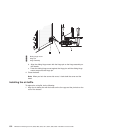
1 Alignment bracket
2 Virtual media key (rear)
3 Virtual media key (front)
4 Retention tab
5 Virtual media key connector
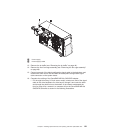
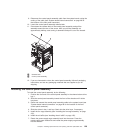
9. Reinstall any adapters that you removed earlier.
10. Rotate the rear adapter retention bracket to the closed (locked) position.
11. Reinstall the side cover (see “Installing the side cover” on page 134).
12. Lock the side cover.
13. Reconnect the external cables and power cords; then, turn on the attached
devices and turn on the server.
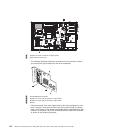
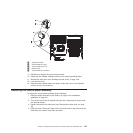
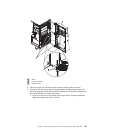
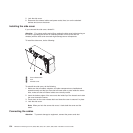
Removing the control-panel assembly
To remove the control-panel assembly, do the following:
1. Read the safety information (see “Safety” on page vii and “Installation
guidelines” on page 37).
2. Turn off the server and all attached devices; then, disconnect all power cords
and external cables.
3. Unlock and remove the side cover (see “Removing the side cover” on page
43).
4. Open the bezel. Place your finger on the pull point area on the left side of the
bezel door and rotate it away from the server.
Chapter 5. Installing optional devices and replacing customer replaceable units 127