


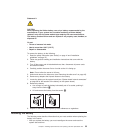


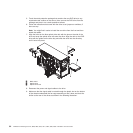
Note: You must wait approximately 1 to 3 minutes after you connect the power
cord of the server to an electrical outlet before pressing the power-control
button.
6. Start the Setup Utility and reset the configuration.
v Set the system date and time.
v Set the power-on password.
v Reconfigure the server.
See “Using the Setup Utility” on page 138 for details.
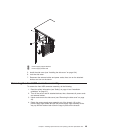
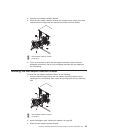
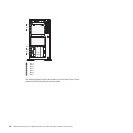
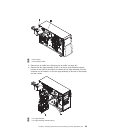
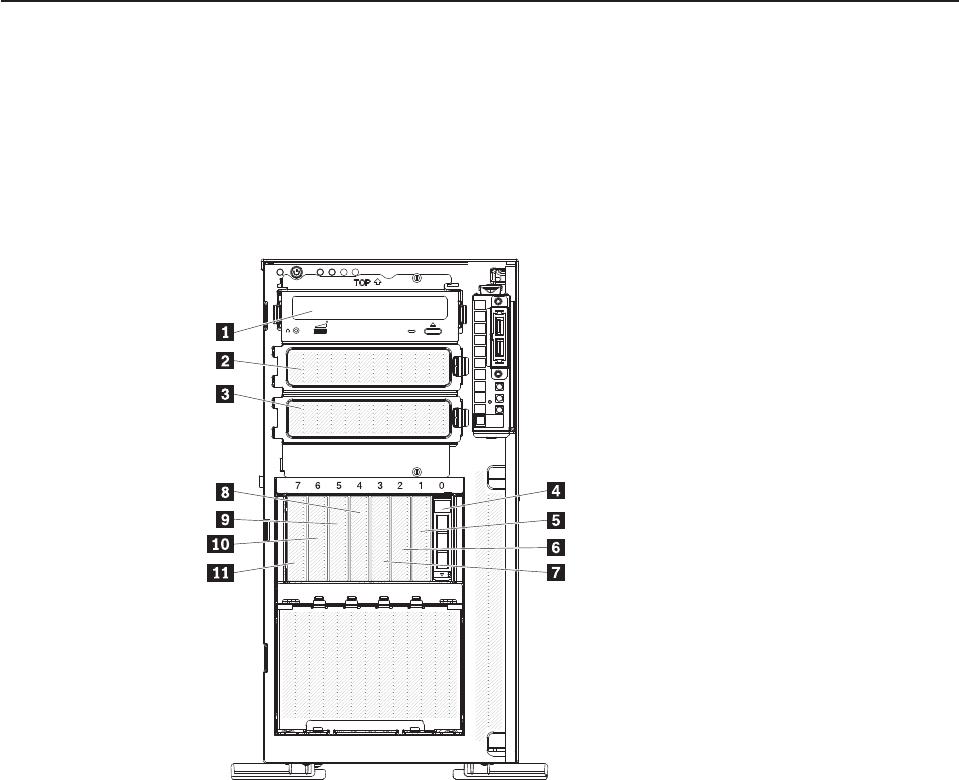
Removing and installing drives
Depending on the server model, the server might come with a SATA attached
DVD-ROM drive in bay 1.
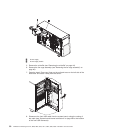
The following are illustrations of the server and the location of the drive bays. Your
hardware might differ, depending on the model.
The following illustration shows the location of the drive bays in the 2.5-inch
hot-swap SAS or hot-swap SATA hard disk drive server models.
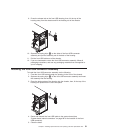
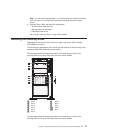
1 Bay 1 7 Bay 3
2 Bay 2 8 Bay 4
3 Bay 3 9 Bay 5
4 Bay 0 10 Bay 6
5 Bay 1 11 Bay 7
6 Bay 2
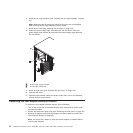
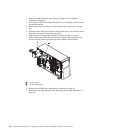
The following illustration shows the location of the drive bays in the 3.5-inch
hot-swap SAS or hot-swap SATA hard disk drive server models.
Chapter 5. Installing optional devices and replacing customer replaceable units 57