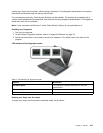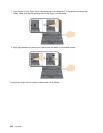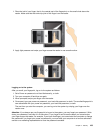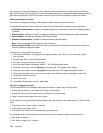
7. Using the cursor keys, move to an item you want to set. When the item you want is highlighted, press
Enter.
8. Set the items you want to set.
9. Press F10 to exit.
10. Click Yes in the Setup Conrmation window.
To set the Security Chip, you have to open the Client Security Solution, and follow the instructions on
the screen.
Note: If your computer is a Windows 7 model, Client Security Solution is not preinstalled on your system. To
congure the security chip, you need to download the latest version of Client Security Solution from the
Lenovo Web site. To download Client Security Solution, go to: http://www.lenovo.com/support. Then
follow the instructions on the screen.
Using a ngerprint reader
This section introduces how to use a ngerprint reader in your computer.
Using a ngerprint reader in ThinkPad X220 and X220i
Depending on the options you ordered, your computer may have an integrated ngerprint reader. By
enrolling your ngerprint and associating it with a power-on password, a hard disk password, or both
passwords beforehand, you can start the computer, log on to the system, and enter the ThinkPad Setup by
swiping your nger over the reader, without typing a password. Thus ngerprint authentication can replace
passwords and enable simple and secure user access.
For more advanced security, Client Security Solution can be installed. The software is compatible with a
variety of user authentication mechanisms, such as those involving ngerprint authentication. This ngerprint
reader can work with the software.
Note: If your computer is a Windows 7 model, Client Security Solution is not preinstalled on it.
Enrolling your ngerprint
1. Turn on your computer.
2. To start Lenovo Fingerprint software, refer to “Fingerprint Software” on page 35.
3. Follow the instructions on the screen to enroll your ngerprint. For details, refer to the Help for the
program.
Chapter 4. Security 97


