


System Settings
198
ReadyNAS OS 6.1
Configure HTTPS
To configure HTTPS:
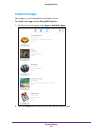
1. Select System > Settings > Services.
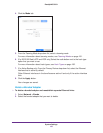
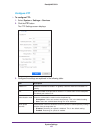
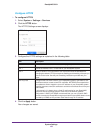
2. Click the HTTPS button.
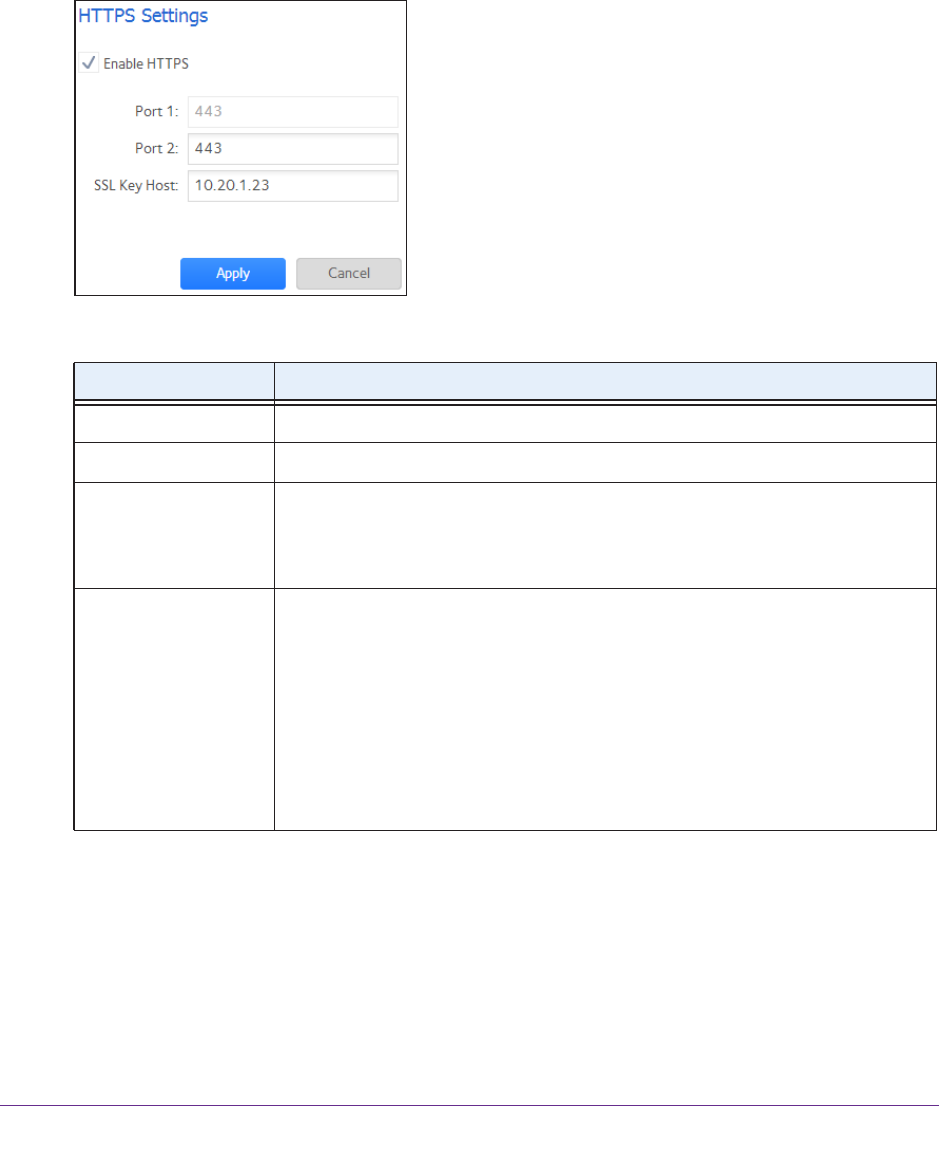
The HTTPS Settings screen displays.
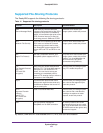
3. Configure the HTTPS settings as explained in the following table:
Item Description
Enable HTTPS HTTPS cannot be disabled. The local admin page requires HTTPS to be enabled.
Port 1 Cannot be modified. Port 1 is reserved for your ReadyNAS system.
Port 2 Modify to allow HTTPS connections over a port other than the standard 443.
Changing the default HTTPS port requires enabling port forwarding of the port you
choose on the router
. See the port forwarding instructions provided with your
router.
SSL Key Host Configures the host name used for your ReadyNAS system to generate its SSL
certificate and then creates a new SSL certificate. NETGEAR recommends that
you update this field to match the current IP address of your ReadyNAS system
and then generate a new SSL certificate to avoid future certificate errors from your
web browser
.
In this scenario, it is best to have a fixed IP configuration for your ReadyNAS
system so that the certificate remains valid.
Also, if the WAN IP address
configuration is DHCP, NETGEAR recommends that you use a Dynamic DNS
service to access the ReadyNAS through a persistent fully qualified domain name
provided by a DDNS service provider rather than through an IP address.
4. Click the Apply button.
Your changes are saved.