ACCULINK 316x DSU/CSU
2-16 December 1996 3160-A2-GB22-10
Factory Default Configuration
Options
The 316x DSU/CSU arrives with two preset factory
default configuration settings. These settings are based on
the following:
• Factory 1 – ESF framing format with B8ZS line
coding format for both the network and the DSX-1
Drop/Insert T1 interfaces. Data ports are
unassigned.
• Factory 2 – D4 framing format with AMI line
coding format for both the network and the DSX-1
Drop/Insert T1 interfaces. Data ports are
unassigned.
If neither of the factory default settings support your
network’s configuration, you can customize the
configuration options to better suit your application. Refer
to the
Configuring the DSU/CSU
section in Chapter 3,
Operation,
and Appendix C,
Configuration Options
, for
more information.
Installing Front Panel
Emulation Software
The Front Panel Emulation software is supplied on a
3.5-inch diskette formatted as 1.44 Mb, double-sided,
high-density, write-protected, with 15 sectors per track,
80 tracks per side, 96 tracks per inch.
This software must be installed on either a 286 or
higher PC with Microsoftr
W
indowst
Release 3.1 or
higher already installed, and MS-DOSr 3.3 or higher
. A
VGA color monitor with VGA adapter (or higher
resolution) is required. A mouse is also required. The
following procedures must be performed in the Windows
environment.
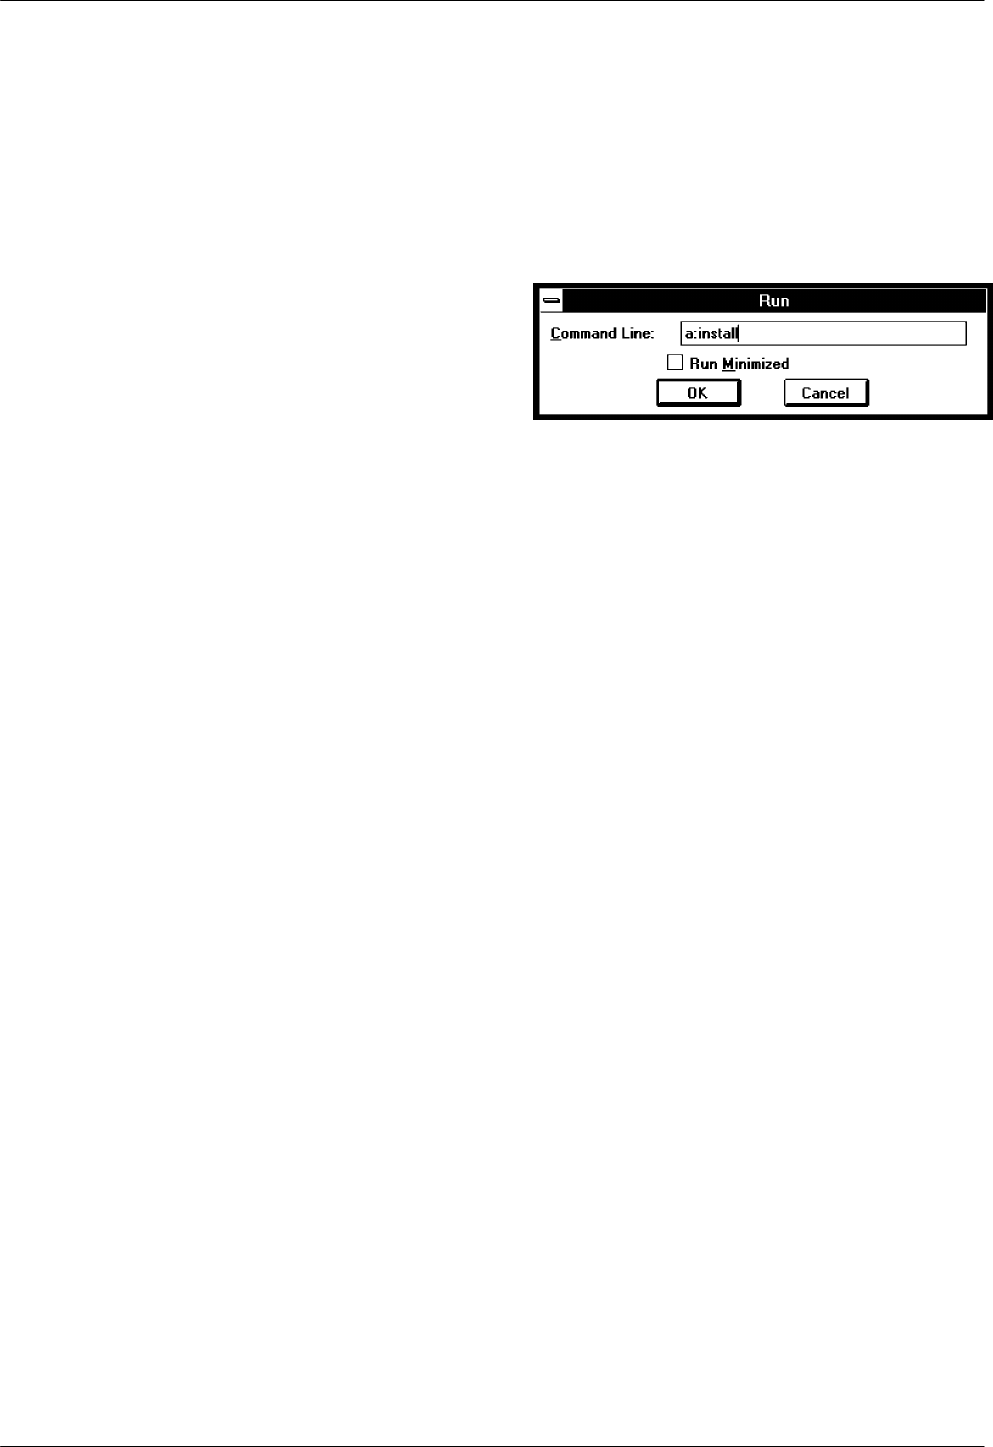
To install Front Panel Emulation software,
1. Insert the diskette into the appropriate drive.
2. Select File from Program Manager.
3.
Choose Run...
4. Type the letter of the drive being used by the
diskette, followed by a colon.
5. TYPE: INSTALL
6. PRESS: ENTER
7.
An Information screen appears. Choose Continue
to continue the installation.
8. Type the letter of the destination drive, followed
by a colon (default is C:), then the appropriate
directory name (default is C:\FRONTPAN).
If the selected directory already exists, the
message
The specified dir
ectory alr
eady exists.
Do you want to overwrite the directory?
appears.
If the selected directory is new
, the message
The
specified directory does not exist. Do you want
to create the directory?
appears.
9.
Select Yes. A confirmation screen appears. Select
Install to continue the installation.
10.
A Setup Completed screen appears. Select
Continue. The Program Manager screen appears
with the Front Panel icon.
See the
Starting Up a Front Panel Emulation
section in
Chapter 3, Operation, for information about the Front
Panel Emulation operation.
