


—
14
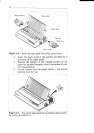
1. Turn on the printer and set the release lever for
sprocket-feed paper.
2. If the paper guide is installed, remove it, and put it
aside for a moment.
3. Place a stack of fan-fold paper behind the printer.
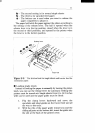
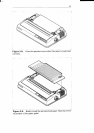
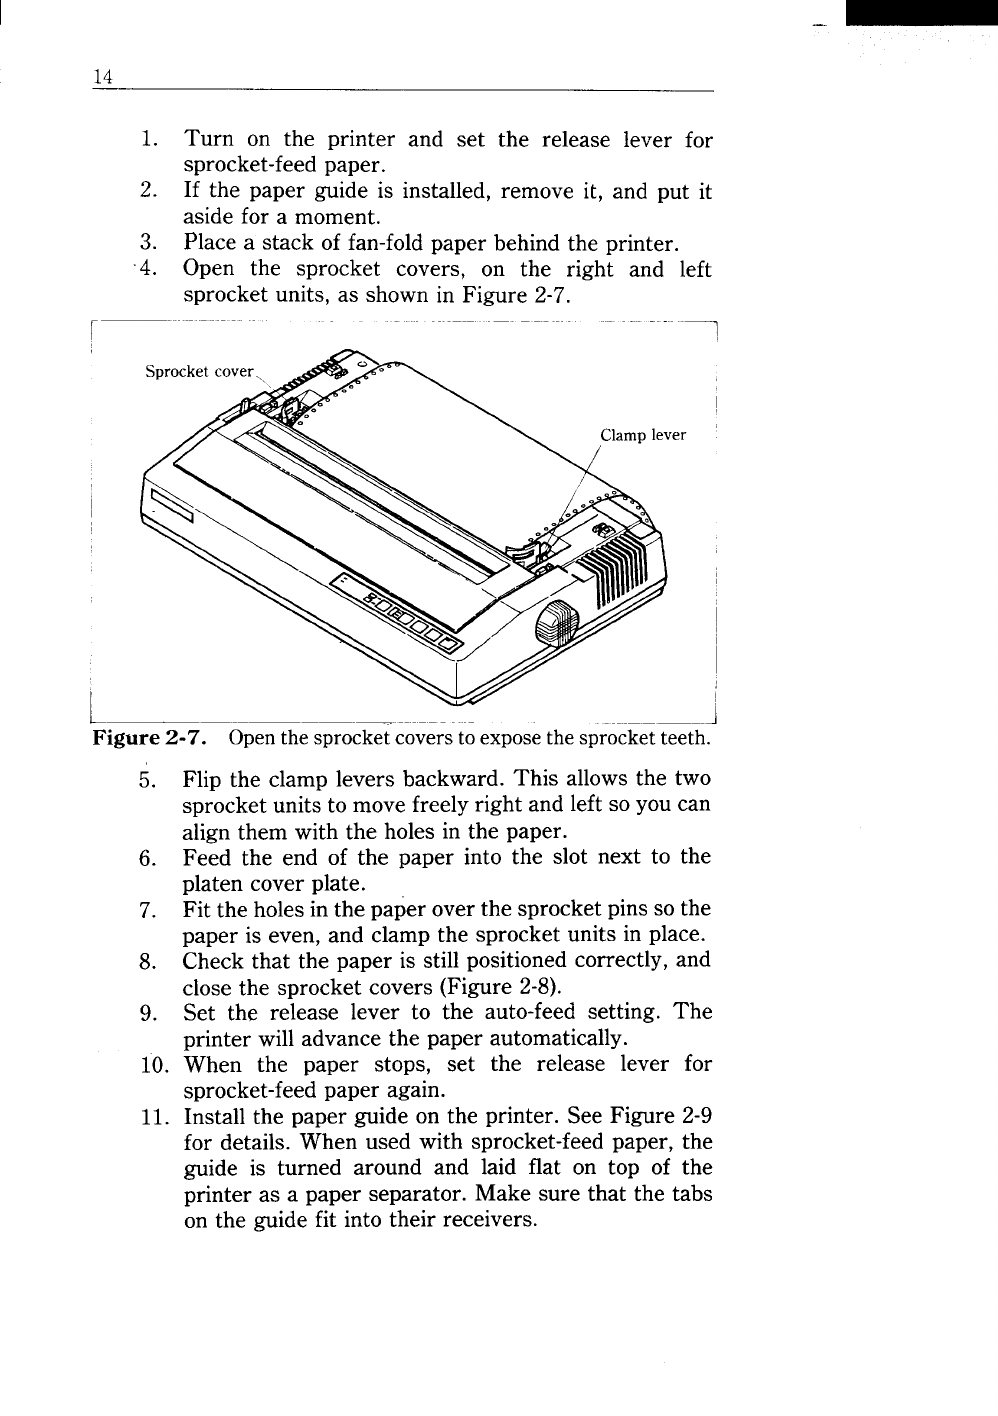
4. Open the sprocket covers, on the right and left
sprocket units, as shown in Figure 2-7.
r-
1
L.
Figure 2-7.
Openthe sprocketcoversto exposethe sprocketteeth.
5.
6.
7.
8.
9.
10.
11.
Flip the clamp levers backward. This allows the two
sprocket units to move freely right and left so you can
align them with the holes in the paper.
Feed the end of the paper into the slot next to the
platen cover plate.
Fit the holes in the paper over the sprocket pins so the
paper is even, and clamp the sprocket units in place.
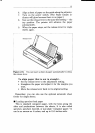
Check that the paper is still positioned correctly, and
close the sprocket covers (Figure 2-8).
Set the release lever to the auto-feed setting. The
printer will advance the paper automatically.
When the paper stops, set the release lever for
sprocket-feed paper again.
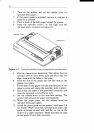
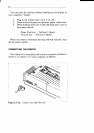
Install the paper guide on the printer. See Figure 2-9
for details. When used with sprocket-feed paper, the
guide is turned around and laid flat on top of the
printer as a paper separator. Make sure that the tabs
on the guide fit into their receivers.