


17
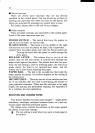
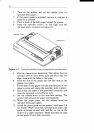
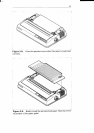
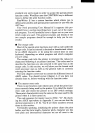
lever (Figure 2-10). Pulling the adjustment lever towards you
will.
wicle~ tkie gap; pushing it away from you will narrow the
,--.--,
,%a.$l.
‘~~ere are four positions; you can feel the lever clicking into
the various notches. The first step (shown) is the one most com-
mordy used for single sheets of paper.
Try different positions until you get the best printing results.
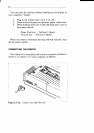
TESTING THE PRINTER
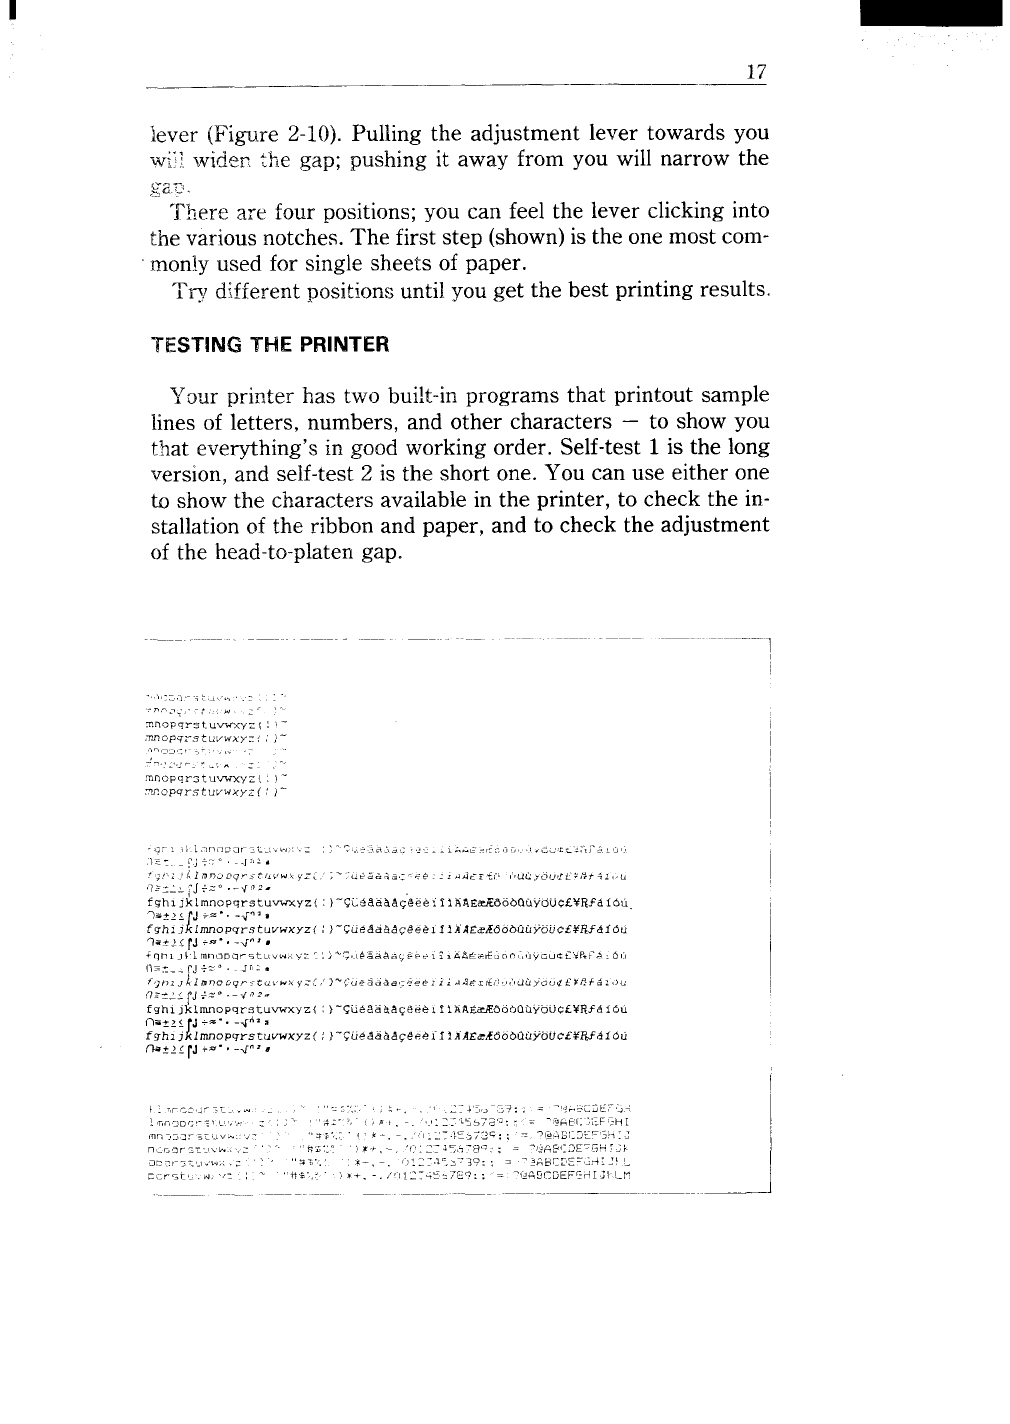
your prln~er has two built-in
programs that l?rintout SaMPle
lines of letters, numbers, and other characters – to show you
that everything’s in good working order. Self-test 1 is the long
version, and self-test 2 is the short one. You can use either one
to show the characters available in the printer, to check the in-
stallation of the ribbon and paper, and to check the adjustment
of the head-to-platen gap.
.,,~’::,.-,.– ., ?-m,... , :
,