4.21 System board/DC-IN jack 4 Replacement Procedures
4 Replacement Procedures
4.21 System board/DC-IN jack
Removing the System board/DC-IN jack
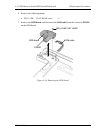
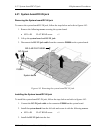
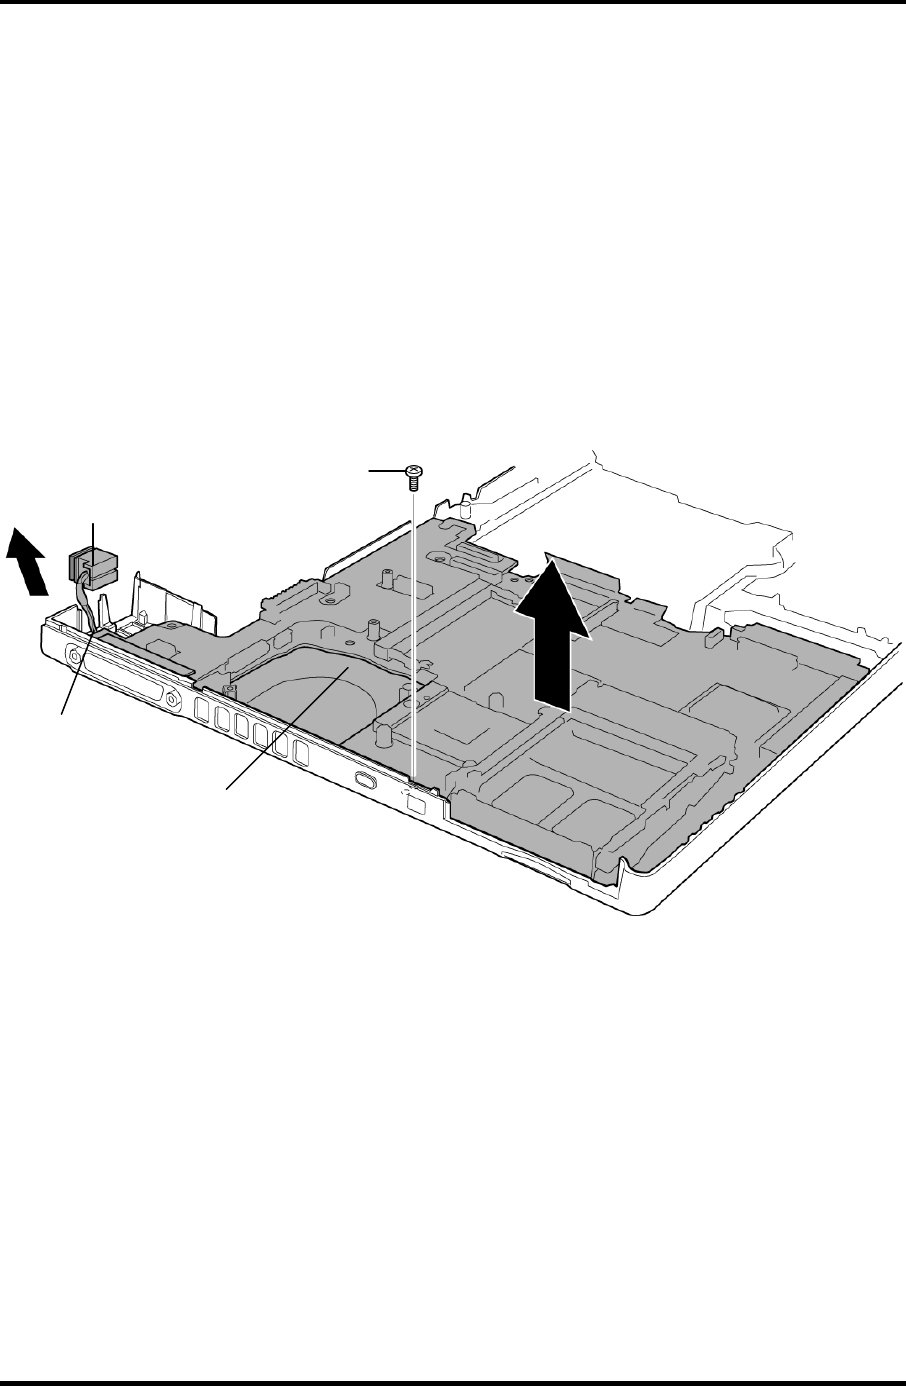
To remove the system board/DC-IN jack, follow the steps below and refer to figures 4-43.
1. Remove the following screws securing the system board.
• M2.5×4B FLAT HEAD screw ×1
2. Lift up the system board and DC-IN jack.
3. Disconnect the DC-IN jack cable from the connector PJ8800 on the system board.
M2.5×4B FLAT HEAD
DC-IN jack
PJ8800
System board
Figure 4-43 Removing the system board/DC-IN jack
Installing the System board/DC-IN jack
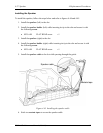
To install the system board/DC-IN jack, follow the steps below and refer to figures 4-43.
1. Connect the DC-IN jack cable to the connector PJ8800 on the system board.
2. Install the system board from the left side and secure it with the following screws.
• M2.5×4B FLAT HEAD screw ×1
3. Install the DC-IN jack into the slot.
TECRA M2 Maintenance Manual (960-468) 4-63


