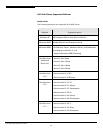
Audit NAS shares
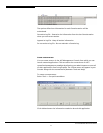
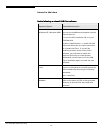
You can set ASC to audit the activity in Windows NAS shares. This feature
tracks when users do any of the following:
• Connect/disconnect to/from a share
• Create and delete directories
• Open a file
• Rename a file
• Delete a file
• Change permissions
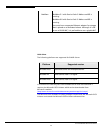
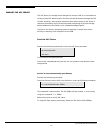
To use the auditing feature:
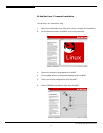
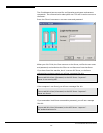
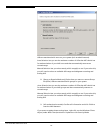
1. Create a NAS Resource.
The audit log is a text file that contains the NAS activity. If you will be auditing
multiple shares, you need to make this NAS Resource large enough to hold all
of your audit logs.
Note: We recommend creating the NAS Resource/share on a different physical
device than the NAS Resources you will be auditing so that the performance of
those NAS Resources is not impacted.
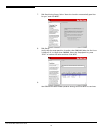
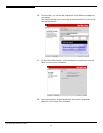
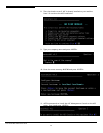
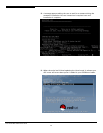
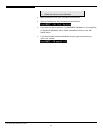
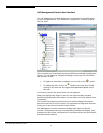
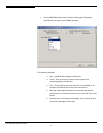
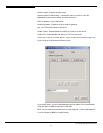
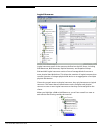
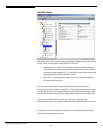
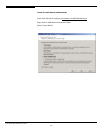
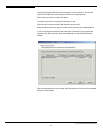
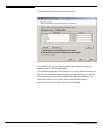
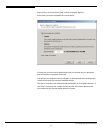
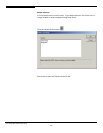
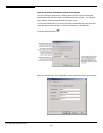
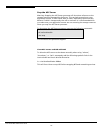
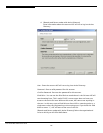
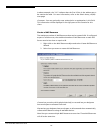
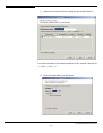
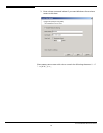
2. Create a share on the newly created NAS Resource that will be
used to store the audit log.
Right-click on the new NAS Resource and select
New Share
. Use the wizard to
create a share and give it a name such as “auditshare”.
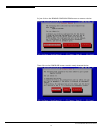
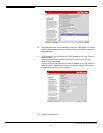
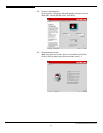
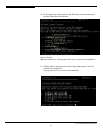
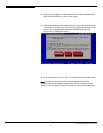
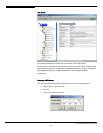
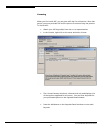
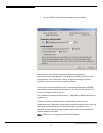
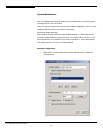
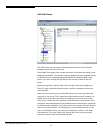
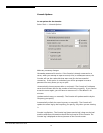
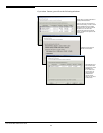
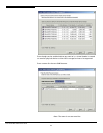
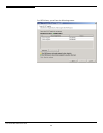
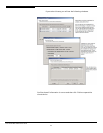
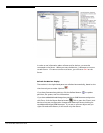
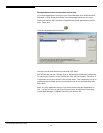
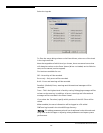
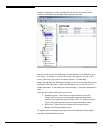
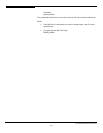
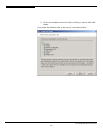
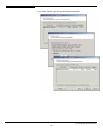
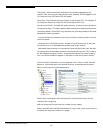
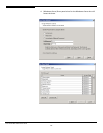
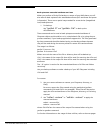
3. Right-click on any existing share and select
Sharing
-->
Advanced
button.
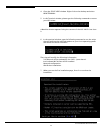
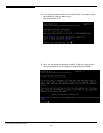
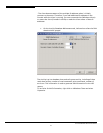
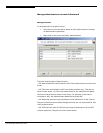
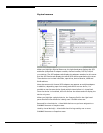
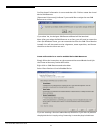
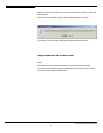
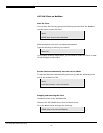
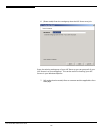
If [homes] is enabled on your ASC server running in server or domain mode,
you can easily audit all NAS shares beneath the [homes] share by selecting
Windows Clients
-->
Properties
-->
Homes
tab. Refer to Homes for more
information.
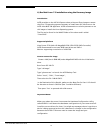
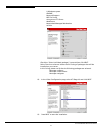
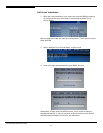
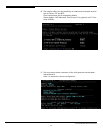
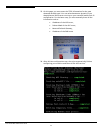
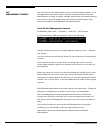
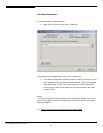
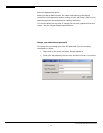
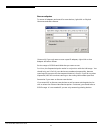
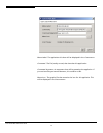
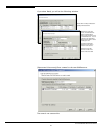
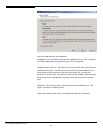
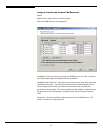
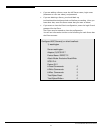
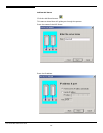
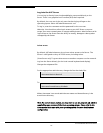
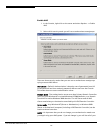
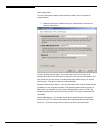
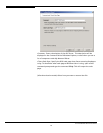
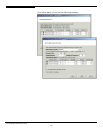
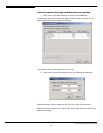
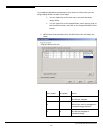
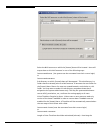
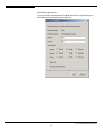
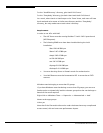
4. Select
Audit
and select the share (i.e. “auditshare”) that should
hold your audit data for this share.
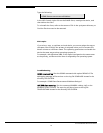
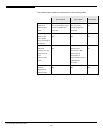
Note that you cannot select
Auditing
and
Anti-Virus
for the same share.
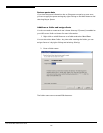
Note: The “auditshare” should be assigned to a designated system auditor for
viewing of the audit data. To prevent compromising the audit, only the
designated auditor should have read/write access to it. It is possible to create
multiple audit shares and associate your data shares to them. This allows you to
designate different auditors and audit-shares for your collection of data shares.
Acer Altos® NAS 700 Solution Guide
146