


5
HT
Installation
This chapter covers the physical mounting and connection of the SmartView
World.
Mounting
The initial step is to mount the SmartView World in an optimum position, where:
• It is in close proximity to the various computer systems that will be
connected to it.
• There is a power supply socket.
• There is an Ethernet connection for the remote IP section.
The SmartView World
can be used on a desktop or mounted within a 19” rack.
For desktop applications, attach the supplied self-adhesive feet to the underside
to avoid damage to the desktop surface. For rack-mount applications, attach the
supplied brackets and mount the unit within the frame before connecting any
cables.
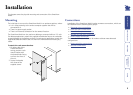
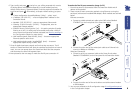
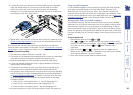
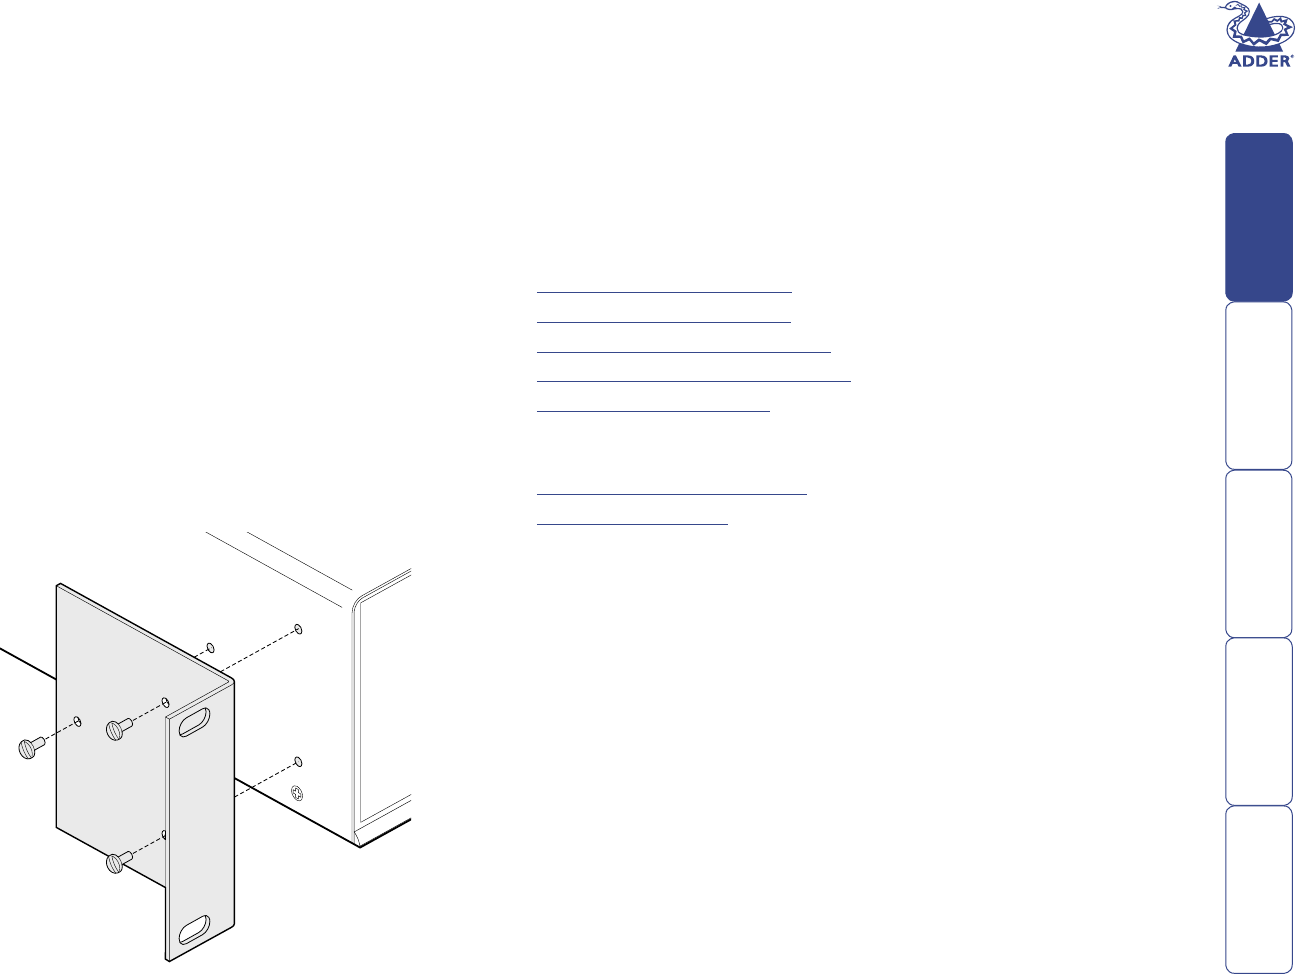
To attach the rack-mount brackets
1 On either side of the
SmartView World
casing, position a rack
mount bracket with
the slotted holes facing
out from the front of
the unit.
2 Secure the bracket
with three of the
supplied screws.
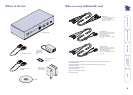
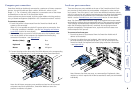
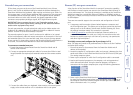
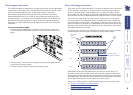
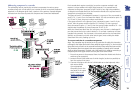
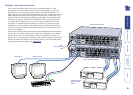
Connections
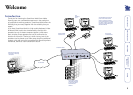
Installation of the SmartView World involves numerous connections, which can
be classied into the following basic groups:
• Computer port connections
• Local user port connections
• Extended user port connections
• Remote (IP) user port connections
• Power supply connection
There are also connections that can be made to achieve more advanced
congurations:
• Power switching connections
• Cascade connections