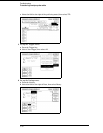
To remove and replace the disk drive
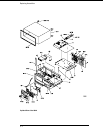
1 Using previous procedures, remove the following assemblies:
•
Handle
•
Rear Feet
•
Cover
2
Disconnect the disk drive cable from the rear of the disk drive.
3 Remove the two screws that attach the disk drive bracket to the power supply.
4 Slide the disk drive toward the rear of the instrument, then lift it up and out.
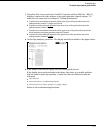
5 Remove the disk drive bracket.
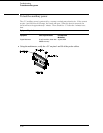
To remove the disk drive bracket, remove the four screws that attach the disk drive bracket to
the disk drive.
6
Reverse this procedure to install the disk drive.
Check that the following assemblies are properly installed before installing the disk drive:
•
Monitor
•
Front Panel
•
Switch Actuator
•
Main Circuit Board
•
Power Supply
Replacing Assemblies
To remove and replace the disk drive
6–6


