c Adjust the pulse generator channel 2 Delay, then select Precision Edge Find in the
oscilloscope Delta T menu. Repeat this step until the pulses are aligned according to
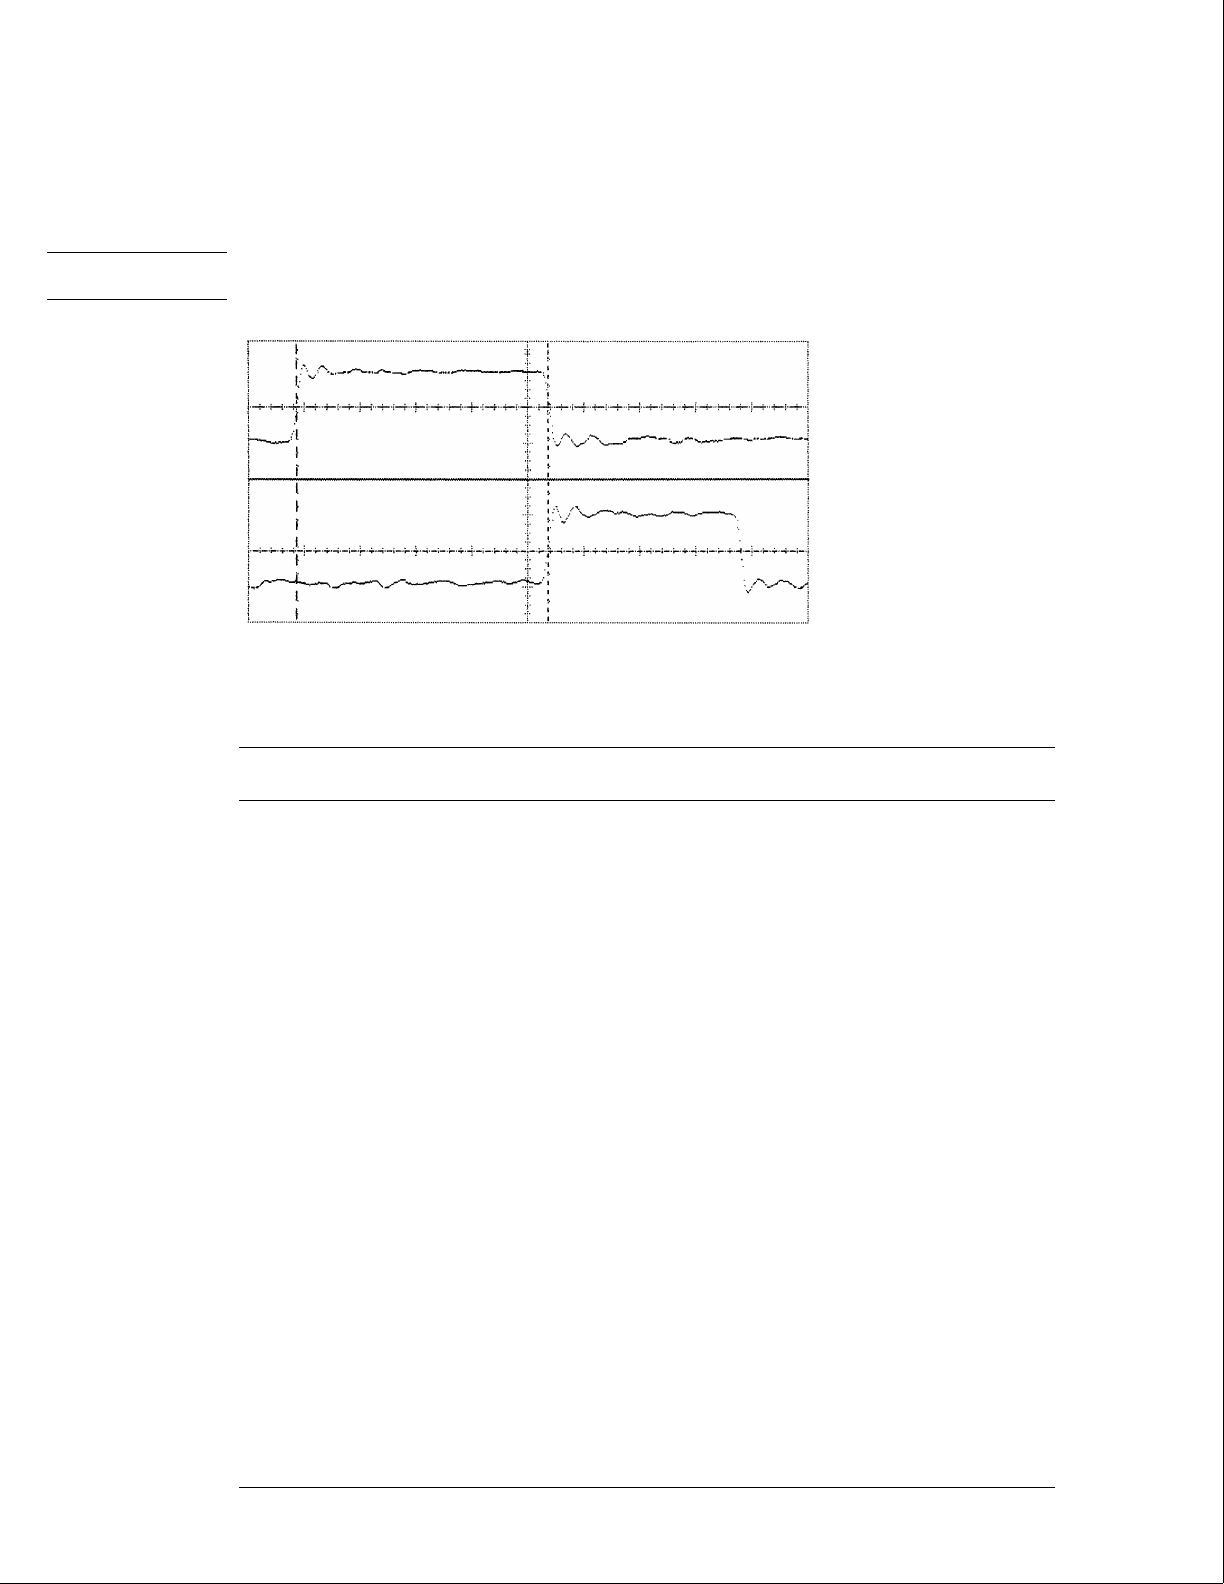
the setup time of the setup/hold combination selected, +0.0 ps or −100 ps.
NOTE
If the rising clock edge does not appear on the oscilloscope display, then add 20.0 ns to the
oscilloscope Timebase Delay.
3
Select the clock to be tested.
a In the Master Clock menu, select the clock field to be tested, then select the clock
edge as indicated in the table. The first time through this test, use the top clock and
edge in the following table.
Clocks
J↕
K↕
b Select Done to exit the Master Clock menu.
4
If a Compare file was not created during the single-clock, single-edge test, then the
first time through this test, create a Compare file.
a Press Run. The display should show a checkerboard pattern of alternating A and 5.
Scroll through the display to verify.
b Press the List key. In the pop up menu, use the RPG knob to move the cursor to
Compare. Press Select.
c In the Compare menu, move the cursor to Copy Listing to Reference, then press the
Select key.
d Move the cursor to Specify Stop Measurement and press the Select key. Press Select
again to turn on Compare. At the pop up menu, select Compare. Move the cursor to
the Equal field and press the Select key. At the pop up menu, select Not Equal. Press
Done.
e Move the cursor to the Reference Listing field and select. The field should toggle to
Difference Listing.
5
Press the blue shift key, then press the Run key. If 2 - 4 acquisitions are obtained
without the "Stop Condition Satisfied" message appearing, then the test passes.
Press Stop to halt the acquisition. Record the Pass or Fail results in the
performance test record.
Testing Performance
To test the single-clock, multiple-edge, state acquisition
3–52


