7. Windowing
7.2 Selecting a Window
Overview
There are two ways to select activate a window. One via the workspace and one via the Window input
box.
Window selection via the workspace
1. Click with your mouse on the window you want to select.
If the selected window is not a background, the outline will be come white.
Window selection via the Window input box
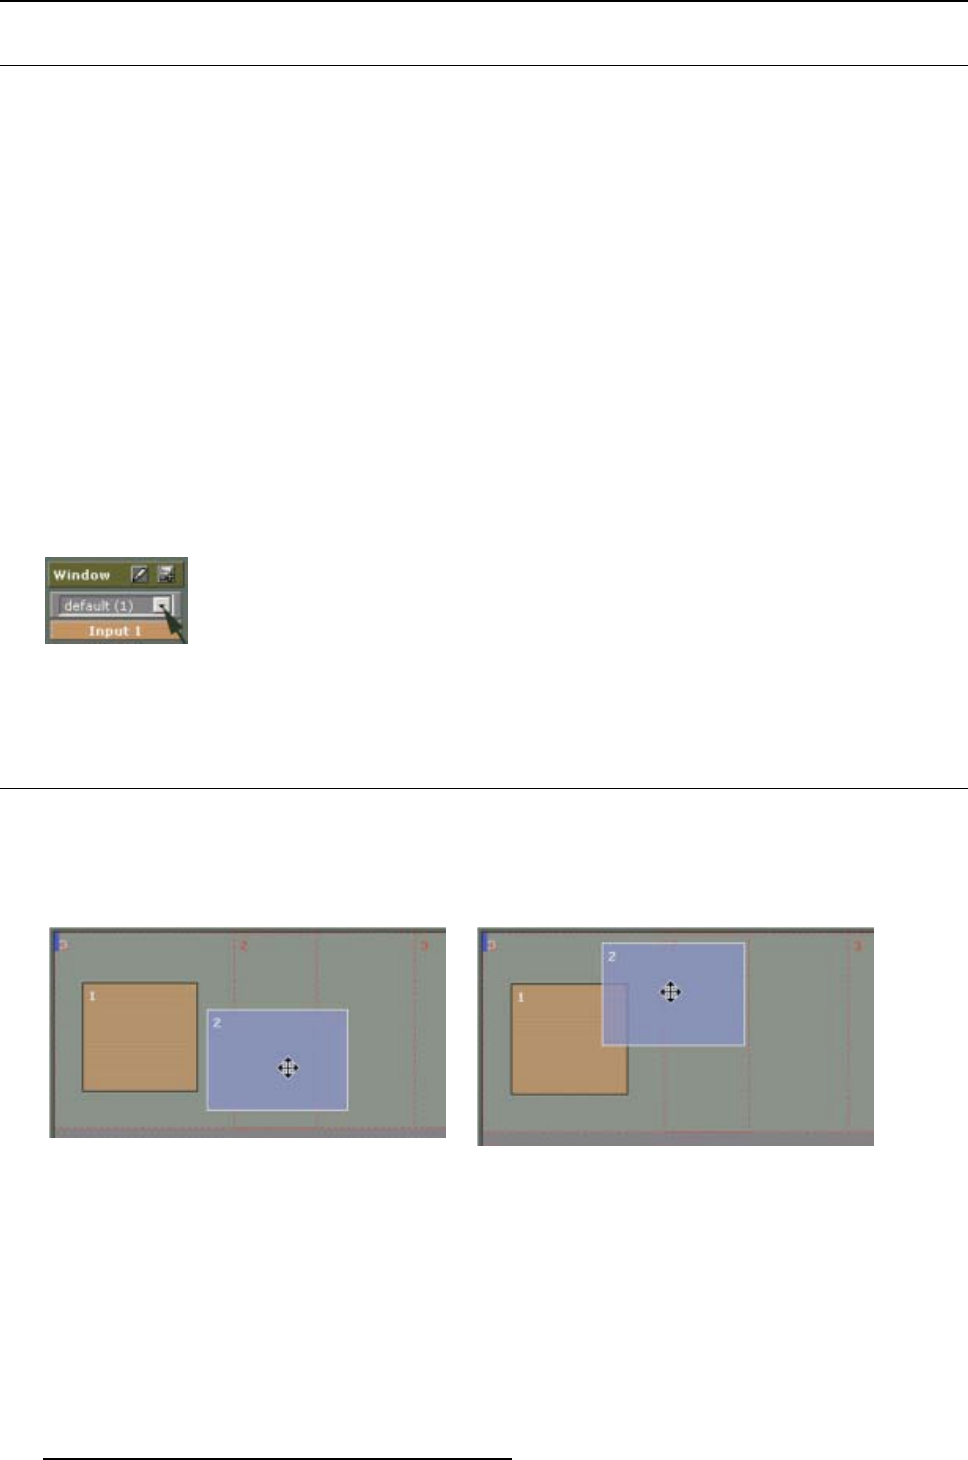
1. Click on the drop down box containing the different windows. (image 7-1)
2. Select the desired window.
All windows are indicated with their name, followed a input number between brackets. When no name
was entered during the configuration set up, the name was set to default.
The selected window becomes active. The input label below the selection box changes to correspond-
ing input and the background color of that label changes also to the same background color of the
selected window. All output settings for that specific source change correspondingly.
Image 7-1
Window selection
7.3 Moving a window
Moving via th e workspace
1. Click on a window and hold the mouse button down to grab the selected window. (image 7-2)
2. Move the window as is required. (image 7-3)
Image 7-2
Select window
Image 7-3
Move window
Moving via the Window Input Box
1. Select the window you want to move.
2. Change the X and Y value indicating the start position of the window by clicking on the + or - keys
Or,
by entering a new value with the keyboard. (image 7-4)
48
R5976476 VIEWSCAPE TOOLSET 01/07/2004
