Epson STYLUS NX100/NX105/SX100/SX105/TX100/TX101/TX102/TX103/TX105/TX106/TX109/ME 300 Revision A
ADJUSTMENT Adjustment Items and Overview 104
Confidential
Upper paper guide
Remove
--- --- --- --- --- --- O O O O --- O
Replace
--- --- --- --- --- --- O O O O --- O
PF roller
Remove
--- --- --- --- --- --- O O O O --- O
Replace
--- --- --- --- --- --- O O O O --- O
Waste ink pad
Remove
--- --- --- --- --- --- O O O O --- ---
Replace
--- --- --- O --- --- O O O O --- ---
Ink System
Remove
--- --- --- --- --- --- O O O O --- O
Replace
--- --- --- --- --- --- O O O O --- O
PF Motor
Remove
--- --- --- --- --- --- O O O O --- O
Replace
--- --- --- --- --- --- O O O O --- O
PF Encorder/PF Scale
Remove
--- --- --- --- --- --- O O O O --- O
Replace
--- --- --- --- --- --- O O O O --- O
CR Scale
Remove
--- --- --- --- --- --- O O O O --- O
Replace
--- --- --- --- --- --- O O O O --- O
C A U T I O N
When the EEPROM data copy is impossible with the main
board that needs to be replaced, the Waste Ink Pad must be
replaced after replacing the main board with a new one.
After all required adjustments are completed, use the “Final
check pattern print” function to print all adjustment patterns
for final check. If you find a problem with the printout patterns,
carry out the adjustment again.
When using a new main board for replacing the Printer
Mechanism, the initial setting must have been made to the main
board.
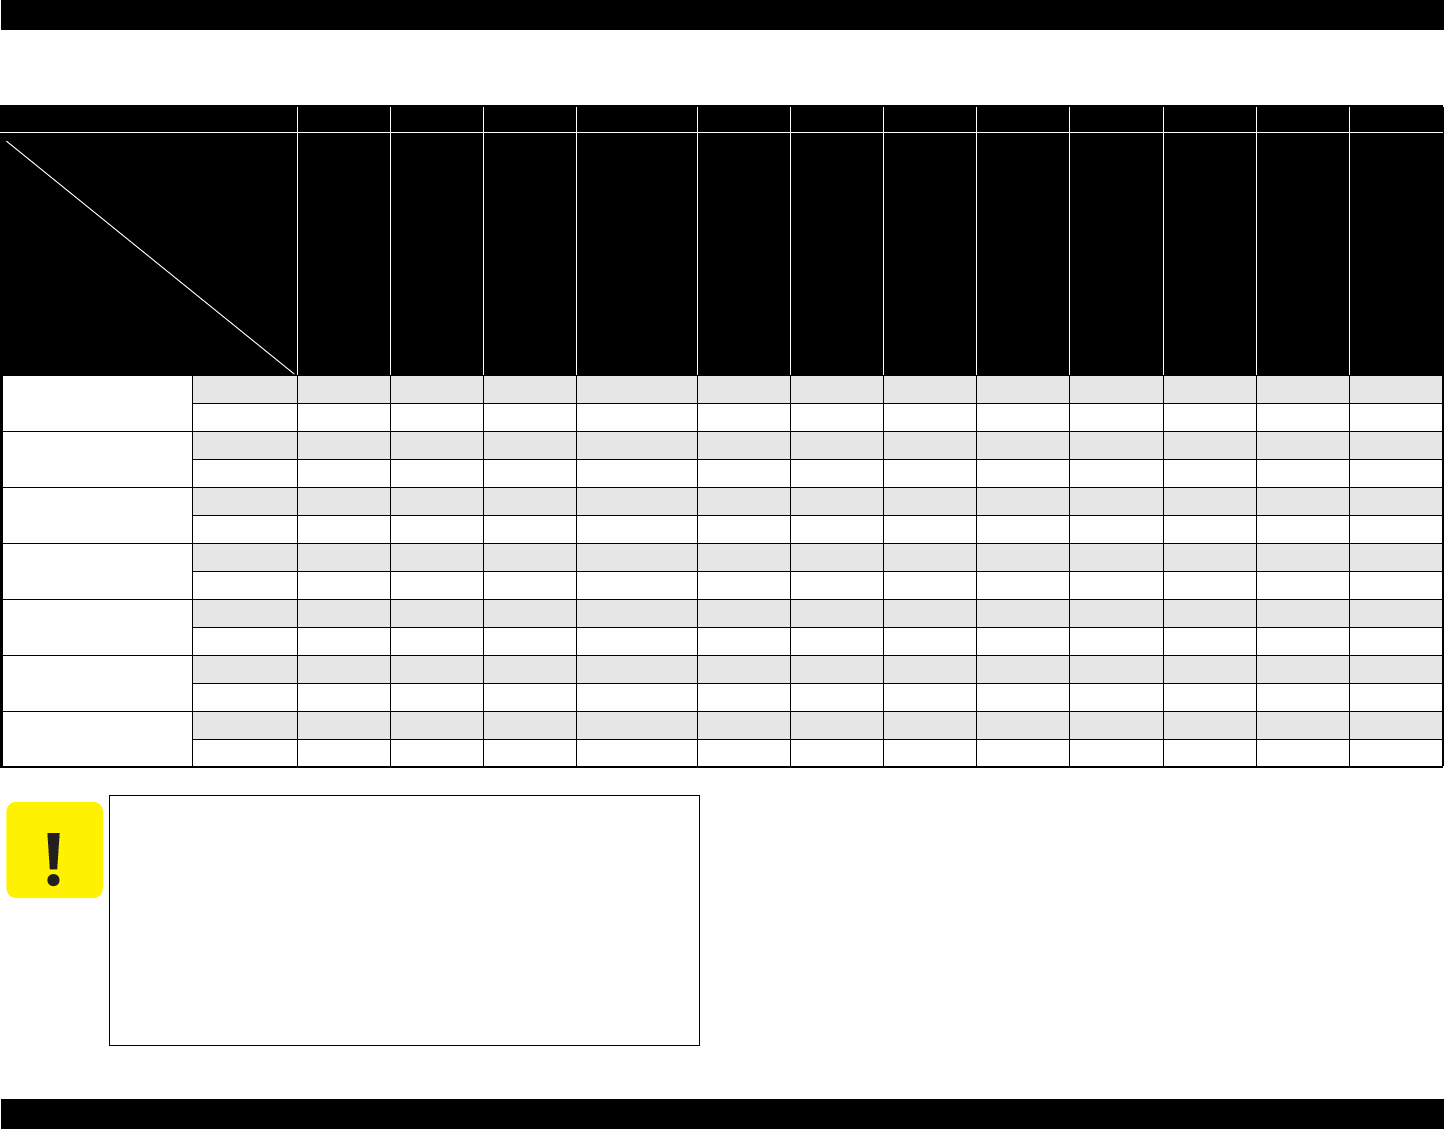
Table 5-4. Required Adjustment List
Priority
1 2 3 4 5 6 7 8 9 10 11 12
EEPROM data copy
Initial setting
USB ID input
Waste ink pad counter
Ink charge
Head ID input
Top margin adjustment
First dot position adjustment
Head angular adjustment
Bi-D adjustment
CR motor heat
protection control
PF adjustment
Adjustment Item
Part Name
<Meaning of the marks in the table>
“O” indicates that the adjustment must be carried out. “---” indicates that the adjustment is not re-
quired.
If you have removed or replaced multiple parts, make sure to check the required adjustments for
all the parts. And when multiple adjustments must be carried out, be sure to carry them out in the
order given in the “Priority” row.


