


Epson STYLUS NX100/NX105/SX100/SX105/TX100/TX101/TX102/TX103/TX105/TX106/TX109/ME 300 Revision A
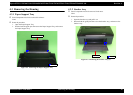
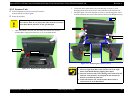
DISASSEMBLY/ASSEMBLY Removing the Housing 62
Confidential
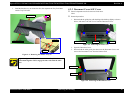
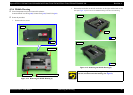
4.3.5 Scanner Unit
Parts/Components need to be removed in advance:
Scanner Stand/Cover Wire (p 60)
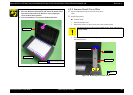
Removal procedure
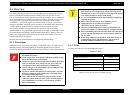
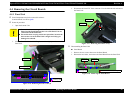
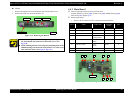
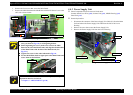
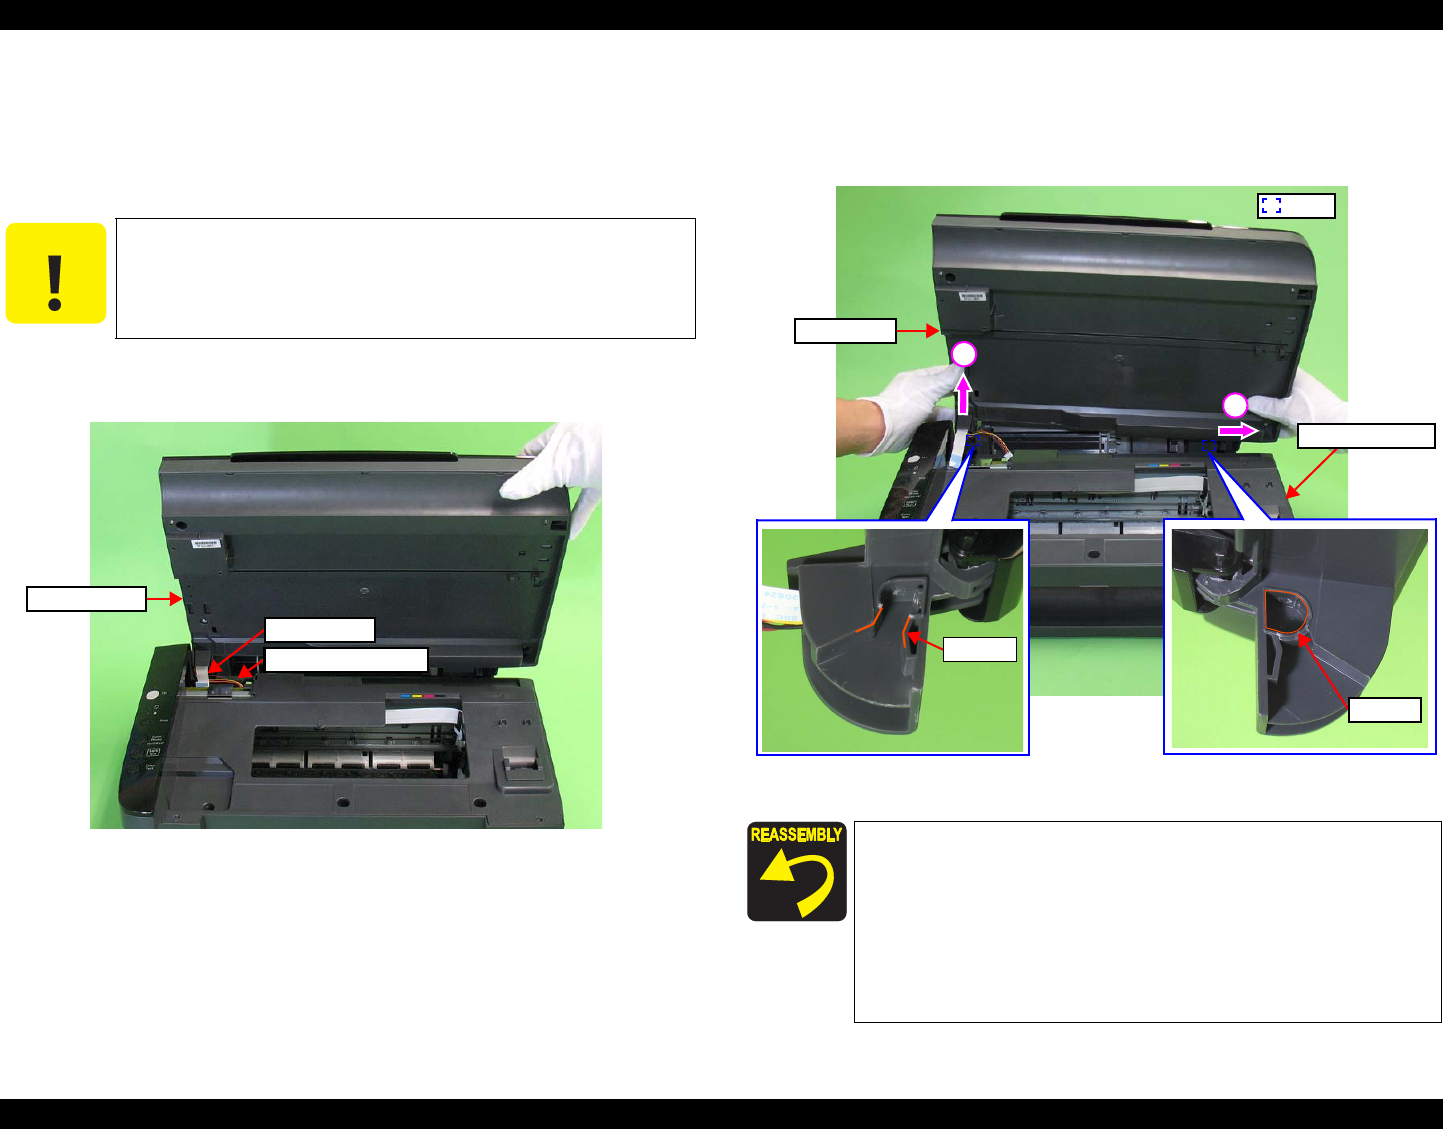
1. Open the Scanner Unit to the full, disconnect the Scanner FFC and the
Scanner Motor Cable from connectors J4, J5 on the Main Board.
Figure 4-12. Removing the Scanner Unit (1)
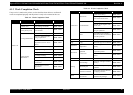
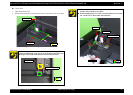
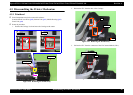
2. Lift the left end of the Scanner Unit in the direction of arrow (1), then
disengage the dowel from the cutout of the shaft hole in the Scanner Unit.
3. Pull the Scanner Unit in the direction of arrow (2) and disengage the dowel
from the shaft hole, then remove the Scanner Unit from the Middle Housing.
Figure 4-13. Removing the Scanner Unit (2)
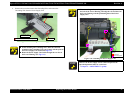
C A U T I O N
When removing the FFC and the cable from the connectors as
shown below, make sure to pull up the cables from the connectors
on the Main Board, otherwise, it may gets damaged.
Scanner Unit
Scanner FFC
Scanner Motor Cable
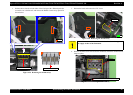
Install the Scanner Unit as follows. (See Fig.4-13)
1. Insert the right Shaft Hole of the Scanner Unit to the right
dowel of the Middle Housing aligning their shapes.
2. Insert the left dowel of the Lower Housing to the cutout of the left
shaft hole on the Scanner Unit, and push the unit until the left
dowel is secured into the shaft hole.
3. Connect the Scanner FFC and the Scanner Motor Cable to
connectors J4, J5 on the Main Board.
1
2
Dowel
Cutout
Shaft hole
Scanner Unit
Middle Housing