


Epson STYLUS NX100/NX105/SX100/SX105/TX100/TX101/TX102/TX103/TX105/TX106/TX109/ME 300 Revision A
TROUBLESHOOTING Error Indications and Fault Occurrence Causes 49
Confidential
• White streak /
abnormal discharge
Ink is ejected to the Cap from the
Printhead, but printing is not done at all
after cleaning or ink change, or
abnormal discharge occurs.
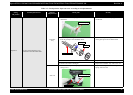
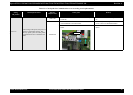
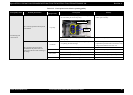
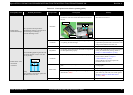
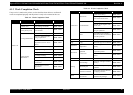
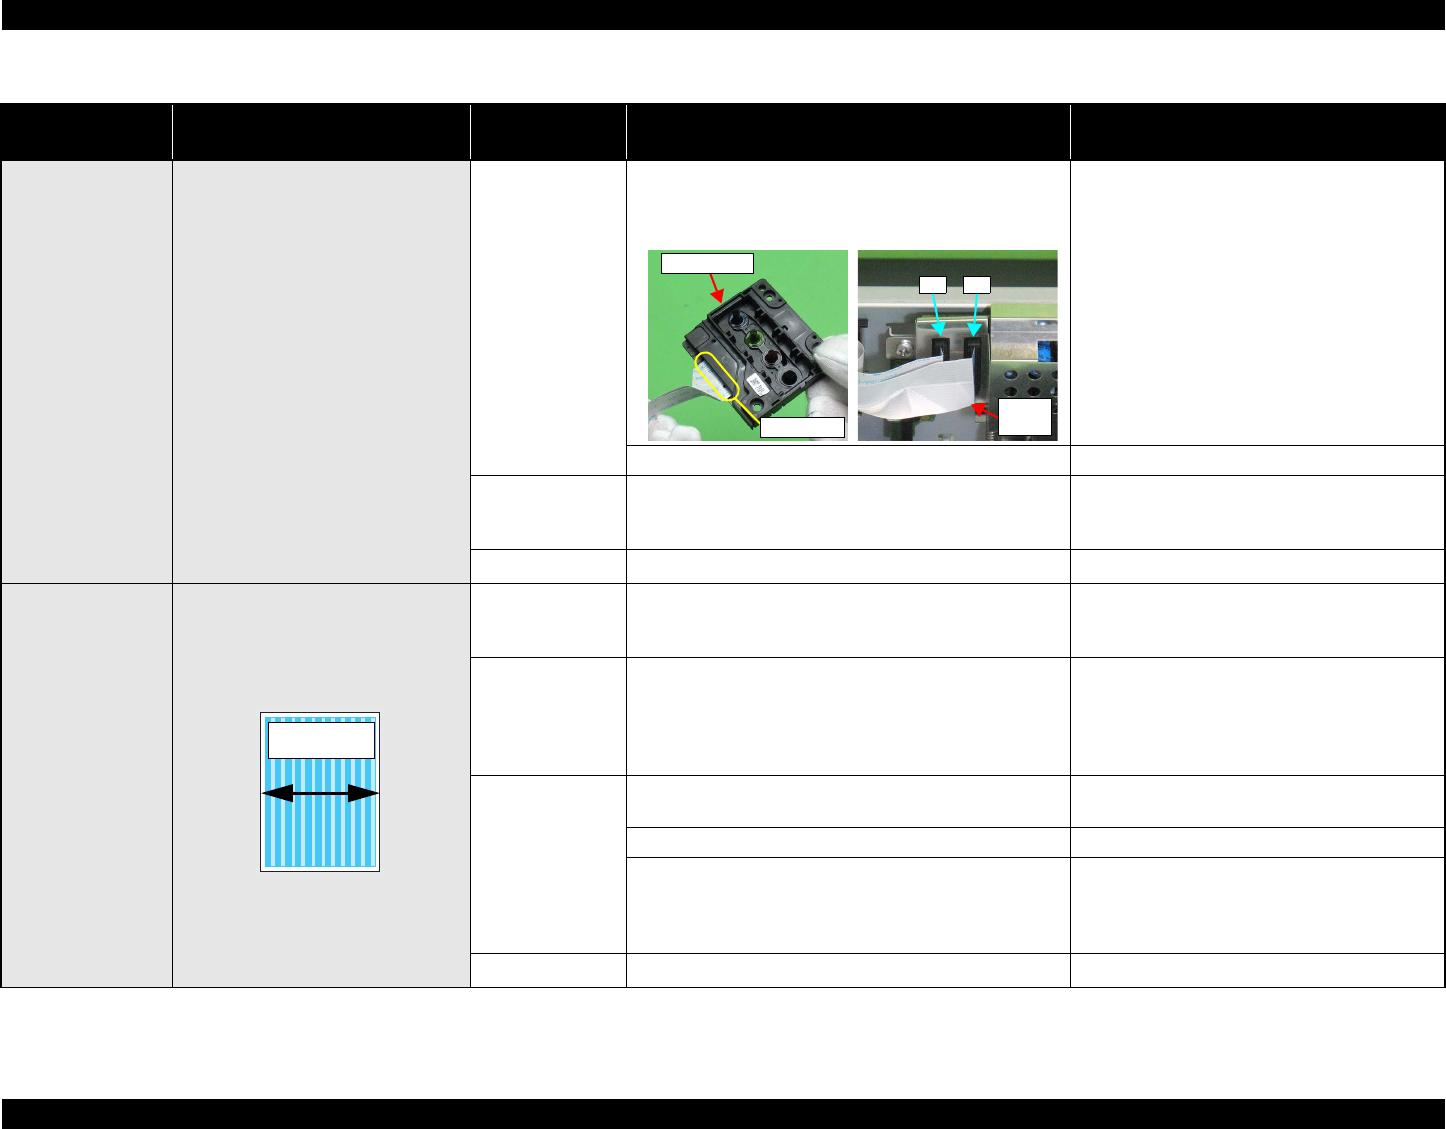
Head FFC
1. Check if the Head FFC is securely connected to the
Printhead Connectors and the Main Board Connectors.
(J8, J9)
1. Connect the Head FFC to the Printhead and the
Main Board Connectors.
2. Check if the Head FFC is damaged. 2. Replace the Head FFC with a new one.
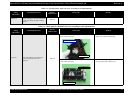
Printhead
1. Check if it returns to normal by performing CL operation
or replacing the Ink Cartridge.
1. Perform CL operation and the Ink Cartridge
replacement specified times. If it doesn’t work,
change the Printhead with a new one.
Main Board Unit 1. Check if the Main Board is damaged. 1. Replace the Main Board Unit with a new one.
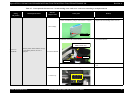
• White streak / color
unevenness
occurrence
Vertical banding appears against the CR
movement direction. And, it looks like
uneven printing.
[Note]
If the problem is not solved, replace the
CR Motor with a new one.
Adjustment
1. For printing in the Bi-D mode, check if Bi-D Adjustment
has been performed properly.
1. Perform Bi-D Adjustment to correct print start
timing in bi-directional printing. (Refer to
Chapter 5 “ADJUSTMENT” (p.100).)
Printhead
1. Check if the Nozzle Check Pattern is printed properly. 2. Perform Head Cleaning and check the Nozzle
Check Pattern. (Refer to Chapter 5
“ADJUSTMENT” (p.100).)
If the problem is not solved, replace the
Printhead with a new one.
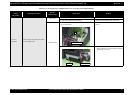
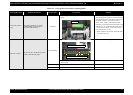
Main Frame
1. Check if there is any foreign material on the Carriage
path.
1. Remove foreign material from surface of the
Carriage path.
2. Check if the Main Frame is deformed. 2. Replace the Main Frame with a new one.
3. Check if the grease is enough on the Carriage path of the
Main Frame. (TBD)
3. After wiping the grease G-71 on the Carriage
path with a dry, soft cloth, coat it with grease.
(Refer to
Chapter 6 “MAINTENANCE”
(p.108).) (TBD)
EJ Frame Assy 1. Check if the EJ Frame is deformed. 1. Replace the EJ Frame Assy with a new one.
Table 3-12. Check point for the defective printing quality
Print Quality State Detailed phenomenon
Defective
unit/part name
Check point Remedy
Printhead
Connector
Head
FFC
J9 J8
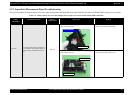
CR movement
direction