


Epson STYLUS NX100/NX105/SX100/SX105/TX100/TX101/TX102/TX103/TX105/TX106/TX109/ME 300 Revision A
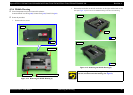
DISASSEMBLY/ASSEMBLY Disassembling the Printer Mechanism 71
Confidential
4.5.2 CR Scale
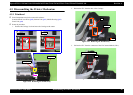
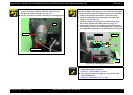
Parts/Components need to be removed in advance:
Scanner Stand/Cover Wire (p 60), Scanner Unit (p 62), Middle Housing (p 63)
Panel Unit (p 64)
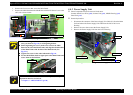
Removal procedure
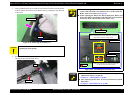
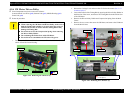
1. Release the Carriage Lock and move the Carriage to the center. (See "4.5.1
Printhead (p68)".)
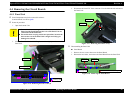
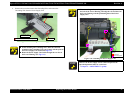
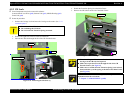
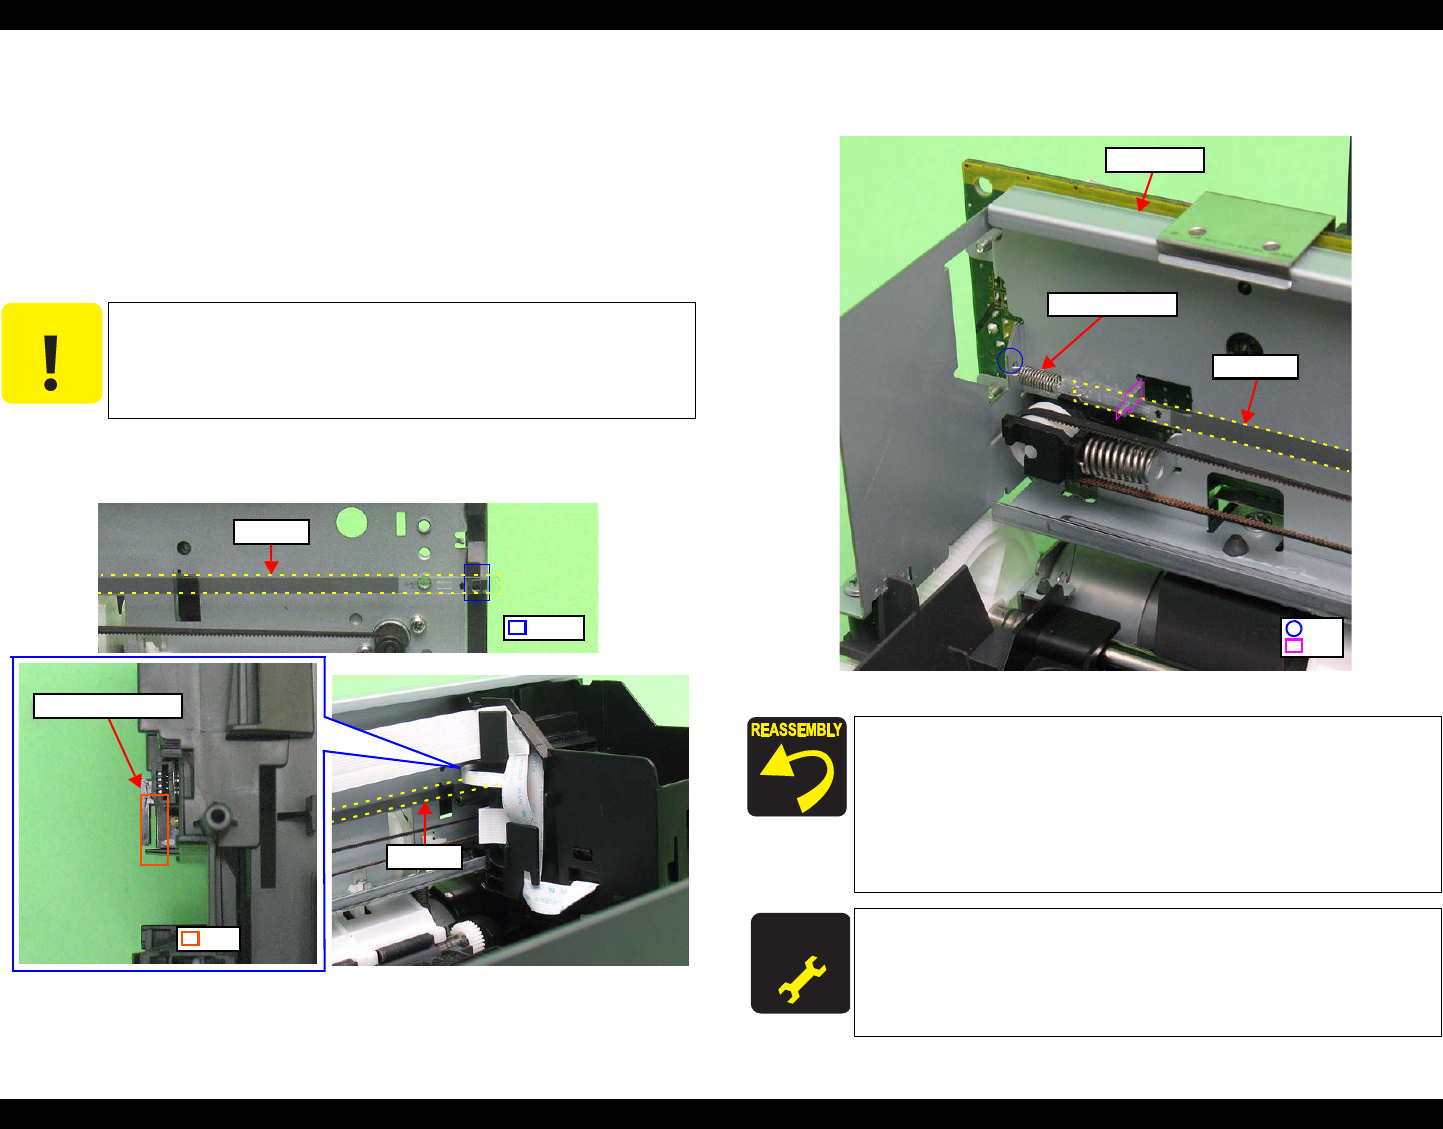
2. Remove the right side of the CR scale from the hook.
3. Pull out the CR Scale through the slit of the CR Encoder Sensor.
Figure 4-35. Removing the CR Scale (1)
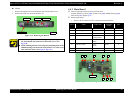
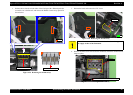
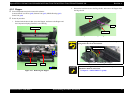
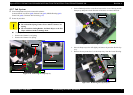
4. Detach the Extension Spring from the Main Frame.
5. Remove the CR Scale from the rib of the Main Frame.
Figure 4-36. Removing the CR Scale (2)
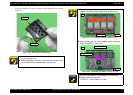
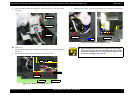
C A U T I O N
Do not touch the CR Scale with bare hands.
Do not damage the CR Scale.
Do not stretch the Extension Spring too much.
Hook
CR Scale
CR Scale
CR Encoder Sensor
Slit
When installing the CR scale, confirm that the arrows on both
the edges of the CR scale face upward.
Make sure to put the CR scale through the slit of the CR
Encoder Sensor. (See
Fig.4-35.)
Make sure to confirm that the Extension Spring is not twisted,
then install the eye of the spring to the hole of the Main Frame.
(See
Fig.4-36.)
A D J U S T M E N T
R E Q U IR E D
Whenever the CR Scale removed/replaced, the required
adjustments must be carried out.
• Chapter 5 “ ADJUSTMENT” (p.100)
Main Frame
Extension Spring
CR Scale
Rib
Hole