


Epson STYLUS NX100/NX105/SX100/SX105/TX100/TX101/TX102/TX103/TX105/TX106/TX109/ME 300 Revision A
DISASSEMBLY/ASSEMBLY Disassembling the Printer Mechanism 79
Confidential
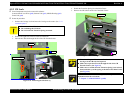
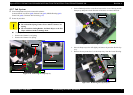
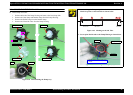
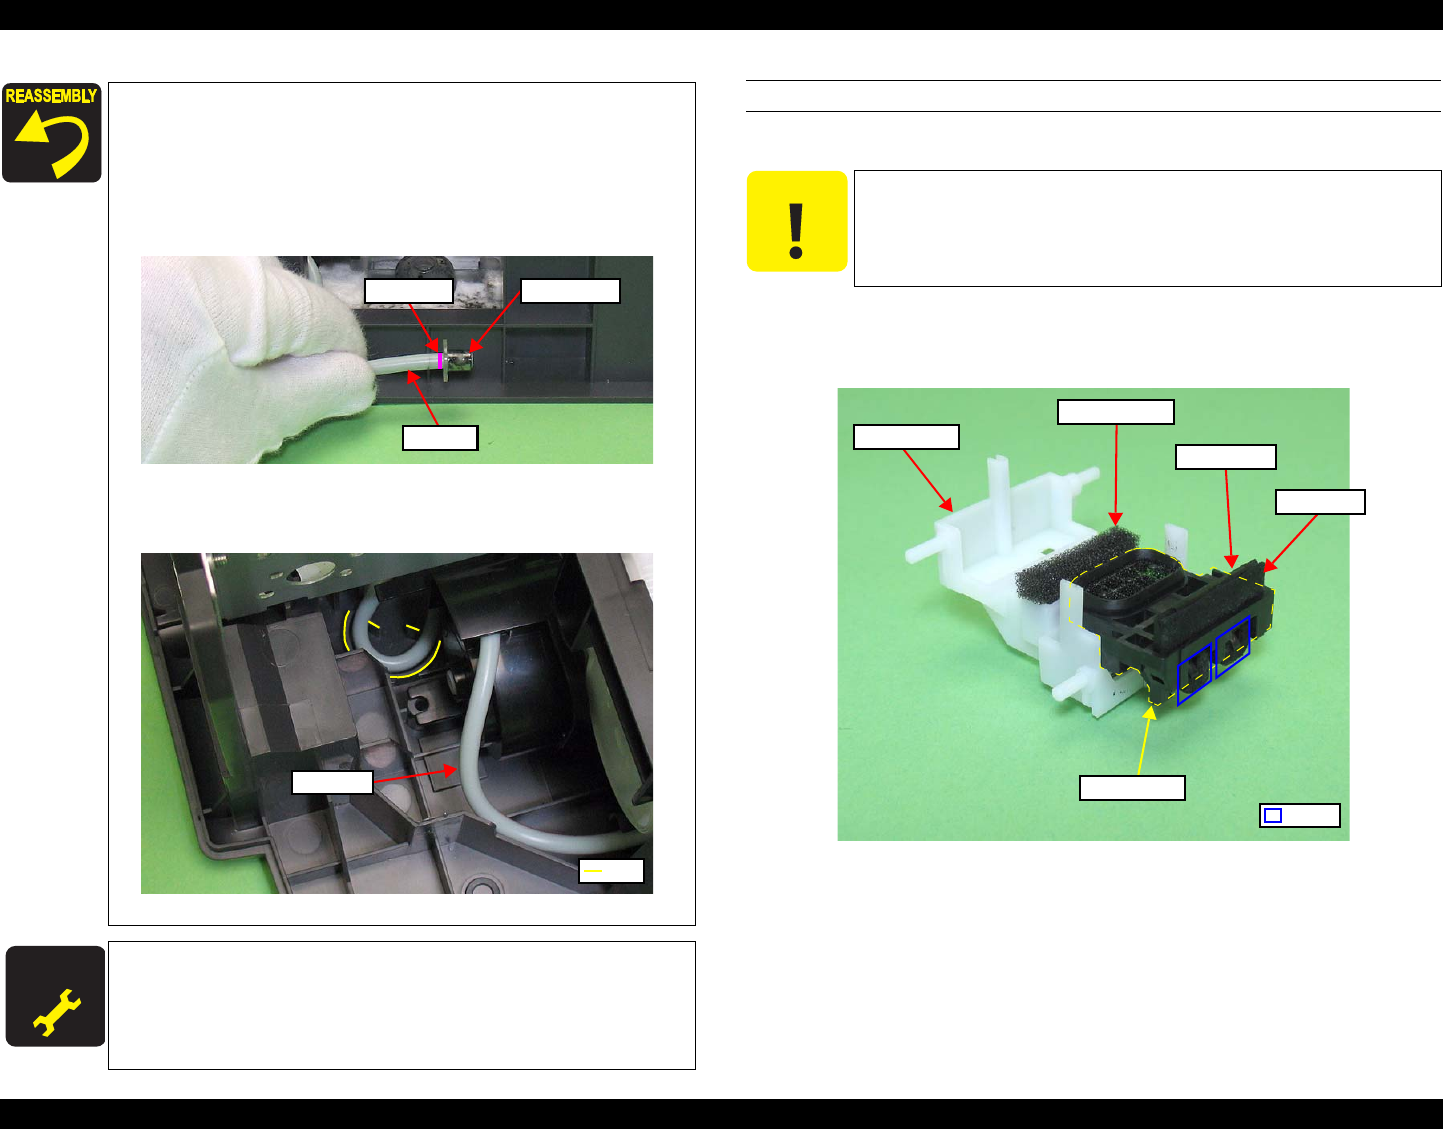
DISASSEMBLING THE CAP ASSY
Disassembly Procedure
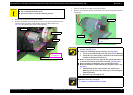
1. Remove the Foam Cap Side from the Case Cleaner.
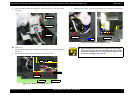
2. Release the two hooks of the IS Cap Assy, and remove the Blade Wiper and
Felt Wiper.
Figure 4-57. Disassembling the Cap Assy (1)
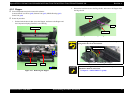
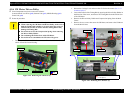
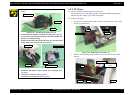
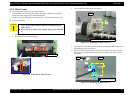
When routing the Ink Tube, confirm the following.
• Insert point A of the tube carefully into the Cap Assy not to let
it pressed. (See
Fig.4-52, Fig.4-63)
• Align point D with the right edge of the hook on the ASF Unit,
then secure it. (See
Fig.4-53, Fig.4-63)
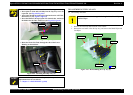
•
Insert the Holder Tube up to point E as shown below, and insert
the holder into the Duct Tube End. (See
Fig.4-53
,
Fig.4-63
)
Figure 4-55. Installing the Pump Assy (1)
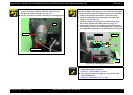
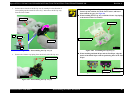
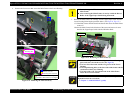
• Route the Waste Ink Tube through the ribs of the Lower
Housing as shown below.
Figure 4-56. Installing the Pump Assy (2)
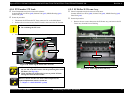
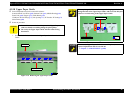
A D J U S T M E N T
R E Q U IR E D
Whenever the Ink System removed/replaced, the required
adjustments must be carried out.
• Chapter 5 “ ADJUSTMENT” (p.100)
Ink Tube
Holder Tube
Point E
Rib
Ink Tube
C A U T I O N
Do not contaminate or damage the Sealing Rubber, Blade Wiper,
and Felt Wiper.
Case Cleaner
Foam Cap Side
Felt Wiper
Blade Wiper
IS Cap Assy
Hook