


Epson STYLUS NX100/NX105/SX100/SX105/TX100/TX101/TX102/TX103/TX105/TX106/TX109/ME 300 Revision A
DISASSEMBLY/ASSEMBLY Disassembling the Printer Mechanism 78
Confidential
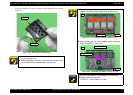
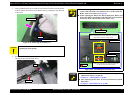
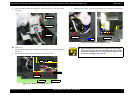
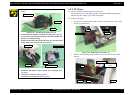
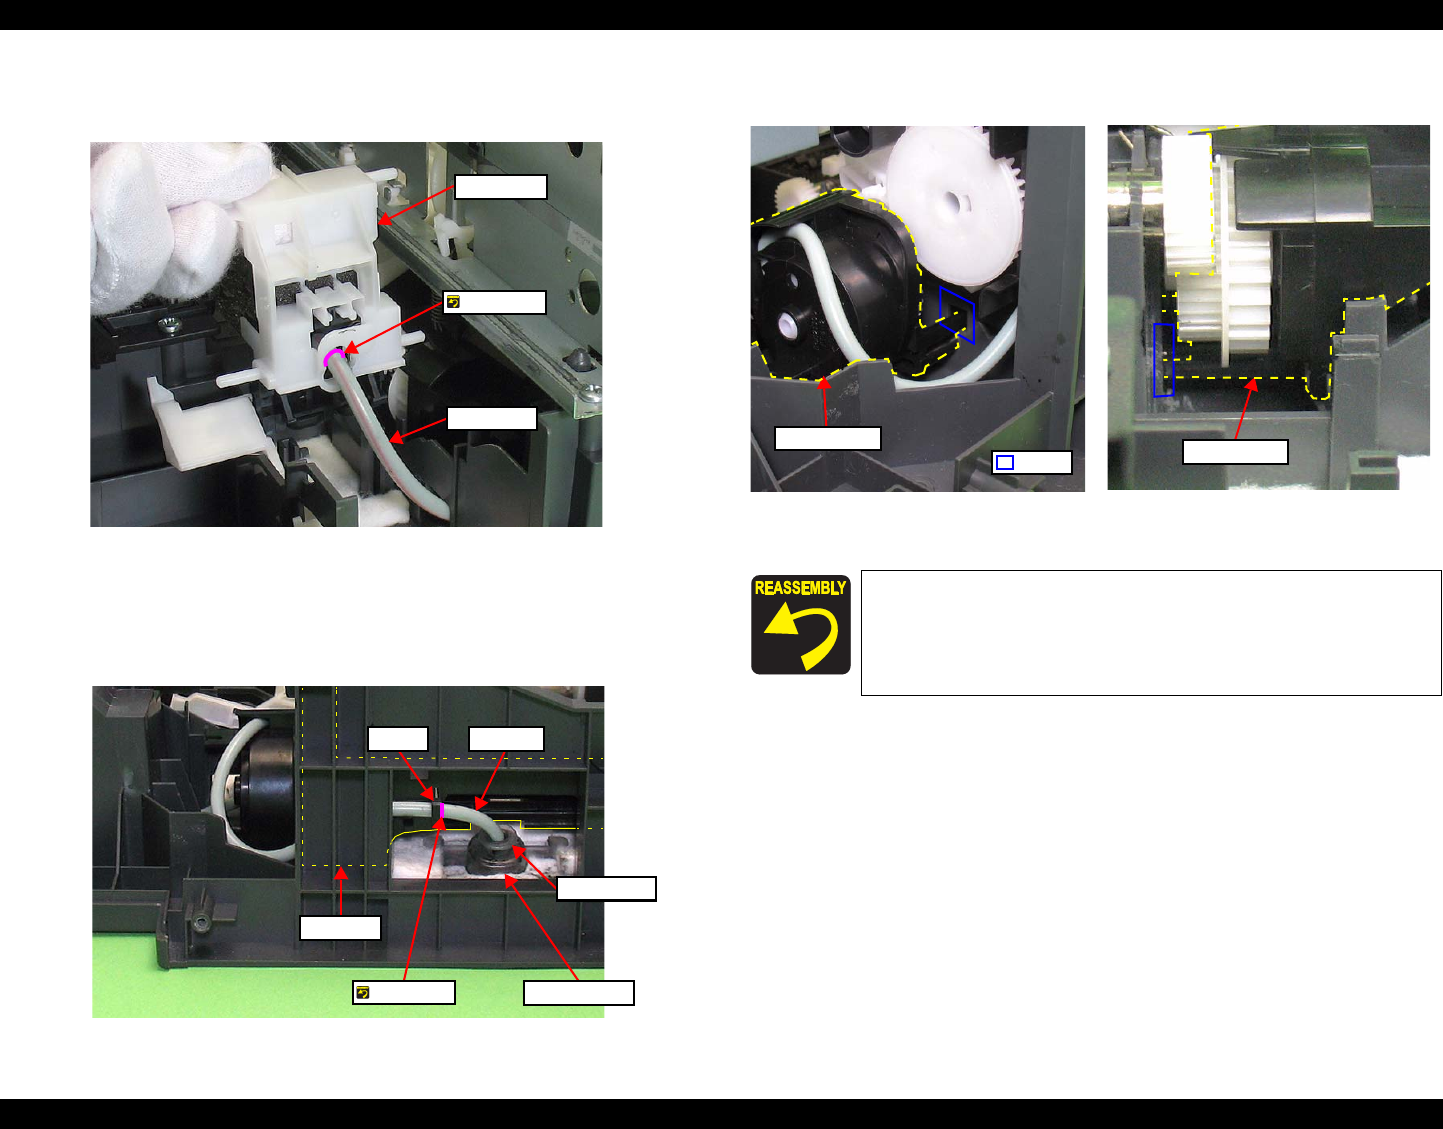
6. Pull out the Waste Ink Tube through the rear of the Cap Assy, and remove the
Cap Assy.
Figure 4-52. Removing the Cap Assy (4)
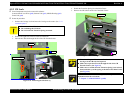
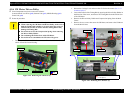
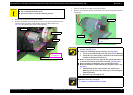
Pump Assy
1. Pull out the Waste Ink Tube together with the Holder Tube through the Waste
Ink Cover.
2. Release the Waste Ink Tube from the hook of the ASF Unit.
Figure 4-53. Removing the Pump Assy (1)
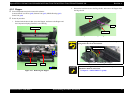
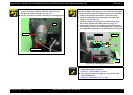
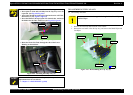
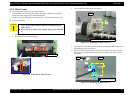
3. Release the two hooks, and remove the Pump Assy from the Lower Housing.
Figure 4-54. Removing the Pump Assy (2)
Cap Assy
Ink Tube
Point A
Duct Tube End
Ink Tube
ASF Unit
Holder Tube
Hook
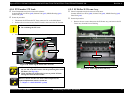
Point D
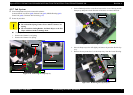
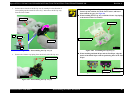
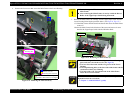
When installing the Cleaner Lever Spring, insert the longer
end of the spring into the Lower Housing, and secure it to the
protrusion A of the Cleaner Lever attached through the hole
of the Lower Housing. (See
Fig.4-49.)
Pump Assy
Hook
Pump Assy