


Epson STYLUS NX100/NX105/SX100/SX105/TX100/TX101/TX102/TX103/TX105/TX106/TX109/ME 300 Revision A
DISASSEMBLY/ASSEMBLY Disassembling the Scanner Unit 96
Confidential
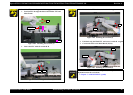
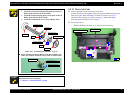
4.6 Disassembling the Scanner Unit
4.6.1 Upper Scanner Housing
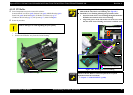
Parts/Components need to be removed in advance:
Document Cover/ASF Cover (p 59), Scanner Unit (p 62)
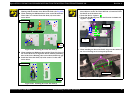
Removal procedure
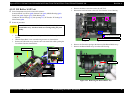
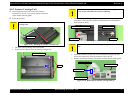
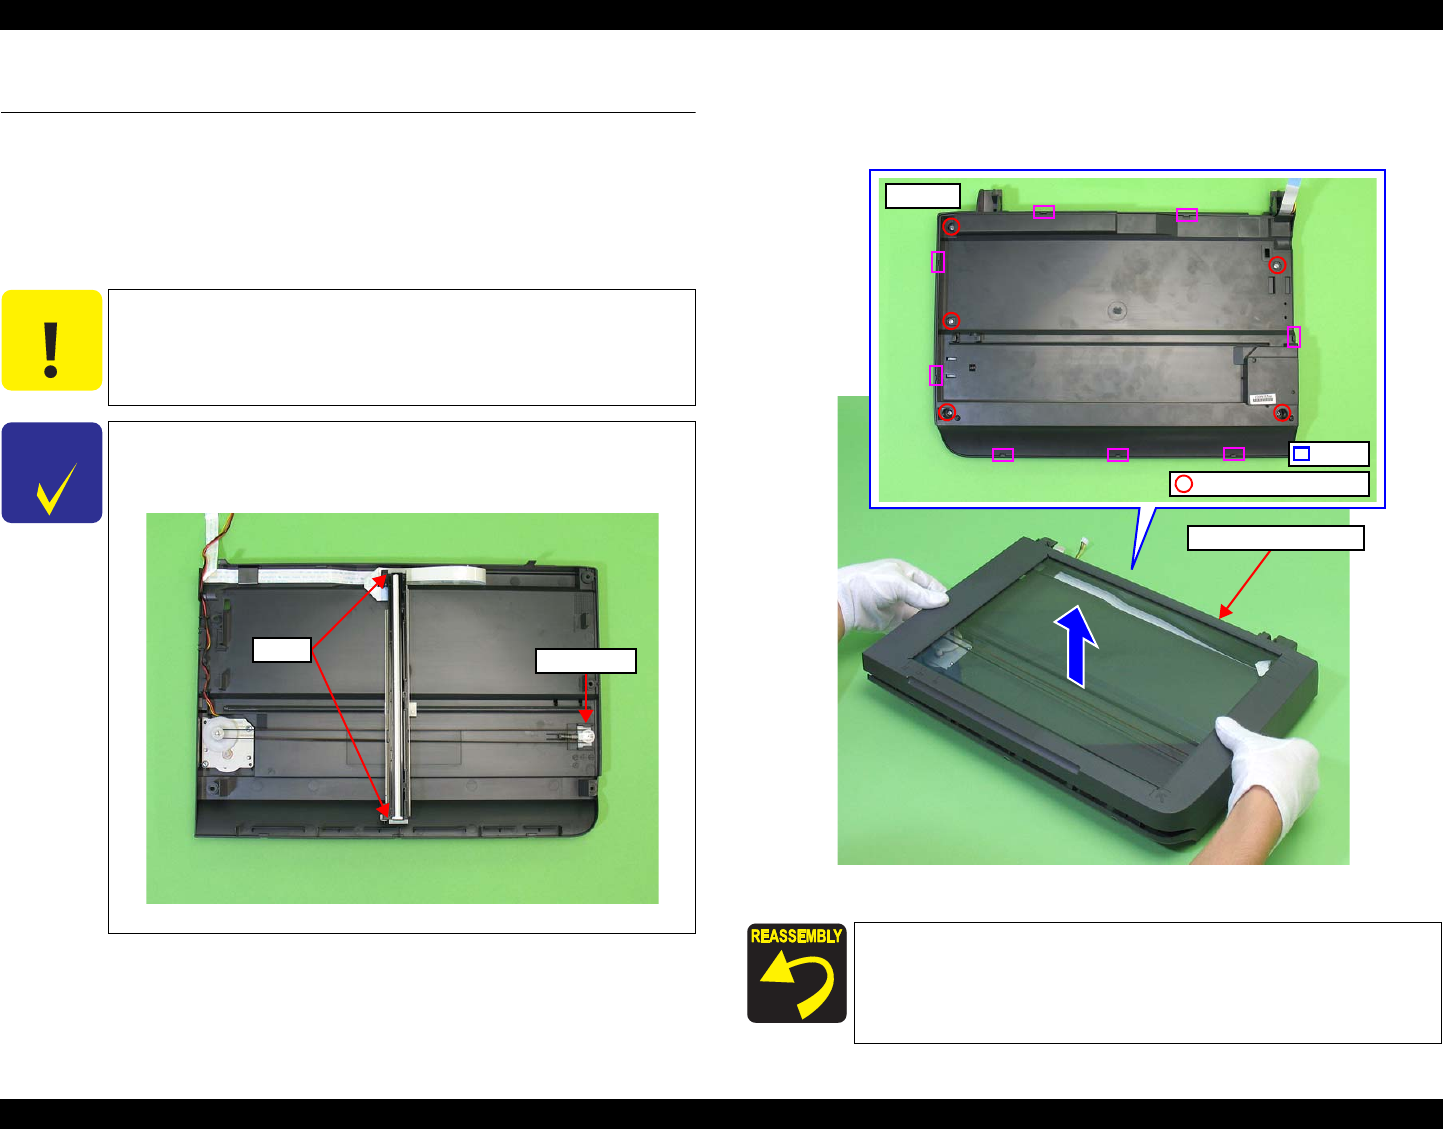
1. Remove the five screws that secure the Upper Scanner Housing and the eight
hooks inside the Lower Scanner Housing, and remove the Upper Scanner
Housing.
Figure 4-106. Removing the Upper Scanner Housing
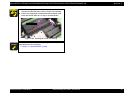
C A U T I O N
Following work should be performed in a room where there is a
little dust. A clean room or a clean bench would be preferable.
Do not scratch the Rod Lens Array when removing the CIS
Assy.
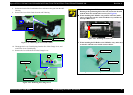
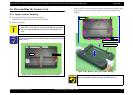
C H E C K
P O I N T
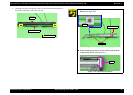
If the Spacer or the Driven Pulley comes off when disassembling the
Scanner Unit, make sure to assemble the part referring to
Fig.4-105
and Fig.4-113.
Figure 4-105. Installing the Spacer or the Driven Pulley
Driven Pulley
Spacer
When assembling the Upper Scanner Housing, confirm that the
Spacer is attached correctly. (See
Fig.4-105 and Fig.4-113.)
SCREW M3x10 P-TITE
Rear side
Hook
Upper Scanner Housing