


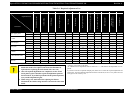
Epson STYLUS NX100/NX105/SX100/SX105/TX100/TX101/TX102/TX103/TX105/TX106/TX109/ME 300 Revision A
DISASSEMBLY/ASSEMBLY Disassembling the Scanner Unit 99
Confidential
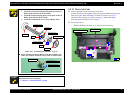
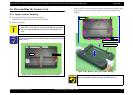
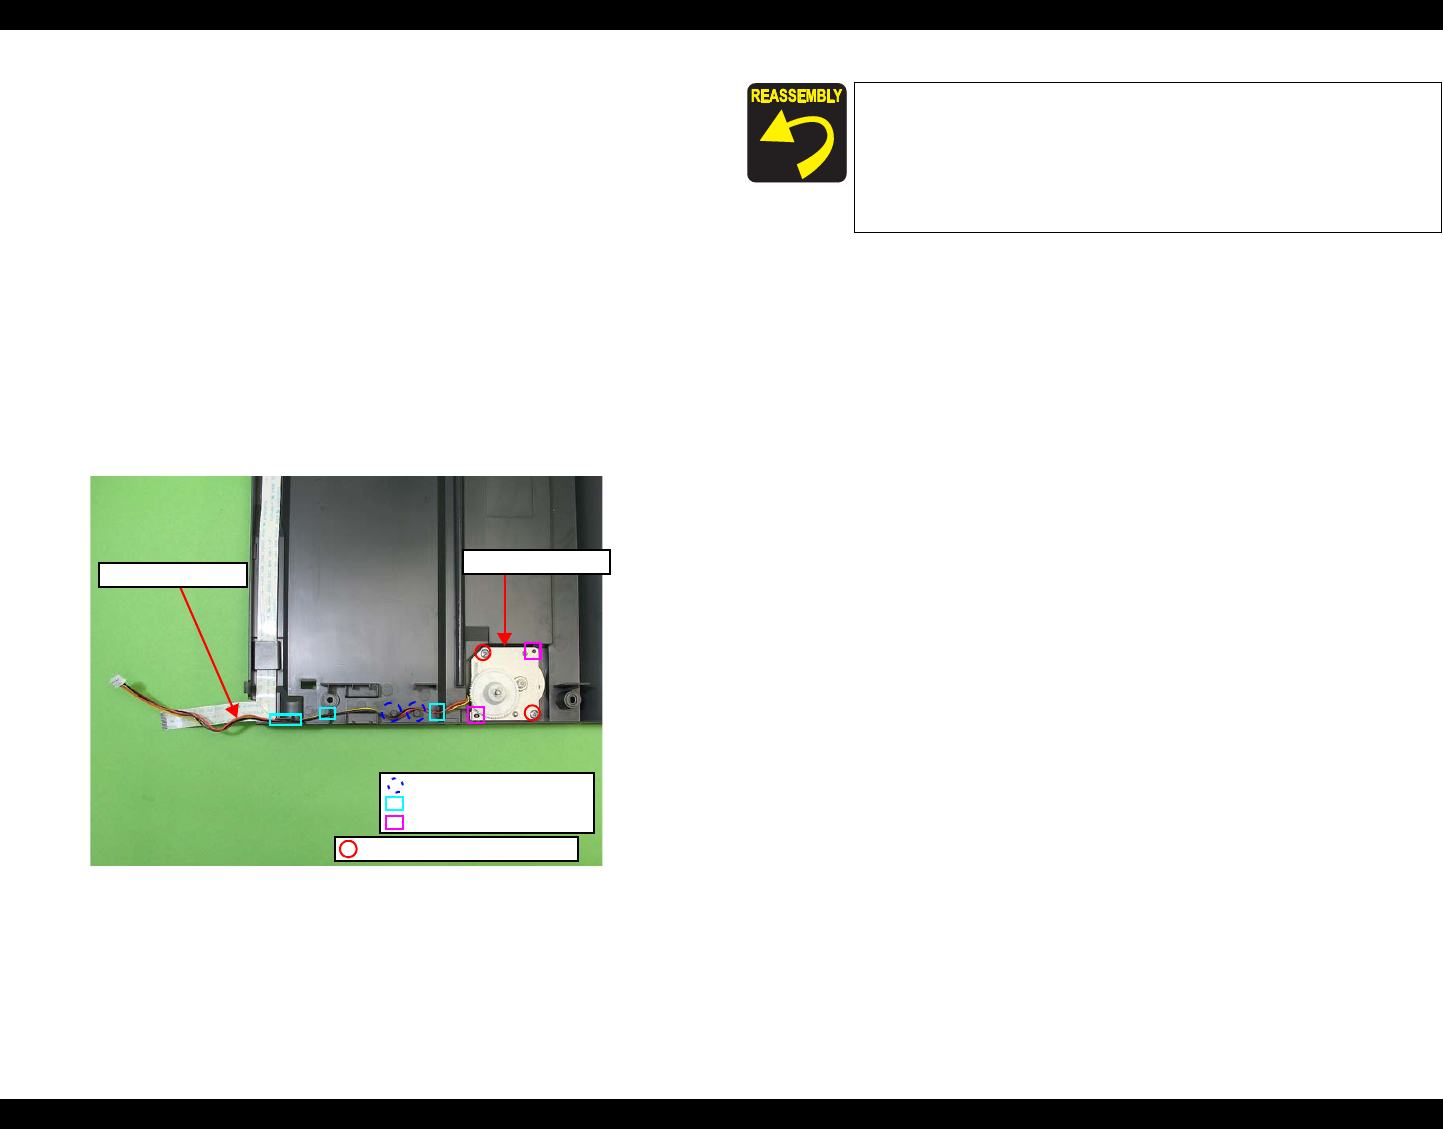
4.6.3 Scanner Motor Unit
Parts/Components need to be removed in advance:
Document Cover/ASF Cover (p 59), Scanner Unit (p 62)
Upper Scanner Housing (p 96)
Removal procedure
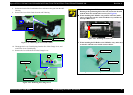
1. Move the Scanner Carriage Unit to the center.
(Refer to 4.6.2 Scanner Carriage Unit Step1 (p97))
2. Loosen the Scanner Timing Belt by pressing the Driven Pulley and remove
the Scanner Timing Belt from the Combination Gear and the Driven Pulley.
(Refer to 4.6.2 Scanner Carriage Unit Step3 (p97))
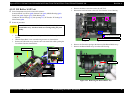
3. Release the Scanner Motor cable from the ribs at the bottom of the Scanner
Housing.
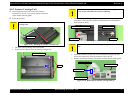
4. Remove the two screws that secure the Scanner Motor Unit, and remove the
Scanner Motor Unit.
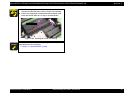
Figure 4-114. Removing the Scanner Motor Unit
Scanner Motor Unit
Scanner Motor cable
SCREW S-TIGHT M3x5 BIND
Positioning hole and dowel
Protrusion
Rib
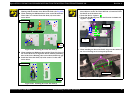
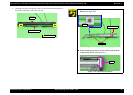
When installing the Scanner Motor Unit, align each dowel at
the bottom of the Scanner Housing with their positioning holes
of the Scanner Motor Unit. (See
Fig.4-114.)
Route the Scanner Motor cable through the three ribs and the
two protrusions at the bottom of the Scanner Housing. (See
Fig.4-114.)