


Epson STYLUS NX100/NX105/SX100/SX105/TX100/TX101/TX102/TX103/TX105/TX106/TX109/ME 300 Revision A
DISASSEMBLY/ASSEMBLY Removing the Circuit Boards 64
Confidential
4.4 Removing the Circuit Boards
4.4.1 Panel Unit
Parts/Components need to be removed in advance:
Scanner Stand/Cover Wire (p 60)
Removal procedure
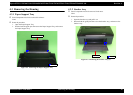
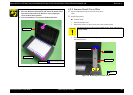
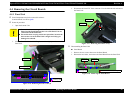
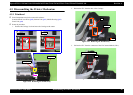
1. Open the Scanner Unit.
2. Slide the Panel Unit back with lifting the rear side slightly. And remove the
Panel Unit.
Figure 4-16. Removing the Panel Unit (1)
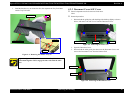
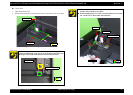
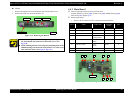
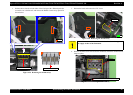
3. Disconnect the Panel FFC from connector J2 on the Main Board, and remove
the Panel Unit.
Figure 4-17. Removing the Panel Unit (2)
Disassembling the Panel Unit
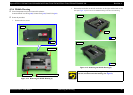
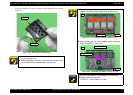
Panel Board
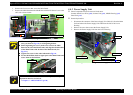
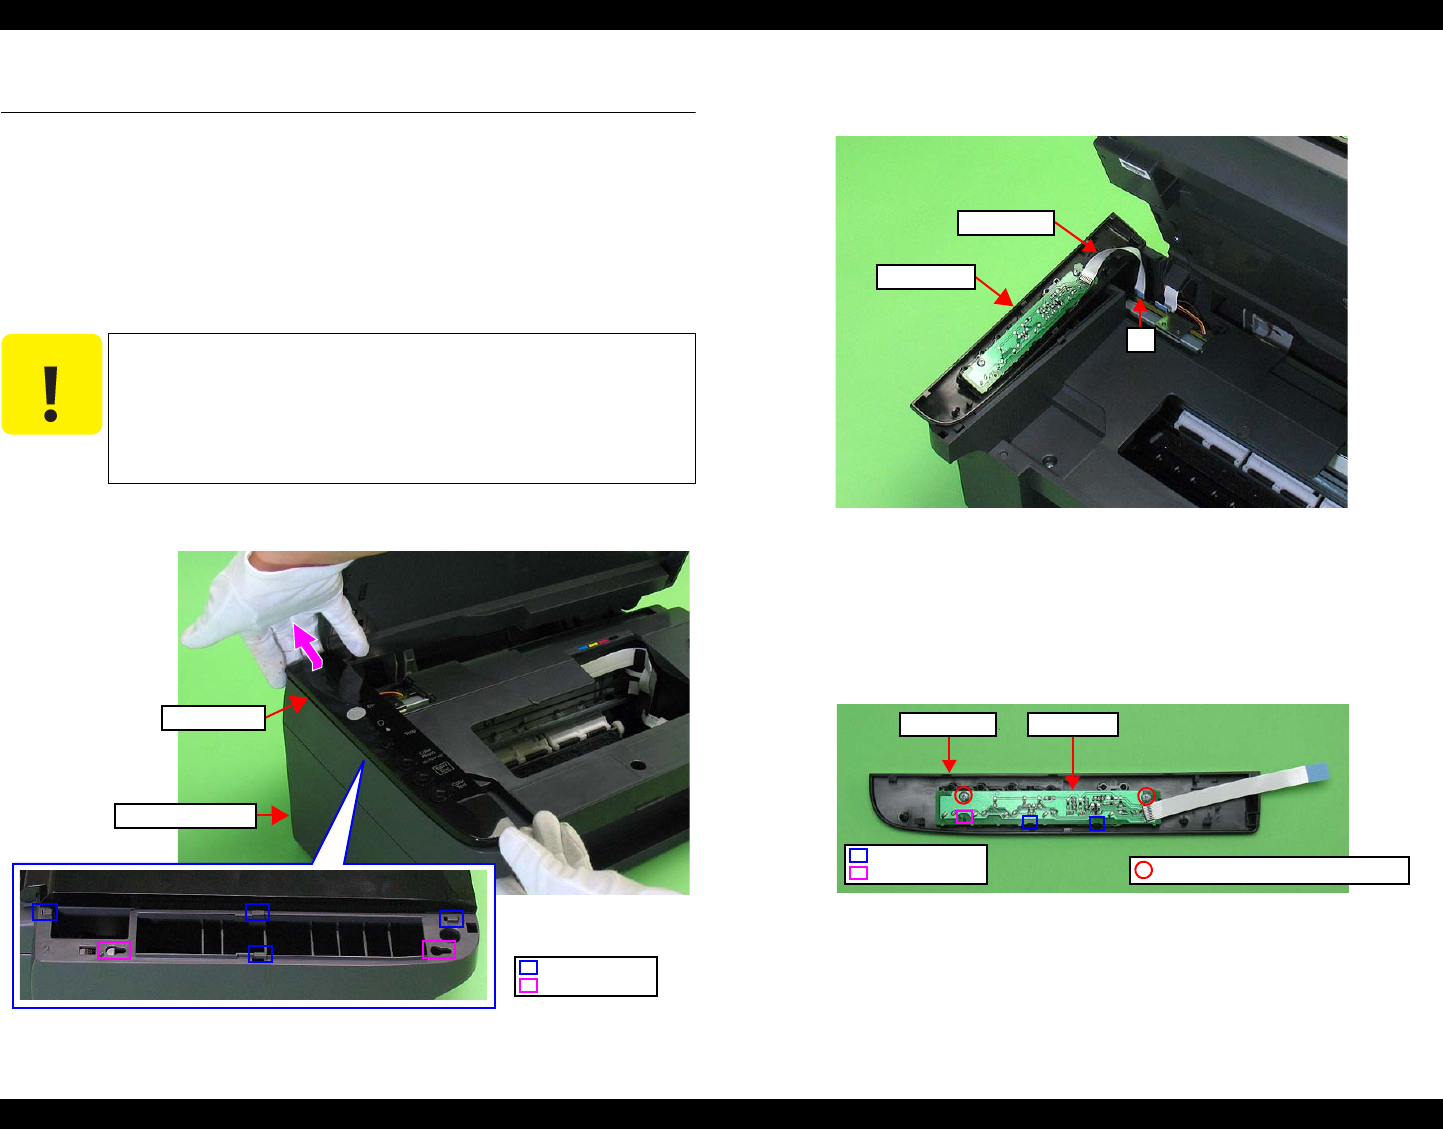
1. Remove the two screws that secure the Panel Board.
2. Release the two hooks, and remove the Panel Board from the Panel Unit.
Figure 4-18. Removing the Panel Board
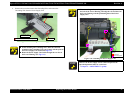
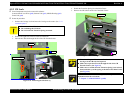
C A U T I O N
Be careful when removing the Panel Unit, because the Main
Board and the Panel Board on the rear of the Panel Unit are
connected with the Panel FFC.
Be careful when carrying out the next procedure, because the
hook on the rear of the Panel Unit is fragile and easily gets
damaged or softened.
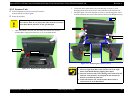
Panel Unit
Middle Housing
Positioning Hole
Hook
Panel Unit
Panel FFC
J2
Panel Board
Positioning Hole
Hook
Panel Unit
SCREW M3x8 P-TITE (5±0.5kgfcm)