


Chapter 5 119
Changing Your Computer Hardware Configuration
Removable Media Devices
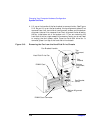
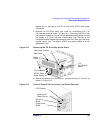
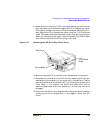
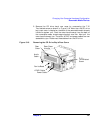
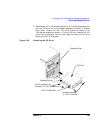
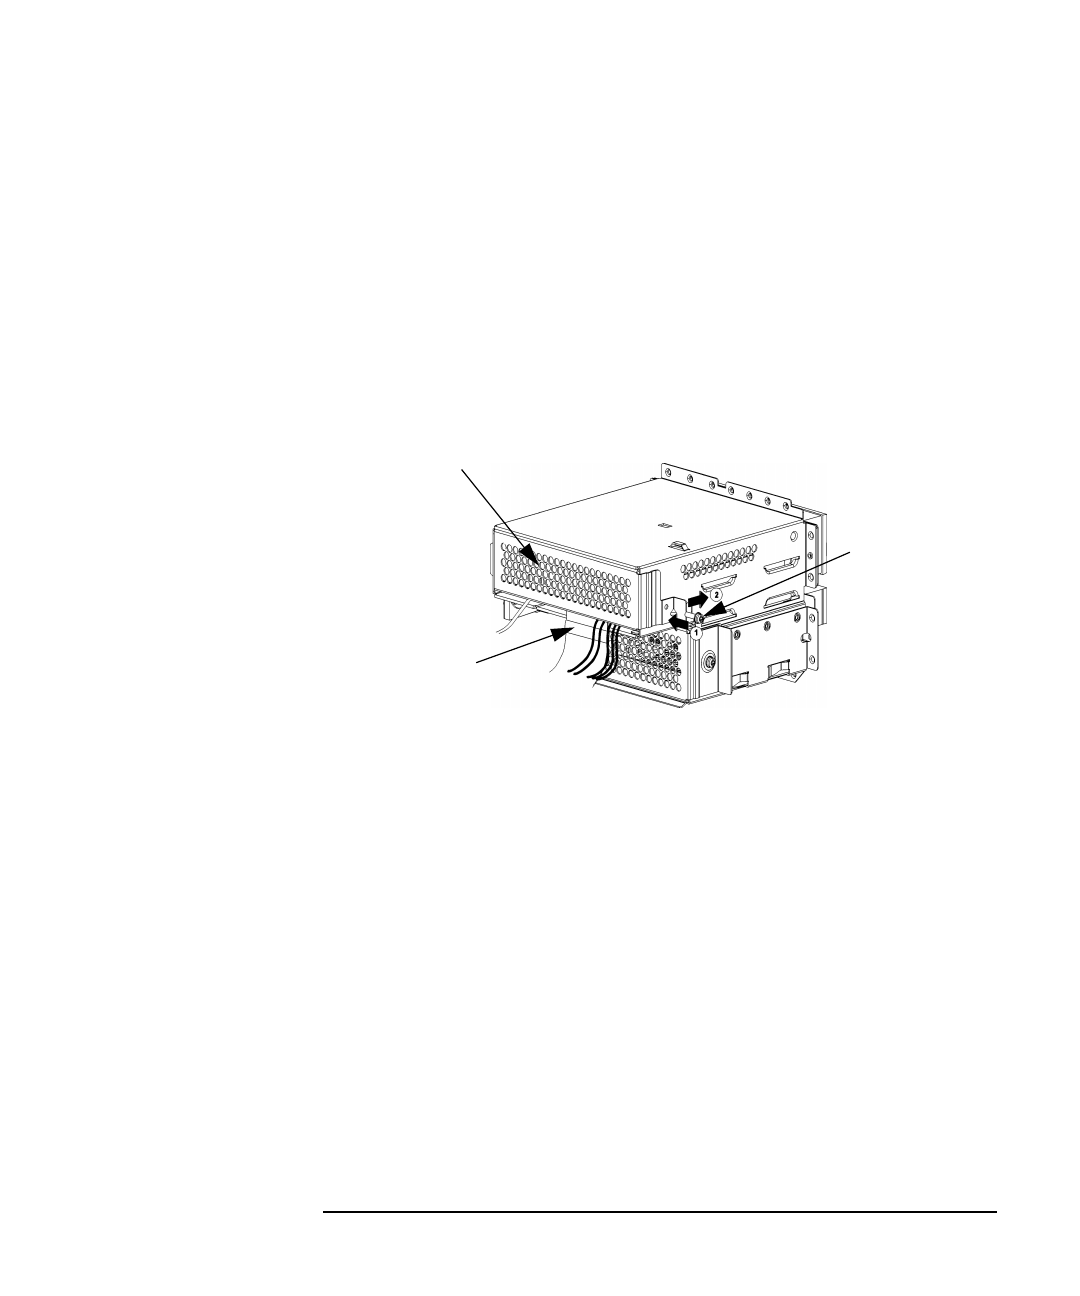
9. Make sure that the audio, ATAPI and power cables are positioned so
that they come out of the bottom edge of the CD drive bay’s rear cover.
This edge is rounded to prevent cutting of the cables. See Figure 5-17.
Next, secure the CD drive bay’s rear cover using the T-15 Torx/slotted
screw. The screw should be tightened using 6 inch-pounds of torque.
When you replace the rear cover, the ferrite bead on the ATAPI cable
must remain outside of the CD drive bay’s rear cover.
Figure 5-17 Replacing the CD Drive Bay’s Rear Cover
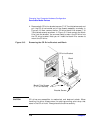
10.Remove the plastic CD drive blank from the computer’s front panel.
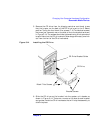
11.Complete the installation of the CD drive by replacing the front and
side panels of the system unit as explained in the sections “Closing
the Left Side Panel of the System Unit” and “Closing the System Unit
Front Panel” in this chapter. You should also make sure that all
cables are positioned within the system unit so that they cannot be
damaged.
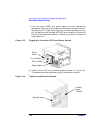
12.Verify that the CD drive is recognized by the system. See the section
“Verifying the CD Drive Operation” in the chapter “Using Your CD
Drive.”
Rear Cover
Ferrite Bead
T-15
Torx/Slotted
Screw