Use job-storage features
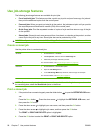
The following job-storage features are available for print jobs:
●
Proof and hold jobs: This feature provides a quick way to print and proof one copy of a job and
then print the additional copies from the control panel.
●
Personal jobs: When you send a private job to the product, the job does not print until you provide
the required personal identification number (PIN) at the control panel.
●
Quick Copy jobs: Print the requested number of copies of a job and then store a copy of the job
on the product.
●
Stored jobs: Store a job such as a personnel form, time sheet, or calendar on the product, so other
users to print the job at any time. Stored jobs also can be protected by a PIN.
CAUTION: If you turn off the product, all Quick Copy, Proof and Hold, and Personal jobs are deleted.
Create a stored job
Use the printer driver to create stored jobs.
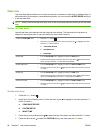
Windows 1. On the File menu, click Print.
2. Click Properties, and then click the Job Storage tab.
3. Select the job storage mode that you want.
For more information, see
Set job storage options on page 104.
Macintosh 1. On the File menu, click the Print option.
2. Open the Job Storage menu.
3. In the Job Storage Mode drop-down list, select the type of stored job.
For more information, see
Store jobs on page 61.
NOTE: To permanently store the job and prevent the product from deleting it when space is needed
for something else, select the Stored Job option in the driver.
Print a stored job
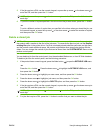
1. If the product has a numeric keypad, press the folder button to open the RETRIEVE JOB menu.
-or-
Press the Menu button
. Press the down arrow to highlight the RETRIEVE JOB menu, and
then press the OK button.
2. Press the down arrow
to highlight your user name, and then press the OK button.
3. Press the down arrow
to highlight a job name, and then press the OK button.
The PRINT or PRINT AND DELETE option is highlighted.
4. Press the OK button to select the PRINT or PRINT AND DELETE option.
96 Chapter 7 Use product features ENWW


