Solve print-quality problems
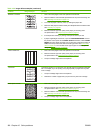
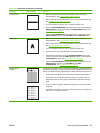
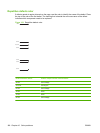
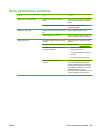
You can prevent most print-quality problems by following these guidelines.
●
Configure the trays for the correct paper-type setting. See
Configure trays on page 87.
●
Use paper that meets HP specifications. See
Paper and print media on page 73.
●
Clean the product as necessary. See
Clean the paper path on page 137.
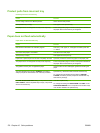
Print-quality problems associated with paper
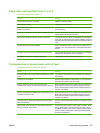
Some print-quality problems arise from using paper that does not meet HP specifications.
●
The surface of the paper is too smooth.
●
The moisture content of the paper is uneven, too high, or too low. Use paper from a different source
or from an unopened ream.
●
Some areas of the paper reject toner. Use paper from a different source or from an unopened ream.
●
The letterhead you are using is printed on rough paper. Use a smoother, xerographic paper. If this
solves your problem, ask the supplier of your letterhead to use paper that meets HP specifications.
●
The paper is excessively rough. Use a smoother, xerographic paper.
●
The paper is too heavy for the paper-type setting that you selected, so the toner is not fusing to
the paper.
For complete paper specifications for all HP LaserJet products, see the HP LaserJet Printer Family Print
Media Guide. This guide is available at
www.hp.com/support/ljpaperguide.
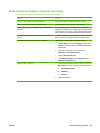
Print-quality problems associated with the environment
If the product is operating in excessively humid or dry conditions, verify that the printing environment is
within specifications. See
Operating environment on page 214.
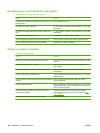
Print-quality problems associated with jams
Make sure that all sheets are cleared from the paper path. See Jam recovery on page 176.
●
If the product recently jammed, print two to three pages to clean the paper path.
●
If the sheets do not pass through the fuser and cause image defects on subsequent documents,
print two to three pages to clean the paper path. If the problem persists, print and process a cleaning
page. See
Clean the paper path on page 137.
182 Chapter 10 Solve problems ENWW


