


Problem Image example Solution
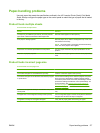
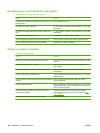
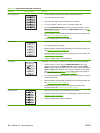
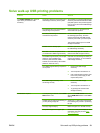
Gray background 1. Do not use paper that has already been run through the product.
2. Try using a different type of paper.
3. Print a few more pages to see if the problem corrects itself.
4. Turn over the paper in the tray. Also, try rotating the paper 180°.
5. Open the CONFIGURE DEVICE menu at the product control panel. On the
PRINT QUALITY submenu, increase the TONER DENSITY setting. See
Print
Quality menu on page 23.
6. Make sure that the environmental specifications for the product are being met.
See
Operating environment on page 214.
7. The print cartridge might need to be replaced.
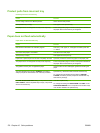
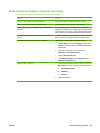
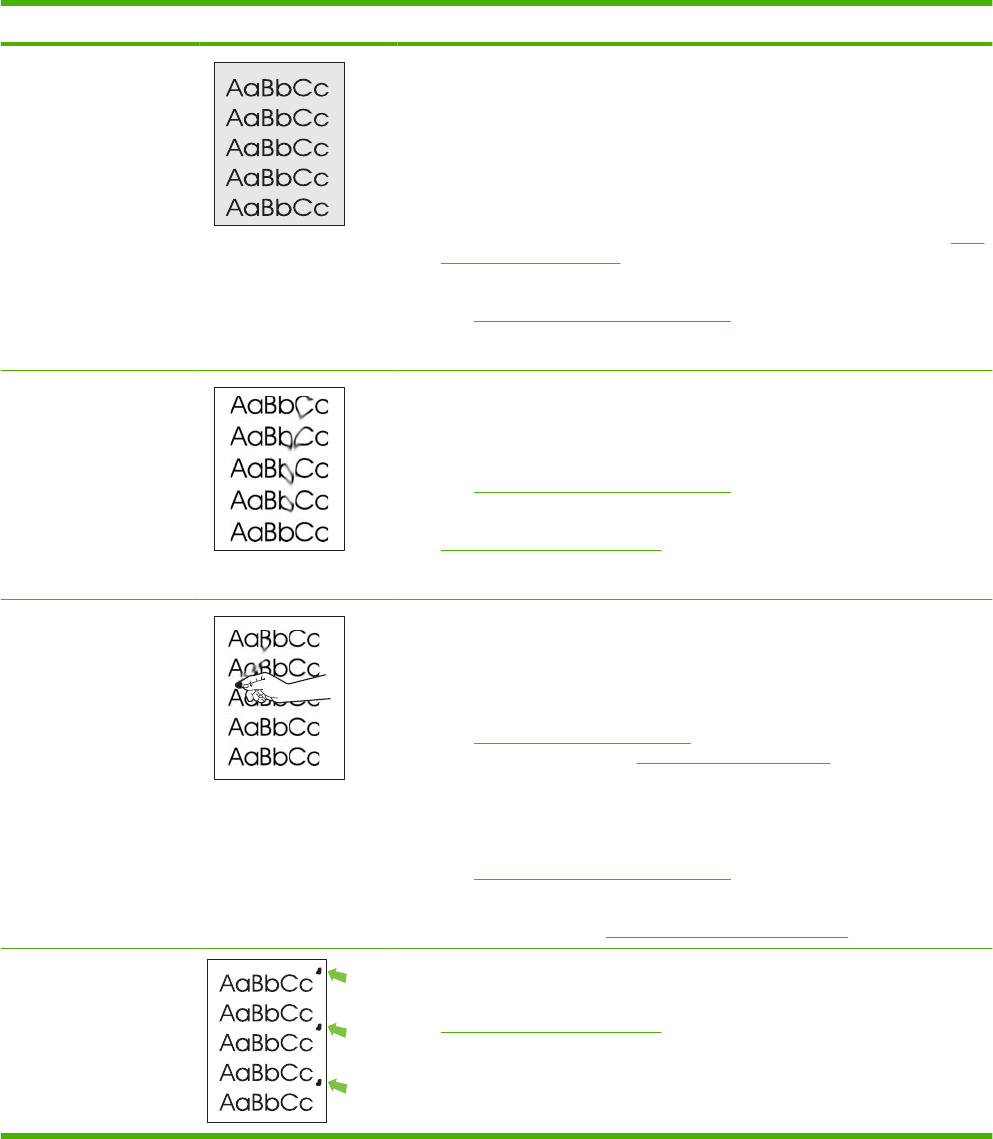
Toner smear 1. Print a few more pages to see if the problem corrects itself.
2. Try using a different type of paper.
3. Make sure that the environmental specifications for the product are being met.
See
Operating environment on page 214.
4. Clean the inside of the product and run a cleaning page to clean the fuser. See
Clean the product on page 137.
5. The print cartridge might need to be replaced.
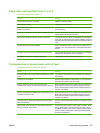
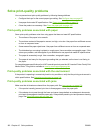
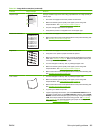
Loose toner Loose toner, in this context, is defined as toner that can be rubbed off the page.
1. If paper is heavy or rough, open the CONFIGURE DEVICE menu at the
product control panel. On the PRINT QUALITY submenu, select FUSER
MODES, and then select the paper type you are using. Change the setting to
HIGH1 or HIGH2, which helps the toner fuse more completely onto the paper.
See
Print Quality menu on page 23. You must also set the type of paper for
the tray you are using. See
Configure trays on page 87.
2. If you have observed a rougher texture on one side of your paper, try printing
on the smoother side.
3. Make sure that the environmental specifications for the product are being met.
See
Operating environment on page 214.
4. Make sure that the type and quality of the paper you are using meet
HP specifications. See
Paper and print media on page 73.
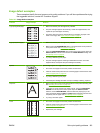
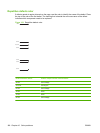
Repeat defects 1. Print a few more pages to see if the problem corrects itself.
2. Clean the inside of the product and run a cleaning page to clean the fuser. See
Clean the product on page 137.
3. The print cartridge might need to be replaced.
Table 10-2 Image defect examples (continued)
184 Chapter 10 Solve problems ENWW