Related topics:
• “Loading original documents into the Automatic Document Feeder (ADF)” on page 19
• “Using the control panel” on page 95
Adjusting copy quality
Quality specifies the resolution used for the copy job. Resolution involves a dots-per-inch (dpi) count; the higher the
dpi count, the higher the resolution and copy quality.
1 Load paper.
2 Load an original document facedown in the Automatic Document Feeder (ADF).
3 If necessary, press Copy Mode.
4 Press .
5 Press or repeatedly until Quality appears.
6 Press .
7 Press or repeatedly until the quality you want appears.
8 Press .
9 Press Start Color or Start Black.
Making a copy lighter or darker
If you want to adjust the look of a copy or photo, you can adjust it to make it lighter or darker.
1 Load paper.
Note: If you are copying photos, use photo or heavyweight matte paper, with the glossy or printable side facing
you. (If you are not sure which side is the printable side, see the instructions that came with the paper.)
2 Load an original document facedown in the ADF.
3 From the control panel, press Copy Mode.
4 Press Lighter/Darker.
5 Press or repeatedly to adjust the slider.
6 Press .
7 Press Start Color or Start Black.
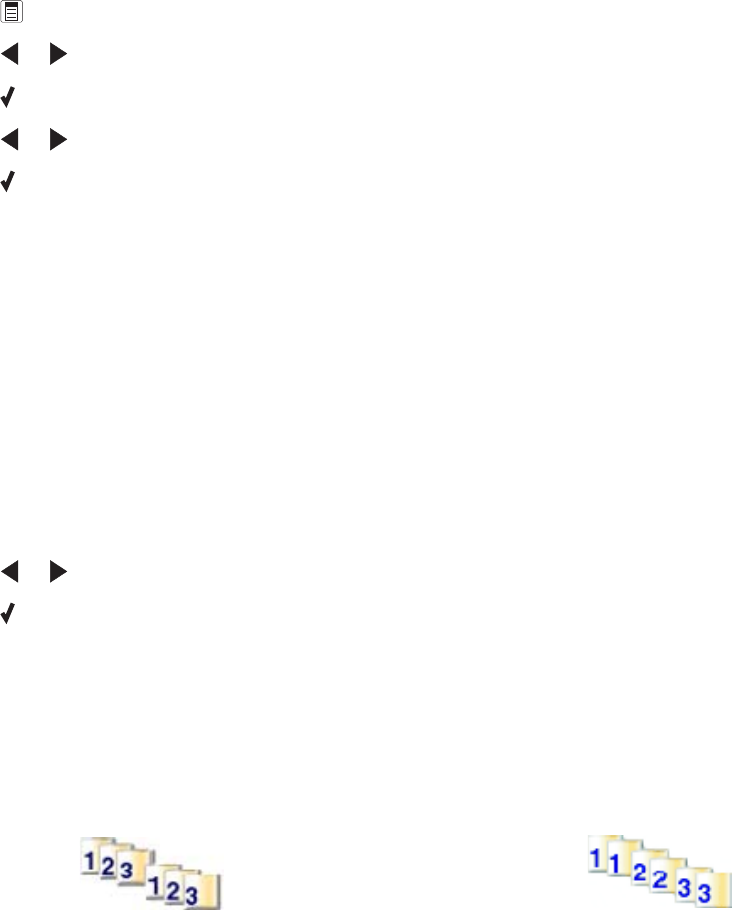
Collating copies using the control panel
If you print multiple copies of a multiple-page document, you can choose to print each copy as a set (collated) or to
print the copies as groups of pages (not collated).
Collated Not collated
Copying
62


