• Lexmark Photo Paper—An outstanding "everyday" heavyweight inkjet photo paper designed for use with
Lexmark printers, but compatible with all brands of inkjet printers. Although inexpensive, it offers excellent image
quality and outstanding value.
• Lexmark Premium Photo Paper—A heavier photo paper specifically designed to bond chemically with Lexmark
inks for eye-catching results. Fast drying, it prevents bleeding and feathering even when the image is saturated.
• Transparency—A clear, plastic media primarily used for overhead projectors.
• Card stock—A very thick paper used for printing sturdier items, such as greeting cards.
• Iron-On transfer—A type of media that has a reverse image printed on it that can be ironed onto fabric.
Using a PictBridge-enabled digital camera to control printing
photos
You can connect a PictBridge-enabled digital camera to the printer, and use the buttons on the camera to select and
print photos.
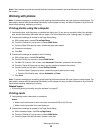
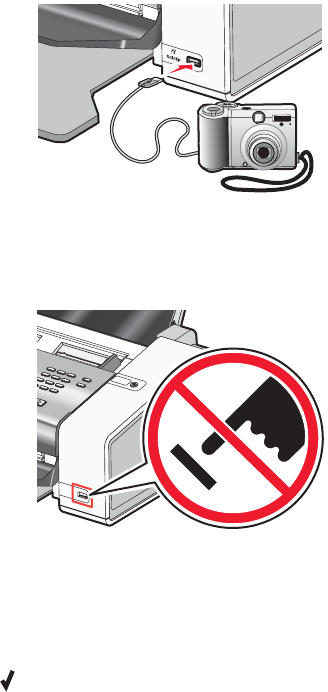
1 Insert one end of the USB cable into the camera.
Note: Use only the USB cable that came with the digital camera.
2 Insert the other end of the cable into the PictBridge port on the front of the printer.
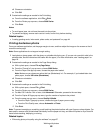
Warning: Do not touch the USB cable, any network adapter, or the printer in the area shown while actively
printing from a PictBridge-enabled digital camera. A loss of data can occur. Also, do not remove the USB cable
or network adapter while actively printing from a PictBridge-enabled digital camera.
Notes:
• Make sure the PictBridge-enabled digital camera is set to the correct USB mode. For more information, see
the documentation that came with your camera.
• If the PictBridge connection is successful, the following appears on the computer screen: PictBridge
camera detected. Press
to change settings.
• Values selected within the menu items are the settings used for PictBridge printing if no explicit selection is
made from the camera.
3 Follow the instructions in the camera documentation to select and print photos.
Working with photos
80


