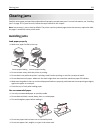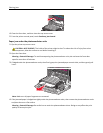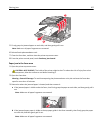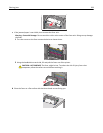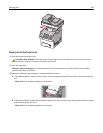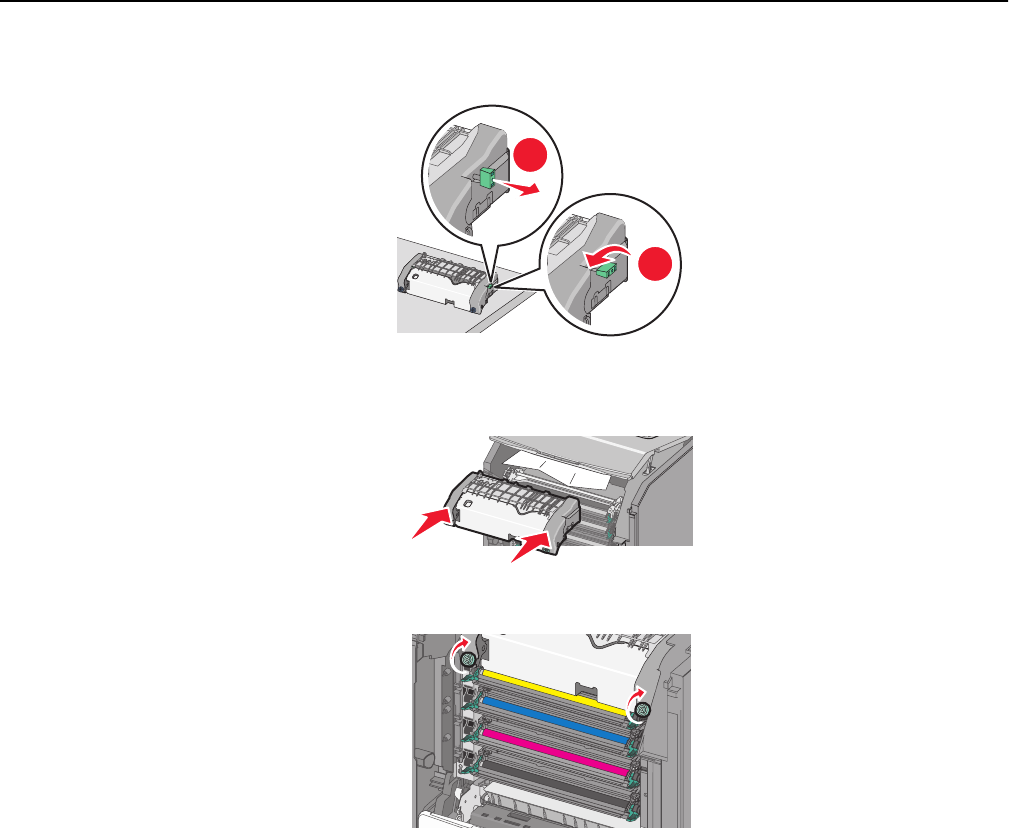
i Pull and then rotate the green rectangular knob counterclockwise to firmly secure the top paper guide.
1
2
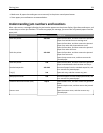
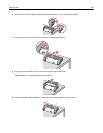
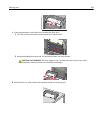
j Reinstall the fuser unit:
1 Align the fuser unit using the handholds on each side, and then place it back into the printer.
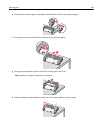
2 Turn the screws clockwise to fasten the fuser securely.
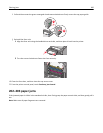
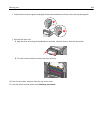
4 Close the front door, and then close the top access cover.
5 From the printer control panel, touch Continue, jam cleared.
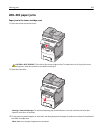
202–203 paper jams
If the jammed paper is visible in the standard exit bin, then firmly grasp the paper on each side, and then gently pull it
out.
Note: Make sure all paper fragments are removed.
Clearing jams 260


