Pelco Manual C690M-E (11/04) 93
PC RECORDING AND PLAYBACK
The DX2000 software has two parts—one part communicates with the DVR server and the
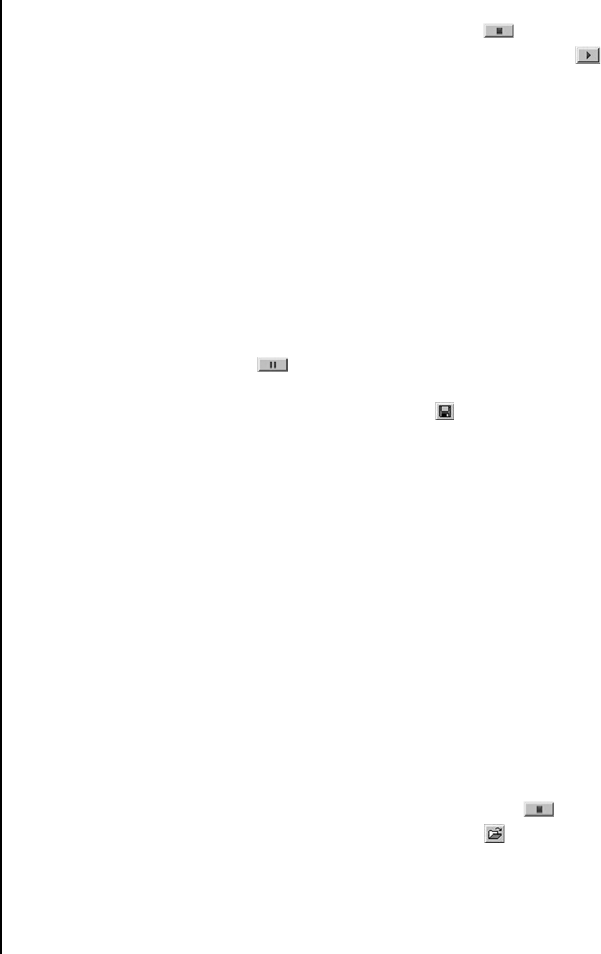
other part communicates with your PC. The Stop button
below the viewing area breaks
live video communication with the DVR server while the Play button
restores communica-
tion. Understanding this concept will help make it easier to understand PC recording.
The PC must be connected (directly or through the network) to the DVR to do PC recording
and playback.
The information boxes at the bottom of the screen can help you locate the images you want to
view. Refer to the
Information Boxes
section.
RECORDING A SNAPSHOT ON THE PC’S HARD DRIVE
To record a snapshot (one image) while viewing live or recorded video, do the following:
1. Click the Live Video or Recorded Video button. (Also select the camera if viewing live.)
2. Click the Pause button
. The video freezes.
3. To the right of the control buttons is the Save
icon. Click it. The program displays the
location where the file will be saved and the file name. The extension on a snapshot file is
601.
4. Click OK to save.
DISPLAYING A SNAPSHOT FROM THE PC’S HARD DRIVE
There are two ways to display a snapshot that was recorded on the PC’s hard drive.
• One way is while you are connected to the DX2000 and in its program.
• The other way is remotely, using the Playback Viewer. You do not need to be connected to
the DX2000. Refer to the
Playback Viewer
section. (Documentation on the Playback
Viewer is also included in a PDF file on the DX2000 resource CD.)
To display a snapshot while connected to the DX2000, do the following:
1. While viewing in the DVR program, click the Stop button
. The viewing area turns
white and the program displays an open folder
icon .
2. Click the open folder icon. The program displays a selection box of files.
3. Double-click the desired snapshot file (extension 601). The snapshot appears on your
screen.