22 C1534M (1/06)
CONFIGURE SITE MAPS
Site maps are at the heart of the VMX200 user environment. Maps provide the system operator with a graphical representation of the camera
installations, eliminating the need to remember camera and monitor selection codes. VMX200 provides tools to place, move, and delete installed
equipment, and to create links to other site maps.
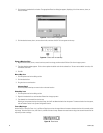
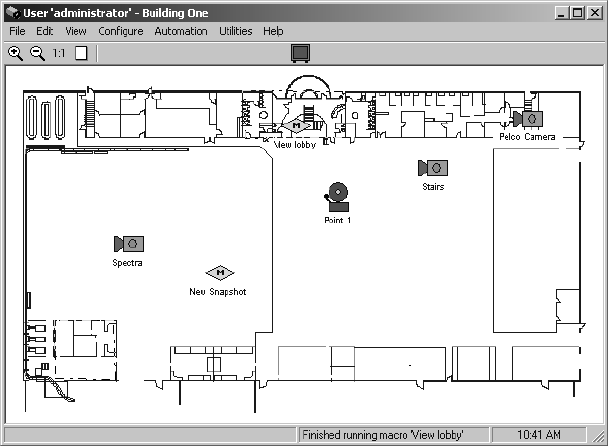
THE SITE MAP WINDOW
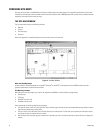
The site map window contains the following elements:
• Menu bar
•Tool bar
• Site map image
•Status bar
Refer to the Appendix for a detailed description of the menu bar, tool bar, and status bar.
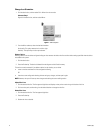
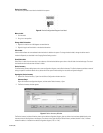
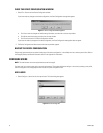
Figure 17. Site Map Window
Work with Site Map Images
Graphics created in software packages such as Adobe
®
Photoshop
®
or AutoCAD
®
can be imported into the VMX200, and then used as a
graphical representation of system camera positions.
Site Map Image Formats
Before using such site map images, they must first be imported into VMX200 in one of the following image formats:
• Bitmap (.bmp)
• JPEG (.jpg)
• Windows meta file (.wmf)
• Extended meta file (.emf).
Pelco recommends the following image format parameters:
• Use meta file formats (.wmf and .emf) if possible. These are vector graphic formats and are recommended because they provide the advan-
tage of being scalable without losing detail.
• Size your maps to 1016 x 673 pixels and 16-bit color when you are creating them. This will allow you to optimize your workspace and pre-
vent having to resize the map each time it is loaded.
• With bitmap formats (.bmp and .jpg) use a resolution of 72 dpi (dots per inch). This resolution provides an optimal file size for display and
memory.


