28 C1534M (1/06)
Add a Device to the Drag and Drop Areas
1. Select Configure > External Monitors Window (or any other device type that appears on the Configure menu).
Alternate Step 1
Right-click the desired device on the tool bar, and then select Configure from the pop-up menu. The specified device window appears.
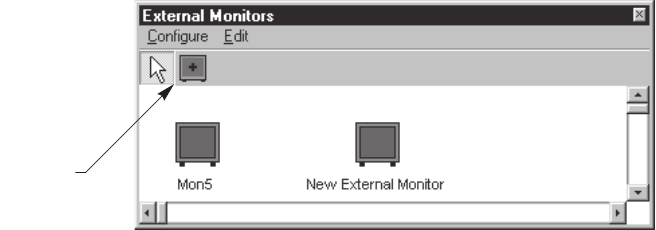
Figure 29. Sample Device Window
2. Click the add device icon in the device window tool bar. The cursor changes to represent the device-type.
3. Move to the desired area of the window and click to add the device icon. A select dialog box appears that displays all the installed devices
that have yet to be placed in the window.
4. Select a device, and then click OK. More than one device can be selected by holding down the Shift or Ctrl keys.
NOTE: You can arrange devices in the window to represent their physical arrangement in your system console, racks, or monitor wall.
Edit the Drag and Drop Icons
1. From the device window, select Configure > Edit layout from the menu bar.
2. Click Edit to display the Edit submenu, which contains the following options:
Edit Submenu Option Sub-option Function
Icon Alignment Centers Align the icons vertically.
Middles Align the icons horizontally.
Icon Spacing Increase horizontally Increase the horizontal space between icons.
Make equal horizontally Space the icons at an equal distance horizontally.
Decrease horizontally Decrease the horizontal space between icons.
Make equal vertically Space the icons at an equal distance vertically.
Increase vertically Increase the vertical space between icons.
Decrease vertically Decrease the vertical space between icons.
Snap to Grid Align all icons to a fixed grid.
NOTE: To use the Icon Alignment and Icon Spacing options, the Snap to Grid option must be turned off.
ADDITIONAL CONFIGURATION
CONFIGURE PRESETS
Many cameras have the capability to store frequently used camera positions as presets. These positions can be defined and named within the
VMX210 system for use manually and as elements of more complex automation features.
Create a Preset
1. Drag and drop the desired camera into one of the VMX200 video windows to view its output.
2. Pan, tilt, and zoom the camera to the desired view, and then right-click the video image. The video control pop-up menu appears.
add device
icon


