C1534M (1/06) 51
Alarm-Based Image Captures
To capture an image with an alarm, you must first configure a sequence to include the necessary image capture, and then configure a macro to
run the sequence. Refer to Configure Sequences and Configure Macros in the Additional Configuration section for more information.
A camera icon next to an alarm event indicates that the system captured images associated with the alarm event. To view these image captures:
1. Select the event.
2. Click the View Images icon on the tool bar. The Capture Viewer appears.
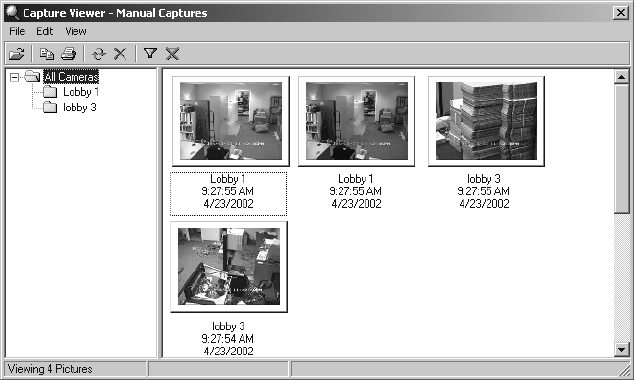
Figure 60. Capture Viewer
The Capture Viewer displays a thumbnail picture of each image. Tool bar icons allow the user to filter images by date and time, and by camera,
and to navigate between screens of captures, selecting and deleting images. Refer to the Image Capture section.
Acknowledge an Alarm
In the Alarm Viewer, click the check box beside each event you wish to acknowledge. The check can be removed by clicking the check box again.
OR
Select the event you wish to acknowledge, and then click the Acknowledge icon on the Alarm Viewer tool bar.
Delete a Log Item
Select the desired event, and then click the Delete icon in the Alarm Viewer tool bar.
NOTE: Deleting alarm events will remove the selected event(s) and all associated images. This action cannot be reversed. Pelco recommends
saving a backup copy of any important image captures on external media, such as a CD.
Print the Alarm Log
Click Print. The alarm log prints as it is currently displayed.
Manage Alarm Image Capture Files
Alarm-related image capture files are stored within the system separately from manual image captures, but they can be managed in the same
way. Refer to the Image Capture section for information on managing alarm-based image files.


