38 C1534M (1/06)
Edit a Scheduled Event
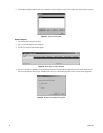
1. From the Scheduled Events dialog box, select the desired event, and then click Edit. The Edit Schedule dialog box appears.
2. Change the schedule options as necessary, and then click OK.
Rename an Event
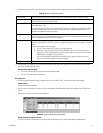
1. From the Scheduled Events dialog box, select the desired event, and then click Rename.
2. Type a new event name, and then click OK.
Delete an Event
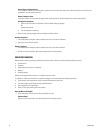
1. From the Scheduled Events dialog box, select the desired event, and then click Delete.
2. Click OK to confirm the deletion. Note that the delete action cannot be reversed.
Suspend or Resume an Event
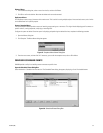
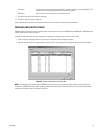
In the Scheduled Events dialog box, the Status column displays the current status of each event. When an event is “Running,” you can click
Suspend to stop the event. When an event is “Suspended,” you can click Resume to restart the event.
CONFIGURE CAMERA AUXILIARY POINTS
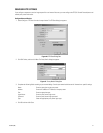
Configure camera auxiliary points by completing the following steps from the site map window:
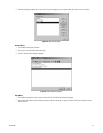
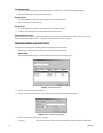
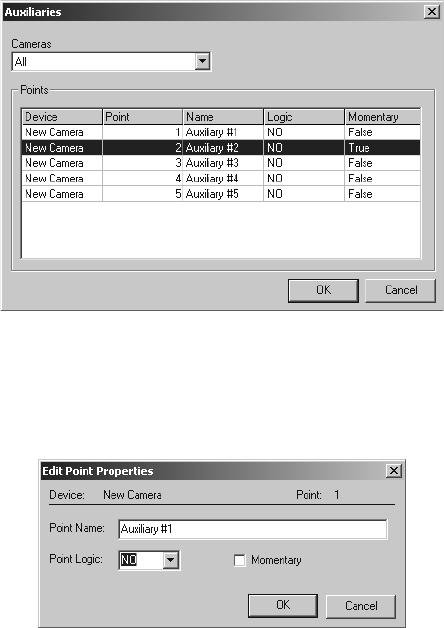
1. Select Configure > Auxiliary Points from the menu bar. The Auxiliaries dialog box appears.
Alternate Step 1
Right-click the appropriate camera icon, and then select Edit Auxiliary Points from the pop-up menu.
Figure 42. Auxiliaries Dialog Box
2. Select a camera from the Cameras drop-down box.
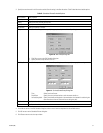
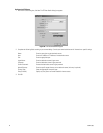
3. In the list of auxiliary points double-click one of the points listed. The Edit Point Properties dialog box appears.
Figure 43. Edit Point Properties Dialog Box
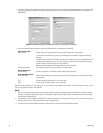
4. Edit the information in the following fields as necessary:
Point Name: Enter up to 64 characters. The point name is used to describe the point in the auxiliary control menus.


