4 – Using the SANbox SSP
Using the SVM GUI to Manage Virtual Storage
4-8 SN0054628-00 A
Q
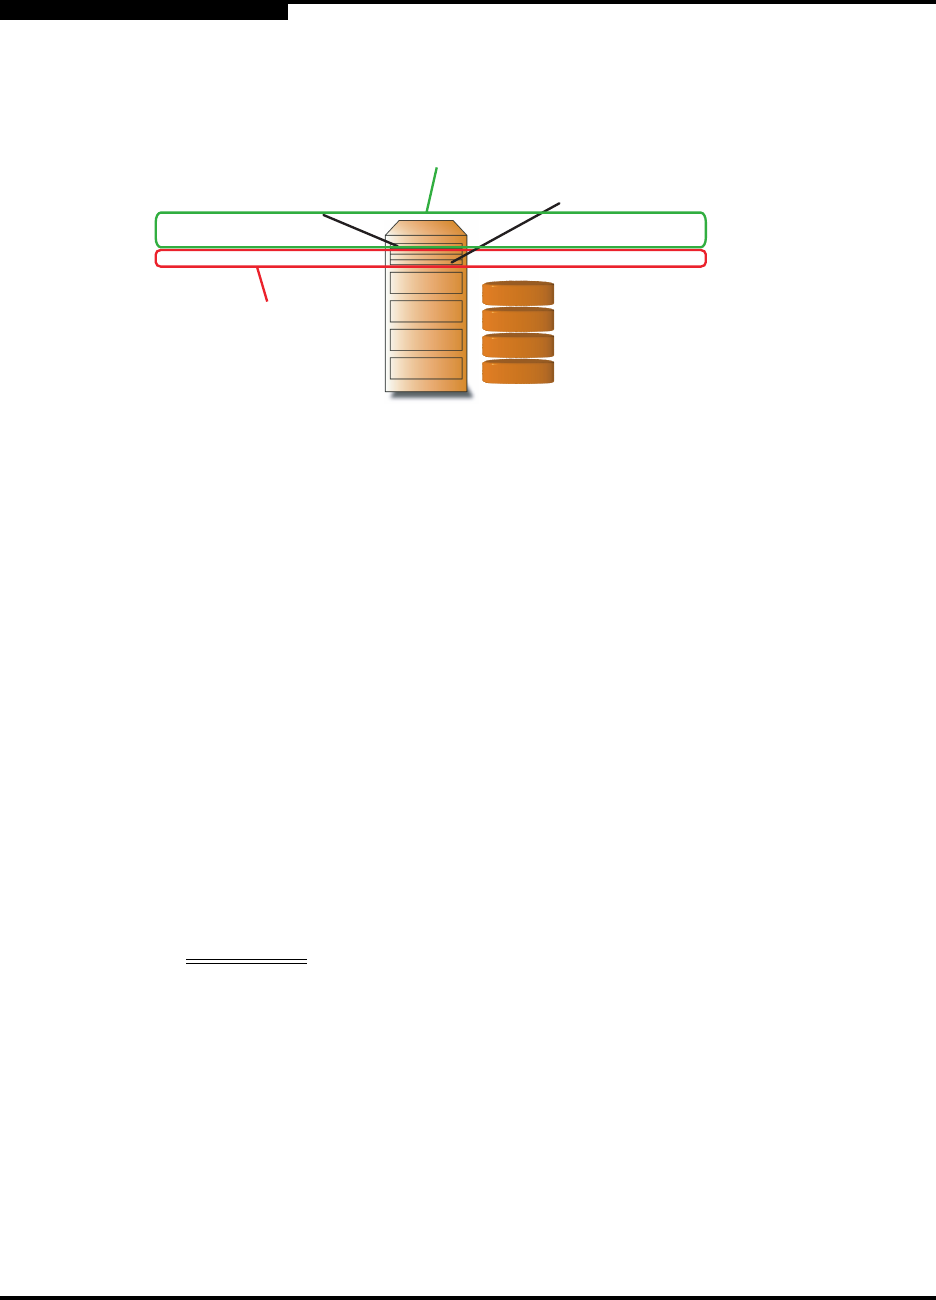
See Figure 4-4 for a visual representation of the StoreAge-specific restriction affects
RAID devices.
Figure 4-4. StoreAge Configuration Restriction on Back-Side Storage RAID Devices
4.5
Using the SVM GUI to Manage Virtual Storage
This section provides general instructions for creating storage pools and virtual
volumes, creating groups of HBAs, called UDHs (user defined hosts), and assigning
a storage device profile to a UDH. For more information, see the StoreAge
documentation.
NOTE: This information is provided for your convenience. For additional details
about the SVM GUI, see the StoreAge documentation. If there are
differences between the StoreAge documentation and this installation and
configuration guide, follow the StoreAge documentation.
To create storage pools:
1. Open the SVM GUI, and open Volume Manager in tree view.
2. Click Pool, click Create, and then select the physical disks that you want to
include in the pool.
WARNING!!
This step removes the data on the physical disks that are added
to the pool. Once a physical disk is added to a pool, the SVM
GUI controls that disk. The data on disks that are not in a pool
are not subject to this issue.
NOTE: When you create the first storage pool, you are prompted to provide
a domain name that identifies the management domain for the SVM
appliance. Enter a domain name, and then click the Submit button
to commit the new name to the configuration.
3. Enter a name for the pool, and then click Continue.
Controller A, Port 1
LUN 1 - Logical Unit 1
LUN 2 - Logical Unit 2
LUN 3 - Logical Unit 3
Controller B, Port 2
LUN 1 - Logical Unit 1
LUN 2 - Logical Unit 2
LUN 3 - Logical Unit 4
Incompatible with
StoreAge SVM
Valid LUN
Configuration
Logical Unit 4
Logical Unit 1
Logical Unit 2
Logical Unit 3


