84
TROUBLESHOOTING
Page
p.3
p.41,78
p.41,78
p.41,78
p.79
p.78
p.41,78
p.5
p.97
p.70
p.77
p.96
p.96
p.77
p.76
p.20
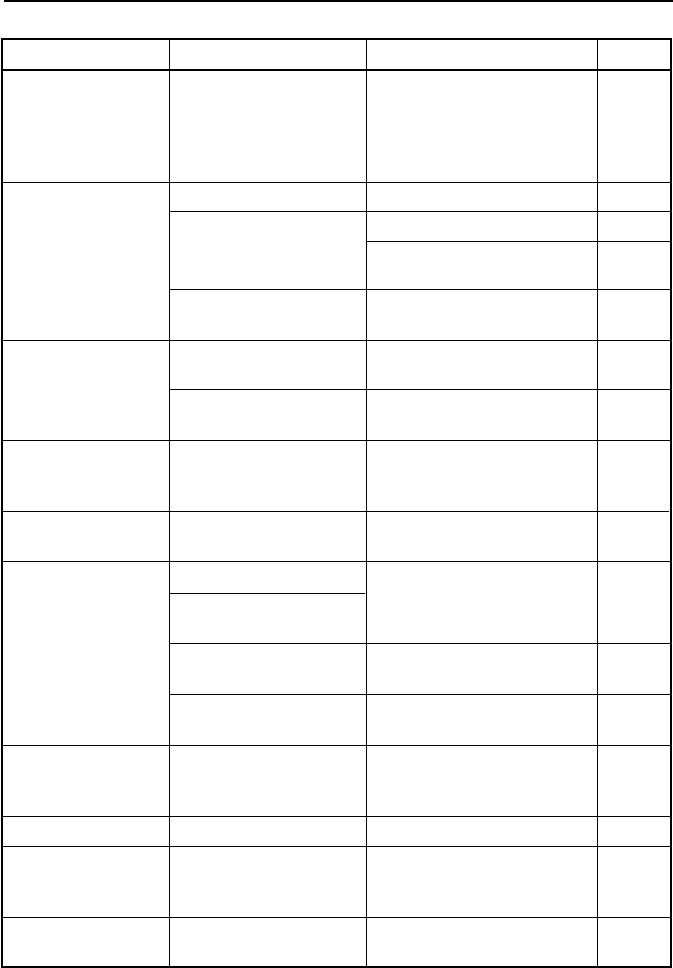
Status
"Error 90" appears on
the display, and the copy
operation is aborted
when copying from the
exposure glass.
Frequent original mis-
feeds with ADF.
Original is not fed
from the ADF.
Original is not fed out
properly.
Periodic black marks
on printed output.
Black lines and marks
on printed output
when copying from the
exposure glass.
Black and white lines
on printed output
when using the ADF.
Output too light.
Unclear photographic
images.
Parts of the original
image are not copied.
Cause
Locked scanner.
Original is not set correctly.
Curled original(s).
Incorrect original specifi-
cations.
ADF cover is open.
Document is not set cor-
rectly in ADF.
The document output tray
is not set correctly.
Cleaning pad is not in-
stalled.
Copying to small-size paper.
Different size original and
copy paper.
Non-white original back-
ground.
Dirty platen cover or expo-
sure glass.
Dirty ADF transport path.
Low contrast original.
Copying in Text Fine Mode.
The correct paper size is
not specified
Remedy
Unlock the scanner lock, turn
the machine off and then back
on.
Set the original correctly.
Straighten out the original(s).
Insert the original(s) from the
least-curled side.
Use originals of the correct size,
thickness, and quantity.
Close the ADF cover.
Set the document properly.
Set the document output tray
and the small pieces of plastic
film correctly.
Correctly install the cleaning
pad.
Place a sheet of the same size as
the paper you are printing onto
behind the original.
Adjust the print density.
Clean the platen cover and ex-
posure glass.
Clean the ADF transport path.
Adjust the print density.
Use the Original Type Select key
to select the Photo1 or Photo2
Mode.
Specify the paper size using the
operation panel.
Copying and Faxing (1/2)
b(GB)6.5_Chapter 06_p82-95 99.8.3, 1:17 PM84


