


5 ENTERING & SETTING ITEMS
192 Default Settings for Fax Functions
6
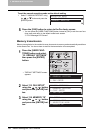
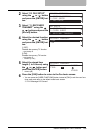
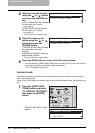
Press the [FAX] button to return to the Fax basic screen.
y You can press the [USER FUNCTIONS] button instead of [FAX] to exit the user func-
tions menu and return to the default mode basic screen.
P.24 “Message LCD Screen”
Account code
This feature provides valuable Account Code tracking information for each Fax transmission
sent from the equipment.
When a Fax is transmitted, the account code number will be recorded on the Transmission Jour-
nal.
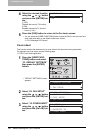
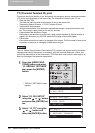
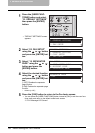
4
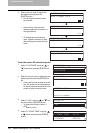
Select the desired function
using the or button
and press the [ENTER] but-
ton.
[01.DIAL DURING SCAN]: Disables
the send after scan function.
→ go to step 6.
[02.DIAL AFTER SCAN]: Enables
the send after scan function.
→ go to step 5.
* Default: [01.DIAL DURING SCAN]
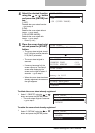
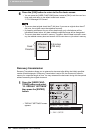
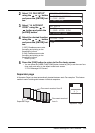
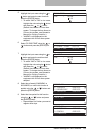
5
Select the memory-full
option using the or
button and press the
[ENTER] button.
[1.DELETE SCAN PAGES]: Deletes
the pages which have been
scanned.
[2.SEND SCAN PAGES]: Sends the
pages already scanned.
* Default: [1.DELETE SCAN PAGES]
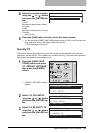
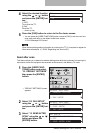
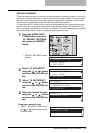
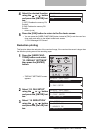
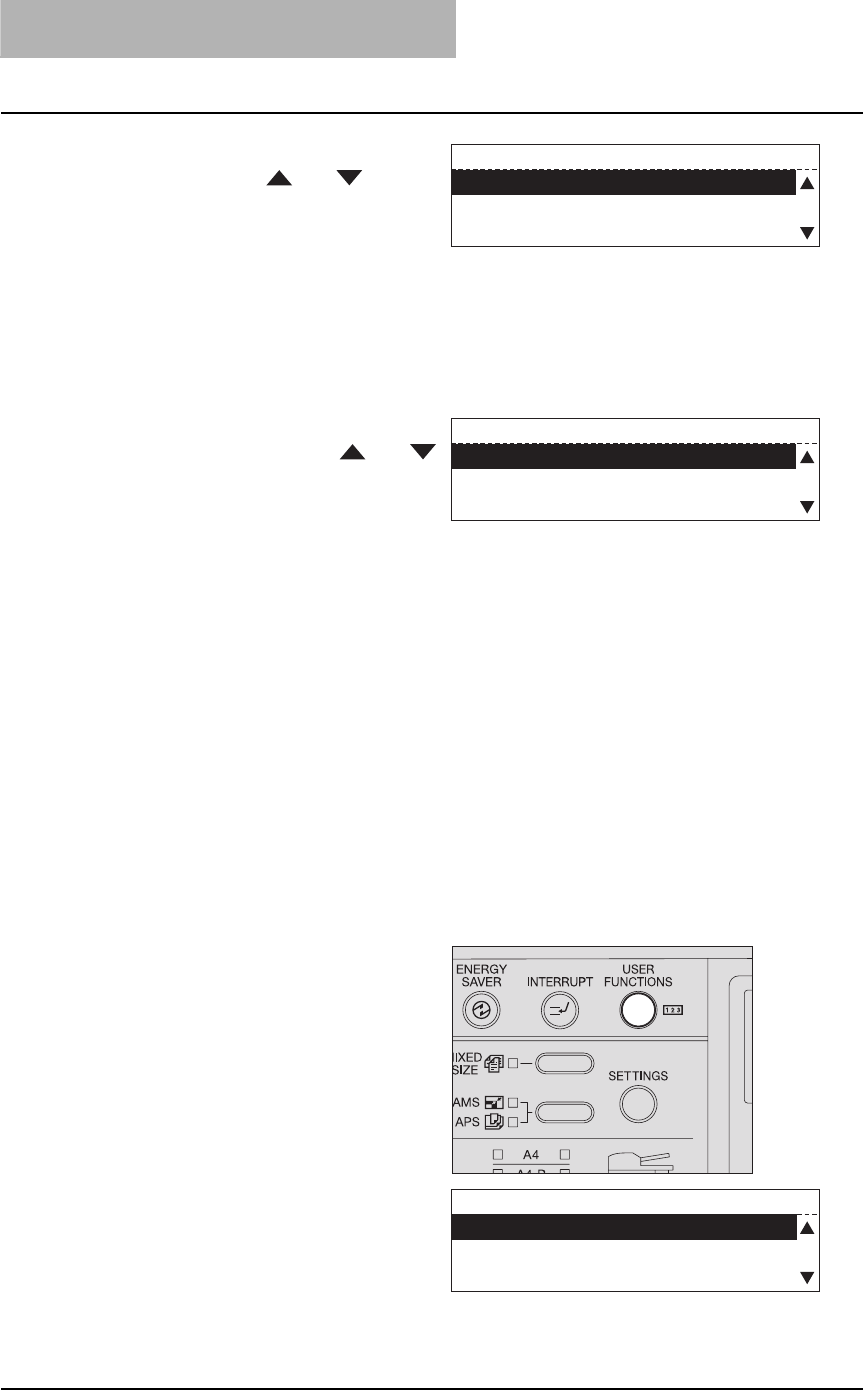
1
Press the [USER FUNC-
TIONS] button and select
“01. DEFAULT SETTINGS”
then press the [ENTER]
button.
y "DEFAULT SETTINGS" screen
appears.
SEND AFTER SCAN
01.DIAL DURING SCAN
02.DIAL AFTER SCAN
WHEN MEMORY FULL
1.DELETE SCAN PAGES
2.SEND SCAN PAGES
DEFAULT SETTINGS
01.GENERAL SETTING
02.COPY SETUP
03.FAX SETUP