


_______________________________________ Ethernet Setup 5-19
Note: The printer enters a waiting state while it saves
the file server name. Do not proceed until the
printer displays READY/IDLE.
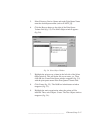
5. If a password is required to access the file server, change the
print server password to agree with the password set up on the
file server.
Note: If no password is required to access the Novell server,
this step is not required.
a. Choose Networking: Novell Print Server: Set Print
Server Password.
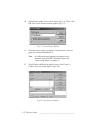
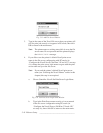
b. Type in the password exactly as it was entered on the file
server; then click Ok to return to the main menu. The
password is case sensitive and must follow Novell
NetWare naming conventions.
Note: The printer enters a waiting state while it saves
the file server name. Do not proceed until the
printer displays READY/IDLE.
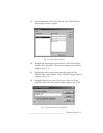
6. Repeat steps 2 through 5 to add up to four file servers.
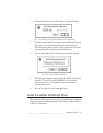
7. Print a start-up page by taking the printer off line, pressing the
front panel Test button, and then putting the printer back on
line. Check the page to be sure the new print server name is
enabled.
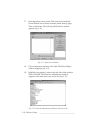
8. Go to “Configure the Novell Print Server Interface” later in this
chapter to continue configuration. To complete configuration
using printer front panel menus rather than XANTÉ Command
Center, choose File: Quit to close Command Center.
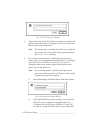
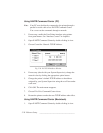
Configure the Novell Print Server Interface
Use XANTÉ Command Center and printer front panel menus to enable
your printer’s Novell Print Server interface and to configure timeout and
frame type options for your network environment.