


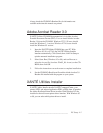

_____________________________________ Macintosh Setup 3-49
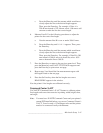
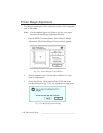
2. Select the folder on your Macintosh that contains the font files
from the drop down menu on the top left of the window (fig.
3.25). The large box on the left displays the fonts in the
selected folder.
3. Select Memory or Disk from the Device menu as the
destination for the downloaded fonts.
Note: If more than one optional hard disk is attached to your
printer, select the target disk from the drop-down menu.
4. Highlight a single font in the list on the left and click Add or click
Add All to select all the fonts in the open folder. Selected font(s)
appear in the list on the right of the screen (fig. 3.25).
Note: To remove fonts from the selected list, highlight the fonts
and click Remove.
5. Click Download to send the selected fonts to the printer.
6. Wait until download is complete; then, select File: Quit to
close the Adobe Downloader.
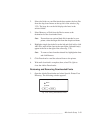
Reviewing and Removing Downloaded Fonts
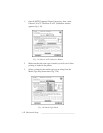
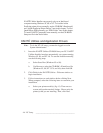
1. Open the Adobe Downloader and select Special: Printer Font
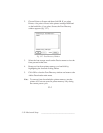
Directory. The following window appears.
Where would you like the directory sent?
Cancel
OK
Screen
Printer
Fig. 3.26 Listing Downloaded Fonts