


5-20 Ethernet Setupbb ______________________________________
• To enable the Ethernet Interface, which directs the printer to
login to listed file servers and begin printing jobs from assigned
print queues, use either Command Center or printer front panel
menus.
• To configure the frame type used on your network, use either
Command Center’s Macintosh version or printer front panel
menus.
• To configure the Novell timeout, which specifies the number of
minutes that the printer waits before disabling the Novell print
server emulation when an assigned file server cannot be found,
use printer front panel menus.
This section describes Ethernet Interface configuration using
XANTÉ Command Center. See chapter 6 to use front panel menus.
See chapter 3 (Macintosh) or 4 (PC) to install and configure
Command Center on your host computer.
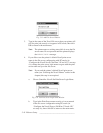
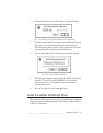
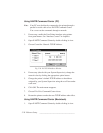
Using XANTÉ Command Center (PC)
1. Open XANTÉ Command Center by double-clicking its icon.
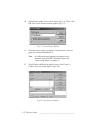
2. Choose Controller: Novell: Printing: Login to File Servers.
Click OK in the message box to direct the printer to login to
the assigned file servers.
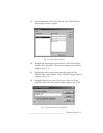
3. Choose Controller: Novell: Printing: Enable Printing. Click
OK in the message box to direct the printer to begin printing
jobs from the assigned print queues.
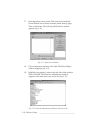
4. Choose File: Exit to close Command Center.
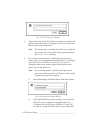
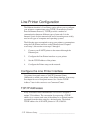
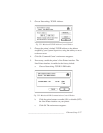
Using XANTÉ Command Center (Macintosh)
1. Open XANTÉ Command Center by double-clicking its icon.